


How to Shoot Product Photography in 360°
A 360-product photo can be played like a video to show a rotating product at different degrees, or it can be dragged back and forth manually by the viewer, making it ideal for use in the apparel and ecommerce industries where customers prefer to check products thoroughly. The workflow of 360-degree product photography involves using specific equipment suited to the product's size, texture, and material for getting pristine display images that can be viewed from all angles.
Lighting Equipment
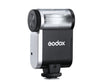
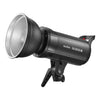
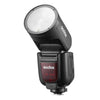
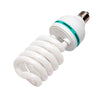
The basics of every setup involve using a high-definition camera that can capture quality images without compromising any product details. Continuous lighting is required for this setup as there has to be consistency in terms of lighting, which is why natural light is not a suitable option, and flashes such as speedlites require a recycle time before the next image can be taken, thereby significantly increasing shoot time. LED or fluorescent lighting is a good option in such shoots as they can provide stable light for hours. Additionally, multiple light sources must be used to ensure the product is well-lit from all sides, making the image transition seamless.

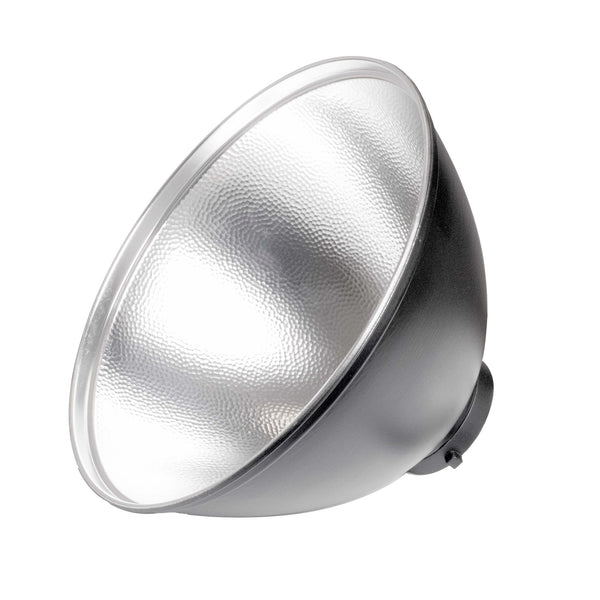
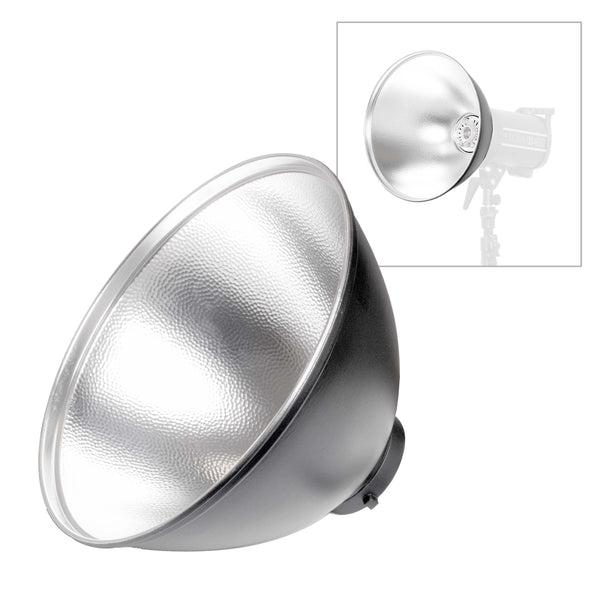
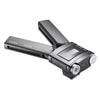
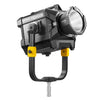
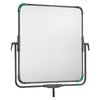
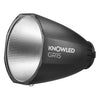
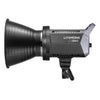
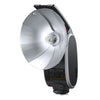
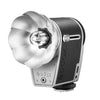
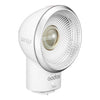
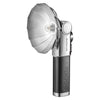
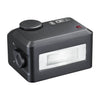
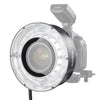
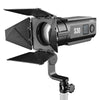
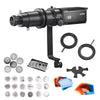
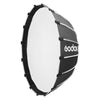
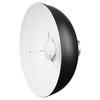
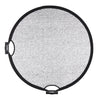
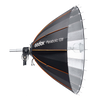
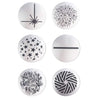
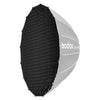
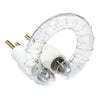
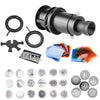
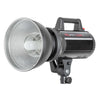
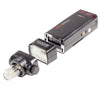
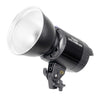
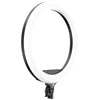
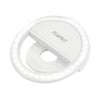
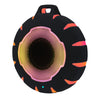
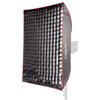
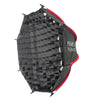
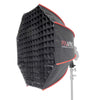
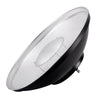
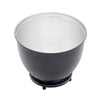
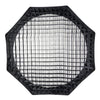
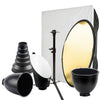
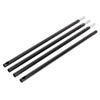
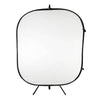
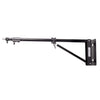
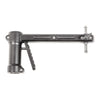
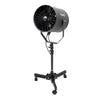
Light diffusers and modifiers such as the PIXAPRO 105cm (41") 16-rod Easy-Open Rice Bowl Softbox, and the PIXAPRO Magnum Reflector can also be used to produce a soft light which is especially beneficial for reflective surfaces as the gentle light causes less glares and envelopes the product in symmetrical light that prevents the image from being overexposed.

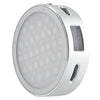
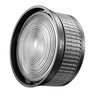
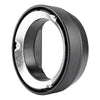
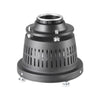
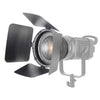
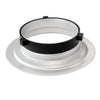
High-Performance Magnum Reflector (Bowens S-Type Fitting)
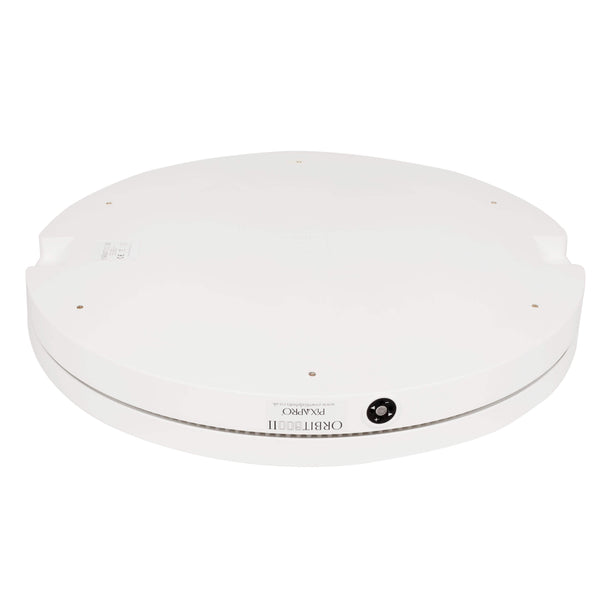
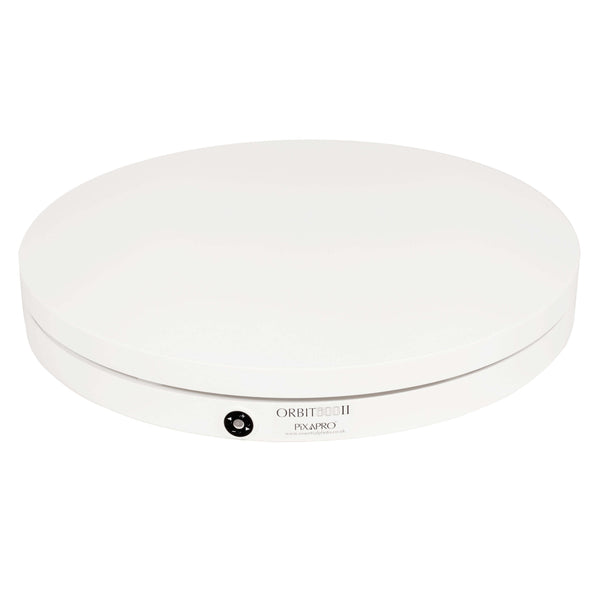
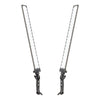
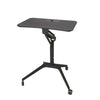
Turntables
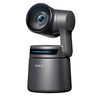
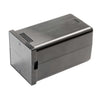
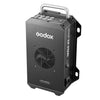
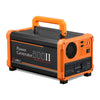
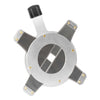
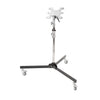
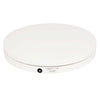
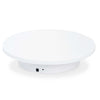
The turntable is the star of any 360-degree product shoot as the motorized equivalent of a lazy Susan ensures the product moves at specific angles without displacing the item. The PIXAPRO Orbit600 has a 60 cm diameter, and it is a white motorized turntable used to produce rotatable images and videos. This product produces images with increased accuracy, and it can be used for items of different sizes weighing up to 150 kg at three rotation speeds between 1 to 2 rpm.

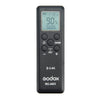
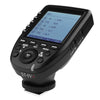
The multiple rotation speeds define the type of result you're looking to achieve. The number of rotations affects the smoothness of the result and the load time of the product itself because there can be hundreds of images in one shoot. To reduce chances of any product displacement, the turntable comes with a wireless remote control that can be used to turn the machine on/off while defining the speed, direction, and angle of rotation.
360° Photography Kits
If you're not too keen on creating your own 360-degree product photography setup, there are ready-made kit options available in the market that can provide you all the essentials required for a successful shoot, including:
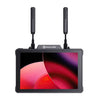
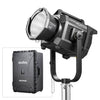
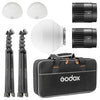
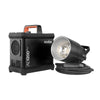
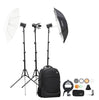
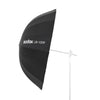
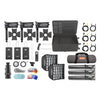
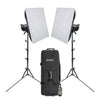
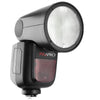
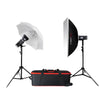
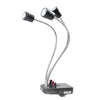
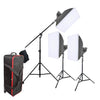
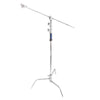
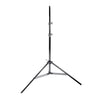
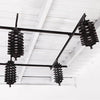
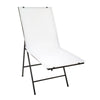
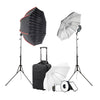
1.The LUMI400 Three Head Kit with Turntable: This kit comes with 3 LUMI400 strobe lights with a flash duration of up to 1/2000th of a second for sharp images, two 60x90 cm softboxes, and a translucent umbrella to meet the lighting needs for any product and it even includes light and boom stands so you can position the lighting in fixed positions for added uniformity. The ORBIT600 Motorised Turntable can be used for medium to large objects with its 60 cm diameter, and it comes with a wireless remote.

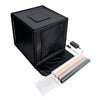
LUMI400II 360 Product Photography Spin Systems 3D Scan 3 Points Lighting Kit
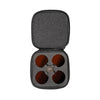
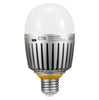
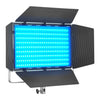
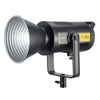
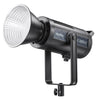
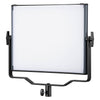
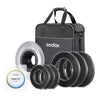
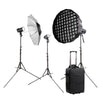
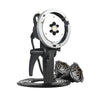
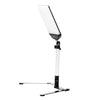
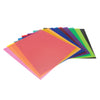
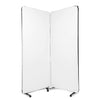
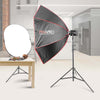
2.The GLOWPAD 360° E-Commerce Product Photography kit: This kit comes with Bi-Colour Edge-lit LED panels for continuous lighting, ranging from a warm 3200K tungsten-balanced light to a cool 5600K Daylight-balanced light, depending on the style of the shoot. The LED panels have a CRI rating of 95, which provides accurate colour representation in images, and they also come with built-in diffusers. The kit includes the ORBIT600 Motorised Turntable, which has a 60 cm base capable of multiple rotation speeds for shooting 360-degree product shots.

Tips for Shooting 360° Product Photography
Once you have your setup in place, including the camera, lights, light controls, and turntables, you'll want to start by setting your product in the centre of the turntable so the items do not display unnecessary movement that can become distracting for the viewer. You want the item to rotate around the centre axis perfectly, and it may take some time to adjust, but you can easily achieve it by turning on the gridlines in your camera to see if your item is centred or by doing test runs.
For focusing on the product, you can pre-focus on the object in automatic mode before switching to manual. It prevents any unanticipated lighting changes or blurs when the product is rotated on the turntable. When conducting test runs, it is important to take shots from different angles to check product alignment and surface reflection, ensuring no glares. For testing with diffusers, you can also adjust the angles of the light and layers of diffusion material to get optimal shadow and highlight in your images while effectively displaying material finish.
With the test results in hand, you're in a better position to decide the logistics of the shoot so you can pre-set the turntable speed and camera timer to take pictures at fixed intervals. In 360-degree product photography, you should keep in mind that it would be very difficult to retouch the frames as there can be between 24 and 360 images depending on the smoothness and flow you wish to achieve, which can become a headache to retouch, so it's better to get it right during production.
During the post-production process, the pictures can be accessed by image manipulation software which aligns the shots, crops unwanted background, and creates a 360-degree photo that can be uploaded to your website or product e-commerce page for an interactive view of the product.