


Flat Lay Photography Tips for Shooting Clothing

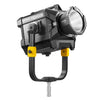
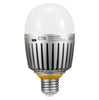
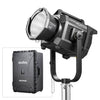
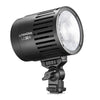
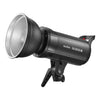
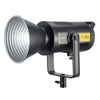
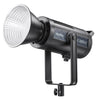
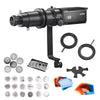
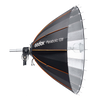
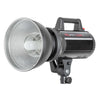
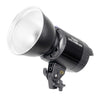
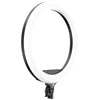
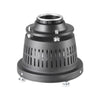
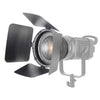
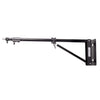
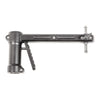
LED200B MKIII Bi-Colour Flat lay photography can help you capture images from a new perspective
The clothing and apparel market is saturated with individuals creating clothing in line with their unique sense of style, but if you want the items to stand out, they need to photograph well so they can capture the interest of potential customers. There are many techniques for shooting clothing, but flat lay is a simple and basic photography style for selling clothing on e-commerce platforms that requires clothing items to be placed on a level surface while being photographed, but that does not mean flat lay has to be boring. Whether you're styling clothing or lifestyle photos, using flat lay photography is a fantastic method for photographers and creative business owners to create compelling and captivating content.
Creating the perfect flat lay requires a basic setup, and it can be shot with minimal equipment and accessories, but there are some tips that can enhance clothing items and portray them in a favourable light.
Select A Concept or Theme
The first component of a great flat lay image is figuring out your concept or theme. Image layout inspiration with single and multiple focus points can be obtained through creative online platforms such as Instagram or Pinterest. These sites can help you identify what photography styles inspire you and help you learn about perspective whether you're looking for a structured, minimal, or complex flat lay concept. At the same time, make sure you bookmark your inspiration so you can incorporate some interesting techniques into your photography style for different clothing items.
Once you have a good bank of inspiration and you know the style of the image you want to produce, you should think about the main focus of the flat lay so you could understand where the image focal point should be. For example, if you're photographing a clothing garment, it will be the centre of focus of the image. However, suppose you have more than one clothing item you need to capture, for example, a shirt and jacket combination. In that case, you'll need to have two points of focus, so the viewer's eye is attracted to both components, and one item is not more prominent than the other. Deciding on the concept and focus provides a vision and direction for your shoot that saves shooting time.
Select Props and Accessories
Props are the second component you should consider for your clothing photoshoot. Depending on the theme or central concept of your clothing photography, they can be as complicated or as simple as you want them to be. The best part is you can often find prop inspiration in your own space; for example, when shooting clothing items, some value-adding props can be jewellery, makeup, candles, shoes, books, and other household items. Introducing organic elements such as plants or flowers can also add some life to the set and create a more dynamic flat lay.
You can use a range of items as props, but first, you need to figure out what will be the main focus and how prominent you want the supporting elements to be in the flat lay. Adding props to a flat lay can support the image and make the focal point look better by adding some texture or colours to make your image pop.
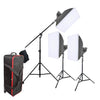
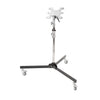
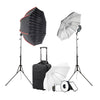
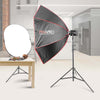
Select Photography Equipment and Find Your Light
Lighting is an essential aspect for flat lay as you can shoot clothing both indoors and outdoors, but the lighting setups are significantly different for different locations. When shooting outdoors, you have to be careful about the time of the day you're shooting, as direct sunlight does not always make for the most attractive product photographs. Wind can also be especially disruptive as it can easily ruin your clothing and accessory placement considering the lightweight nature of the item.
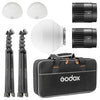
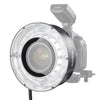
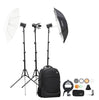
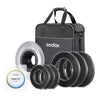
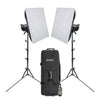
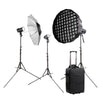
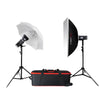
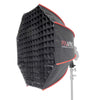
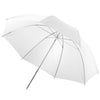
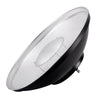
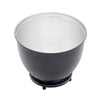
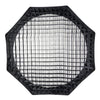
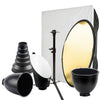
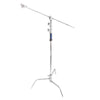
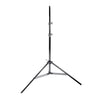
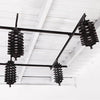
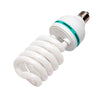
If you're shooting the clothing items indoors, you can use both natural and artificial lighting. For natural lighting, the best light source is typically close to a window which can produce soft and indirect light. If the light is coming directly from the window, you might want to place your setup at a reasonable distance away from it so you can find the right light for your photography. When using artificial lighting, whether flash or continuous, you can use it with softboxes and reflectors for a softer quality of light. If you want to take your setup to the next level, you can even use overhead ring lights to light the setup evenly. Reflectors can be used with both natural and artificial lighting to bounce harsh light, so it is not exceptionally bright and fills in your image's shadow areas.
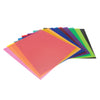
Select A Background
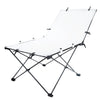
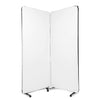
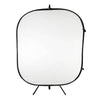
The right background can set you up for a perfect image. The background can be a stationary surface such as a floor, table, or any other smooth or textured surface in your environment. Backgrounds, just like props, can be complex or straightforward, and they can introduce some texture to your photograph, but you can also opt for something more simple such as a basic white background or styling surfaces.
Simple backgrounds do not distract or take away from your subject, and you can produce a clean background that does not interfere with the image. You can experiment with different colours and fabric pieces for a more creative touch but make sure the background is smooth even if you don't opt for a professional background setup. Paper, fabric, and vinyl backgrounds can also be easily carried and relocated into different lighting, which gives you flexibility when you're using natural light or if you have a small studio space so you can have a temporary setup available at any time.
Design Your Final Image
This is the stage where everything comes together, and it starts with the placement of the background, lighting, and camera equipment so you can begin constructing the shot. Ensure your clothing items are ironed, and you have your props ready to go. When assembling the flat lay template on the background, you can use a visual hierarchy which includes placing the main subject or focal point at a spot where the user's eye naturally falls, such as the centre of the background.
Another important tip is to place items according to their size on your background by going from larger to smaller for a more delicate touch. If you include larger elements such as a bag to go with your clothing item, it's a good idea to place them closer to the corners where they won't divert the viewer's focus from the main clothing item. After the shot design is complete, take photographs from different angles and heights while varying product placement for more dynamic shots. This makes it easy to review the photos and select your favourite ones for editing, which can add contrast, brightness, and depth to provide you with your desired style and aesthetic.