










































































Making a Multi-Camera Setup with OBSBOT
Making a Multi-Camera Setup with OBSBOT
Creating a professional multi-camera studio setup doesn't have to be complicated. With the right equipment, you can build a flexible production system that allows you to control multiple cameras, switch between presenters automatically, record individual camera feeds and stream live from one central system.
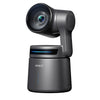
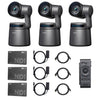
Combining the OBSBOT Tail 2 cameras with the OBSBOT Talent 2 provides a powerful solution for studios, content creators, presenters and live production environments.
In this guide, we'll explore the key considerations when building a multi-camera setup with OBSBOT, covering camera control, audio integration, live streaming, networking, lighting and installation.

1. Camera Control: Managing Multiple OBSBOT Cameras
One of the main advantages of using the OBSBOT Talent 2 is its ability to control up to three compatible OBSBOT cameras from a single system.
This includes a range of functions designed to simplify multi-camera production, such as:
-
PTZ (Pan, Tilt and Zoom) movement.
-
Zoom control.
-
Preset positions and camera recalls.
-
AI tracking functionality.
-
Camera settings and adjustments.
This makes it easier to manage different camera angles and switch between presenters without having to operate each camera individually.
For additional flexibility, the OBSBOT Tail Air Smart Remote Controller can also connect to up to three compatible cameras. This provides another convenient way to control camera movement and recall preset positions.
Whether you're operating a small studio, interview space or multi-presenter production environment, having centralised camera control can make your workflow considerably more efficient.
2. Audio Setup and Automatic Camera Switching
Audio is an important consideration when building a multi-camera production system, particularly when you want cameras to switch automatically depending on which presenter is speaking.
Connecting microphones to your cameras
Where practical, we recommend connecting microphones directly to the OBSBOT Tail 2 cameras.
The Tail 2 supports both USB-C and 3.5mm TRS microphone inputs, offering flexibility when selecting your audio equipment.
Connecting microphones directly to the cameras can also help minimise potential audio synchronisation delays, making it easier to keep audio and video aligned during production.
Using Video Follows Audio (VFA)
The OBSBOT Talent 2 also supports Video Follows Audio (VFA), a feature that can automatically switch between configured scenes based on audio detection.
For example, in a studio with multiple presenters, individual microphones can be assigned to different scenes. When audio is detected from a particular microphone, the system can switch to the corresponding camera view.
You can also configure a wide-angle camera scene as the default view when no sound is detected. This helps maintain a useful overview of the studio between conversations.
There is one important consideration when setting up VFA: the relevant audio sources must be distinguishable.
If all microphones are combined into a single mixed audio signal, the system cannot independently identify which presenter is speaking from that mixed signal alone. For this reason, it's important to consider your microphone routing and audio configuration when designing the system.
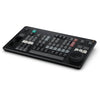
Integrating the RØDECaster Pro II
The RØDECaster Pro II can still be incorporated into the setup, depending on your preferred audio workflow.
It can be used for audio mixing and managing your microphone inputs, although the signal routing should be planned carefully if you also want to take advantage of the Talent 2's Video Follows Audio functionality.
3. Live Streaming and Recording
The OBSBOT Talent 2 can act as the central production system, bringing together video switching, monitoring, live streaming and recording.
This allows you to manage the main production workflow from one device rather than relying on several separate systems.
When it comes to recording, there are two main approaches to consider.
Option 1: Record directly to each Tail 2's SD card
Each OBSBOT Tail 2 camera can record its own footage independently to an SD card.
This is particularly useful when you want separate camera recordings for:
-
Post-production editing.
-
Creating promotional videos.
-
Producing social media content.
-
Re-editing interviews and presentations.
-
Having additional footage available after a live production.
With this approach, each camera captures its own recording, giving you greater flexibility when editing the final content.
Option 2: Record using the OBSBOT Talent 2
Alternatively, you can use the Talent 2's recording capabilities to capture the final programme output.
Its supported ISO recording functionality can also be used when individual camera recordings are required.
This provides flexibility depending on whether you need a finished programme recording, separate camera footage or a combination of both.
For regular studio productions, it's worth deciding on your recording workflow in advance to ensure you have all the footage needed for future editing.
4. Ethernet and Power Supply
A reliable network connection is essential when operating multiple cameras, particularly in a permanent studio installation.
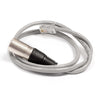
We recommend using high-quality Ethernet cables suitable for PoE+ applications.
When selecting your PoE+ switch or injector, make sure it provides sufficient power for every connected OBSBOT Tail 2 camera.
As a guideline, allow for at least 25W of available power per camera, while also ensuring that the switch's total power budget is sufficient to support all connected devices simultaneously.
For example, a three-camera installation should have at least 75W available for the cameras, in addition to any allowance needed for other network devices.
Static IP addresses for studio installations
For a fixed studio setup, we also recommend assigning static IP addresses to your cameras.
This can make network management easier by ensuring each camera retains a consistent address, helping to simplify device identification and improve connection consistency.
Planning your network configuration before installation can save time when configuring and troubleshooting a multi-camera system.
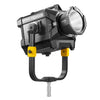
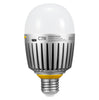
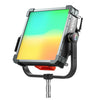
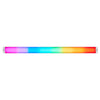
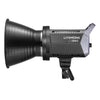
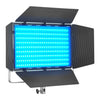
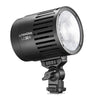
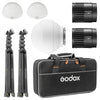
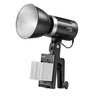
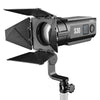
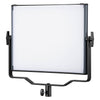
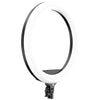
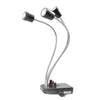
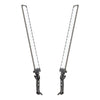
5. Studio Lighting
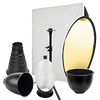
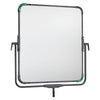
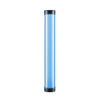
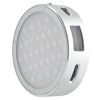
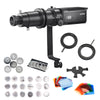
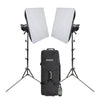
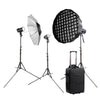
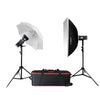
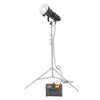
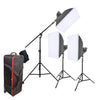
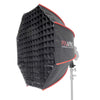
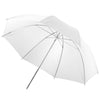
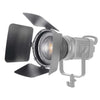
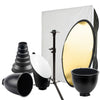
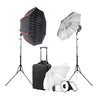
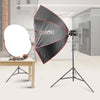
While we don't currently have a complete professional studio lighting package to recommend, lighting should still be an important part of your multi-camera setup.
Good lighting helps create a consistent, professional appearance across all camera angles and makes it easier to maintain a uniform look when switching between different views.
Depending on your studio environment, you may wish to consider the following lighting positions:
-
Key lighting: The main light source used to illuminate your presenter.
-
Fill lighting: Softens shadows and balances the key light.
-
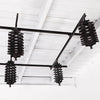
Overhead lighting: Provides additional illumination from above.
-
Backlighting: Separates the presenter from the background and adds depth.
-
Background lighting: Illuminates the studio environment and helps create visual interest.
We also recommend maintaining consistent colour temperatures across your lighting equipment and choosing high-quality, flicker-free lights.
This is particularly important when using multiple cameras, as inconsistent lighting can make different camera angles look noticeably different.
Studio lighting requirements will depend heavily on your room dimensions, ceiling height and production environment. Reviewing professional studio lighting examples and installation guides can be a useful starting point when planning your space.
6. Camera Mounting and Accessories
A stable camera installation is essential for achieving reliable results.
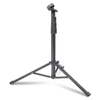
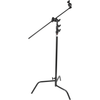
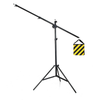
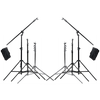
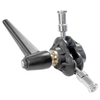
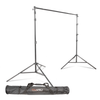
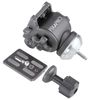
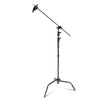
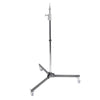
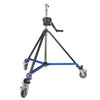
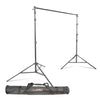
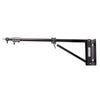
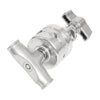
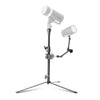
We strongly recommend using high-quality tripods or secure mounting equipment for every OBSBOT Tail 2 camera.
When positioning your cameras, consider:
-
The height and angle of each camera.
-
The distance between the camera and presenter.
-
The available movement range of the PTZ gimbal.
-
Potential obstructions within the studio.
-
Accessibility for maintenance and adjustments.
Most importantly, ensure that every camera is securely installed to prevent accidental falls.
The Tail 2 features a precision gimbal and lens assembly, which can be damaged by physical impacts. Taking the time to install suitable mounting equipment can help protect your investment and ensure reliable operation.
7. Final System Testing
Before launching regular live productions, we recommend thoroughly testing the complete system.
Even when all the equipment has been installed correctly, testing the individual components together is essential for identifying potential issues before a live broadcast.
Your final checks should include:
-
Camera control: Confirm that all cameras respond correctly to the Talent 2.
-
Preset positions: Check that camera presets can be saved and recalled accurately.
-
AI tracking: Test tracking performance with each presenter and camera position.
-
VFA switching: Confirm that the correct scenes are triggered by the relevant audio sources.
-
Audio synchronisation: Check that microphone audio remains aligned with the video.
-
Continuous power: Ensure that all cameras receive a stable and sufficient power supply.
-
Network stability: Test Ethernet connections and confirm that all cameras remain accessible.
-
Live streaming: Run a test stream to check video quality and switching performance.
-
Recording: Verify that programme recordings and individual camera recordings are working as expected.
We recommend running a full rehearsal using the same presenters, microphones and production workflow you intend to use during a real broadcast.
This gives you the opportunity to make adjustments and ensure everything is working smoothly before going live.
Building a Flexible Multi-Camera Studio with OBSBOT
A multi-camera setup built around the OBSBOT Tail 2 and Talent 2 offers a flexible approach to professional video production.
With centralised camera control, automatic audio-based switching, multiple recording options and a carefully planned network and lighting installation, you can create a studio environment suitable for interviews, presentations, podcasts, live streaming and much more.
The key is to plan the complete workflow before installation, ensuring that your cameras, microphones, network, power supply and recording equipment all work together.
At Essential Photo, we're here to help you find the right equipment for your production requirements.
Explore our range of OBSBOT products and discover the possibilities for your next studio setup.
Need help planning your multi-camera production system? Get in touch with the Essential Photo team to discuss your requirements.


