


Tips for Shooting High Quality Headshots
Creating professional headshots for business purposes or also for actors for can be challenging. There is just one subject, your client, and you are required to capture the essence of their personality while their professional personas remain intact. Your client will be looking to create a particular feel from this image, so you better bring your best gear and game on the day of the shoot!
To take the most professional-looking headshots, you need to learn how each subject interacts with the lighting set up in your studio. While this comes with experience, you can follow certain guidelines to make the most of what you have.
See Similar: 3 Ways To Light the Perfect Head Shot - with Tommy Reynolds
Background Selection
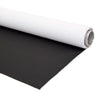
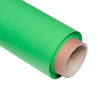
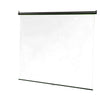
Unless you have been invited to an outdoor location, you will be shooting inside the office or your studio. Make sure to set up a background which suits the location and your client. Muslin or plain white Paper Backgrounds will be your best option in the studio if you are aiming for the clean and non-distracting corporate headshot style that most people go for.
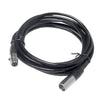
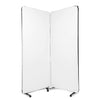
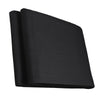
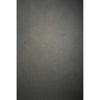
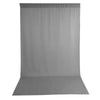
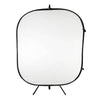
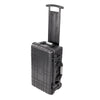
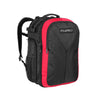
If you are going to the office to shoot, you need something more portable, such as a collapsible background like the 2 in 1 Grey/White Wrinkle-Resistant Collapsible Background (1.5x2m). Ensure your client stands a little further away from your background to avoid any shadows.
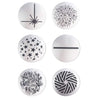
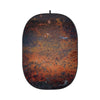
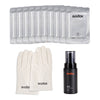
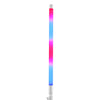
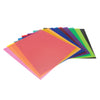
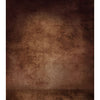
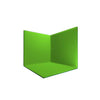
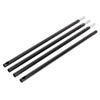
If you are looking to add some colour and texture to the images, you can try a Handpainted Background such as the ones below. These are best for actor headshots as they can help provide more contextual clues to their personality.
 |
 |
 |
Lighting Basics
Once you have the background ready, you need to set up your lighting.
The main light is your key light; often placed a little off to the side of your client and camera and has the most power. On its opposite side is the fill light with lower power, but it removes the shadows created by the position of the key light. Last is your backlight or rim light places on the back of your subject to illuminate their shoulders and separate them from the background.
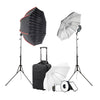
Lighting Equipment
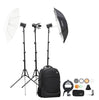
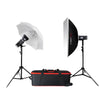
Depending on your experience and how you manipulate light, you will use a combination of continuous lights and flashes or strobes, and need to make sure the light is evenly spread out.
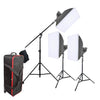
See our blog on: The Best Lighting Kits for Professional Headshot Photography for some PiXAPRO/Godox Headshot lighting kit recommendations.
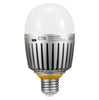
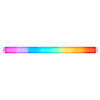
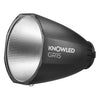
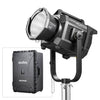
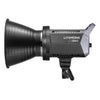
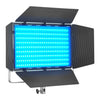
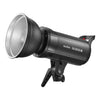
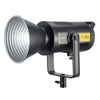
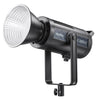
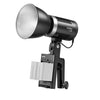
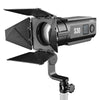
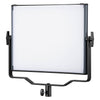
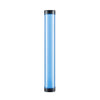
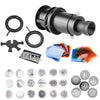
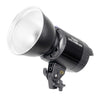
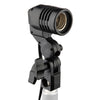
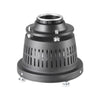
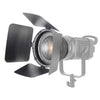
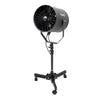
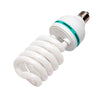
To break down your setup, we will talk about what makes a good lighting arrangement. Offices generally have fluorescent lights that leave hues. You need daylight-balanced continuous light such as the mountable COB LED lights, allowing you to mount different modifiers to shape the light which LED Panels won't give you the option for.
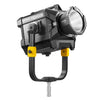
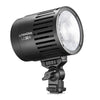
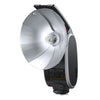
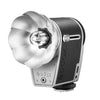
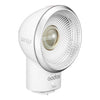
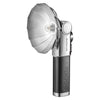
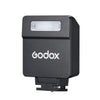
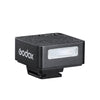
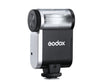
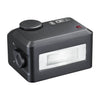
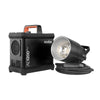
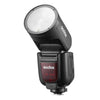
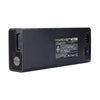
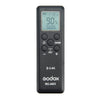
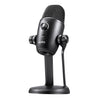
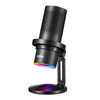
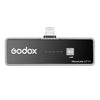
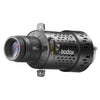
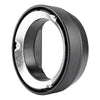
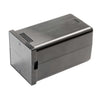
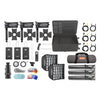
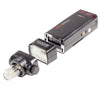
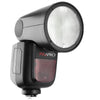
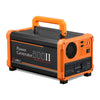
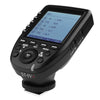
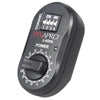
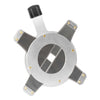
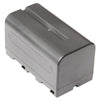
Battery-powered flash is another popular option due to its cable-free, portable setup. Commercial headshots can be easily done by a 200w pocket flash as they are generally placed close to the subject.
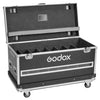
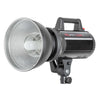
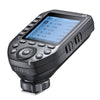
Flashes you can use are the CITI100PRO (AD100 Pro), PIKA200PRO (AD200 Pro), and CITI300PRO (AD300 Pro). A higher powered 400w or 600w flash is also widely used in commercial headshots, which gives you more flexibility on the power output if you are shooting in distance and group shoot
 |
 |
 |
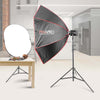
Diffusers and Reflectors
You need a diffuser for both continuous lights and flashes; otherwise, the intense burst of light will overexpose the subject. It looks unflattering and almost animated, which does not suit the office environment or overall theme of corporate portraits.
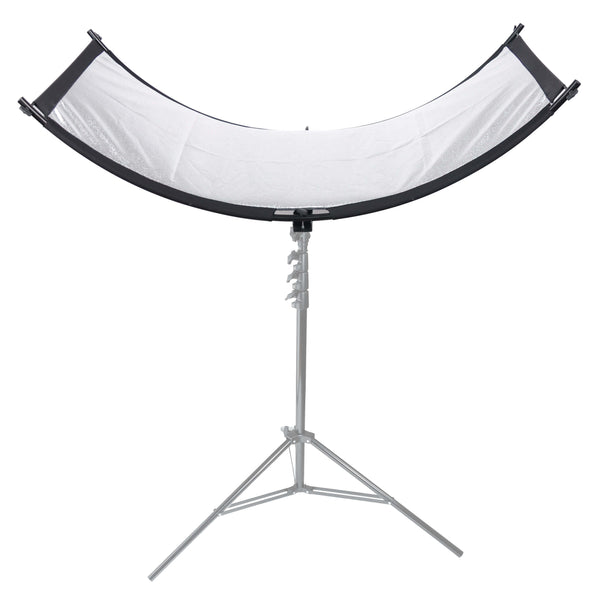
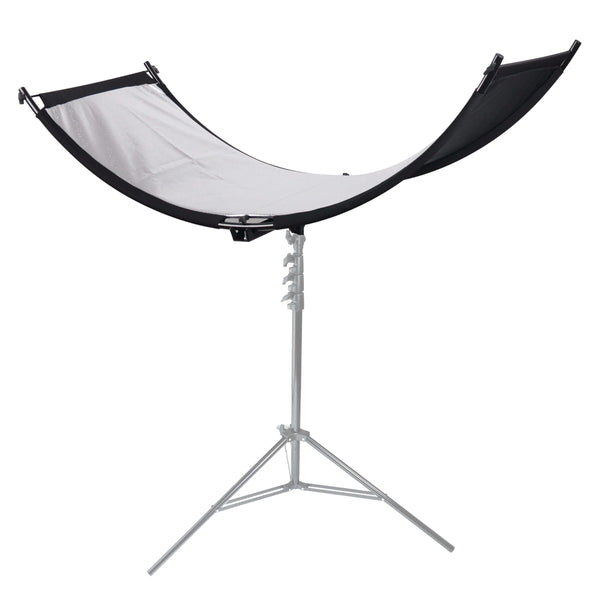
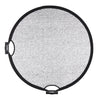
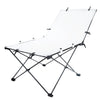
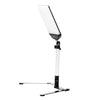
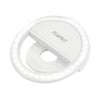
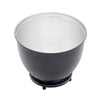
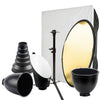
This is why light modifiers such as softboxes and umbrellas are crucial to managing the intensity and direction of your light. You can also set up a diffuser panel in the studio or location or simply take this Curve Reflector which is designed to bounce light back up onto the face of your client.
See Similar: How to Take Corporate Headshots - With Jon Segui
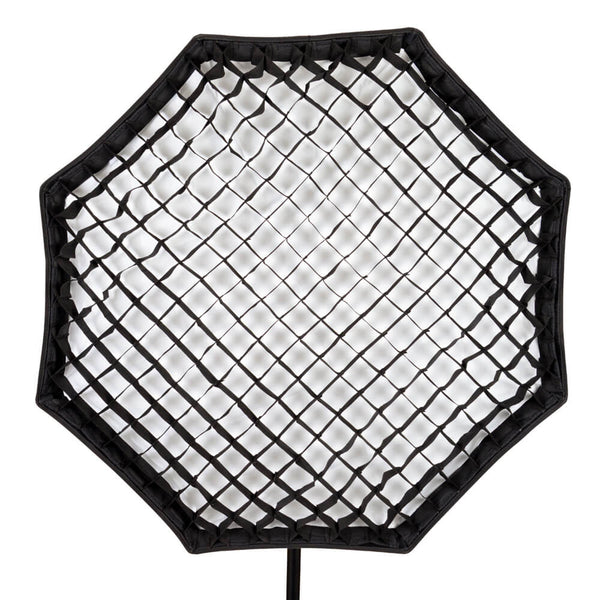
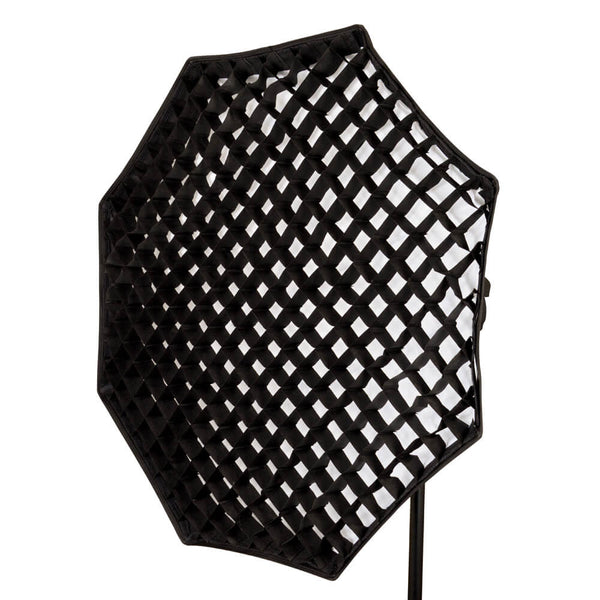
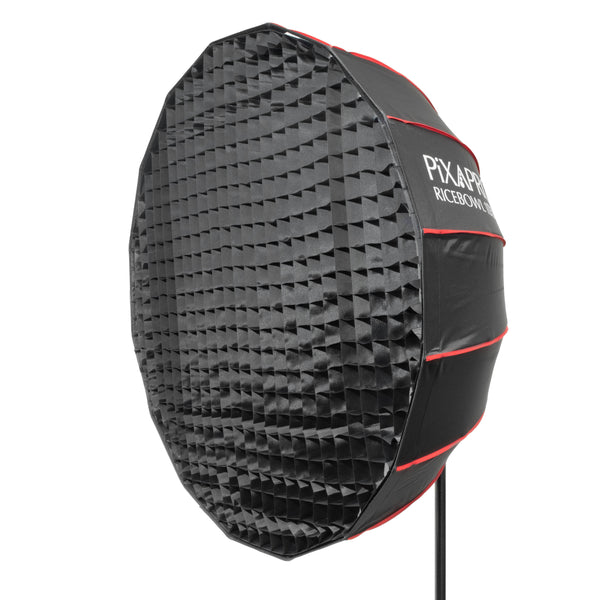
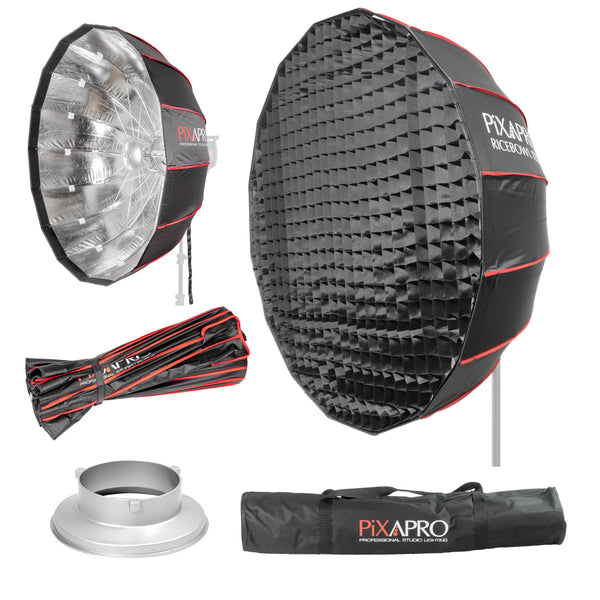
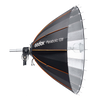
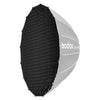
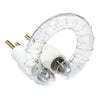
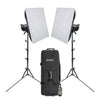
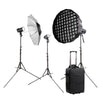
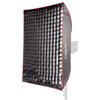
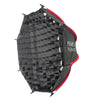
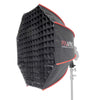
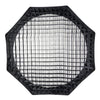
When it comes to business portraits, octagonal shaped diffusers are the most recommended, followed by square and rectangular ones. You can set up a softbox light setup by attaching your lights to the Octagonal Easy-open Umbrella Softbox or the Easy-Open Rice Bowl Parabolic Softbox.
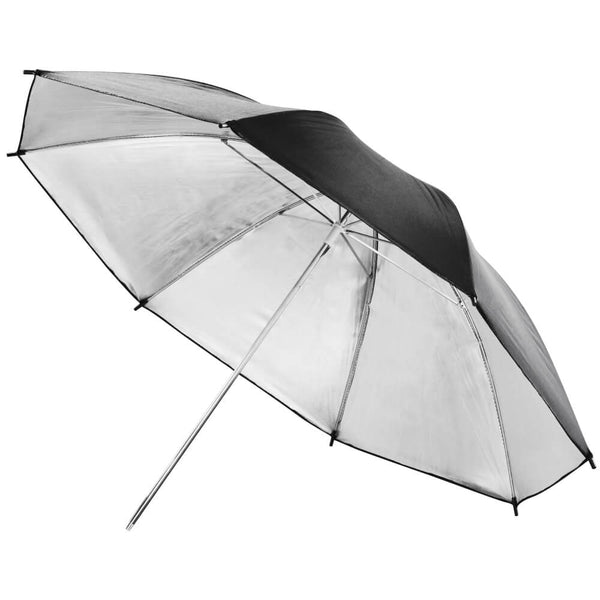
Other convenient options to soften the light or create a larger source are:
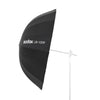
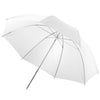
- The 40" Translucent White Umbrella
- And then there is the 40" Black/Silver Umbrella
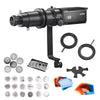
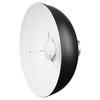
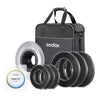
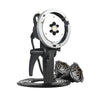
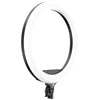
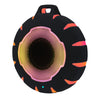
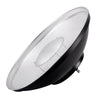
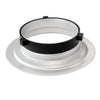
- The 100cm Collapsible Portable White Beauty Dish S-Type
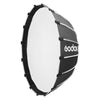
- The 130cm Parabolic Black/White Umbrella with Removeable Diffusion
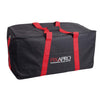
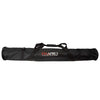
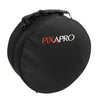
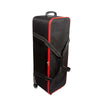
 |
 |
 |
 |
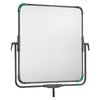
It makes sense that since you are working with too much light, you would need diffusers to soften them, but taking close-up shots means you will need to accentuate the facial features of your subject, so you have to balance diffusion with focused beams of light.
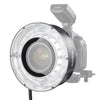
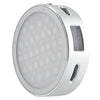
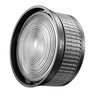
For this, you need reflectors that bounce light in the direction you select. This way, you can control the lighting within the setup and focus it on the subject. This will remove contrasts and shadows, giving a crisp and detailed picture highlighting what you think is necessary. We recommend the 5 in 1 portable reflector that comes in five different colours.
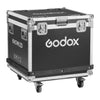
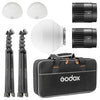
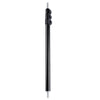
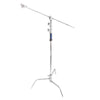
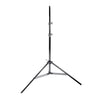
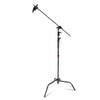
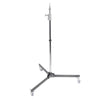
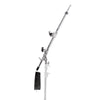
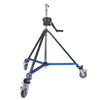
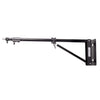
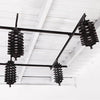
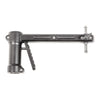
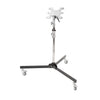
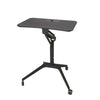
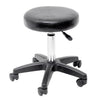
In addition to this basic equipment, there are other accessories that you will find useful when going for a business headshot shooting session. These include a sturdy and reliable tripod, a few Studio Light Stands, and possibly a colour corrector pack to use in front of your strobe to manipulate the temperature of the colour.
To learn more about the lighting products listed, check out our lighting section, or email us at info@essentialphoto.co.uk for recommendations on high-quality products that can help you improve your headshots.