


What is TTL and is it any good on the PIXAPRO CITI600 TTL? by Jake Hicks
In this article I aim to explain what TTL is, what is does and how it can be implemented into a photographic workflow. I also go on to share my test images from a recent shoot where I tested the TTL abilities of the PixaPro CITI600 TTL flash head. The test shots provided below show you exactly the strengths and the weaknesses of the function for a variety of situations.
TTL stands for 'Through The Lens' and it's a term used to describe exposure metering based on what your camera sees. In relation to TTL flash photography your camera will take a reading by firing a 'test' flash when you press the shutter, it will then decode that data received by that initial flash and then fire a second flash to capture your image at the correct power and exposure immediately afterwards. All this happens in a split second and you may not even notice the initial flash going off.
TTL has actually been around since the 80's and it was developed by Nikon in 1980 and later by Canon in 1987, since then is has become a fairly standard technology and the use of TTL is often seen being used on a wide variety of cameras with built in flashes. When these cameras are set to auto mode they'll often employ this technology which ensures a correctly exposed flash image nearly every single time regardless of the situation making it nearly essential for everyday compact cameras.
So if it's been around for so long, what's the big deal with TTL now?
Although TTL technology has been around for a long time, it's struggled with off-camera flash TTL and the exposures and looks that type of lighting produces. In recent times though TTL has seen a lot of advances and it's off-camera flash lighting has become incredibly consistent in this field which has opened up a world of uses that were previously very hard to rely on.
Imagine you're at a wedding taking pictures and the bride is walking down the aisle. As usual the venue is fairly dark so you need to light the scene with flash. Normally this would be fairy simple if the subject was stationary as you could dial in an exposure and quickly make any adjustments, nailing the exposure within one or two shots. But in this instance, your subject is walking towards you and you're flash. As she gets closer to the flash she'll get more and more over-exposed unless the flash power is turned down consistently with every frame. It's the job of TTL job to make these shot-by-shot exposure changes for you ensuring that every single shot you take is correctly exposed every time.
Now imagine the same scenario but you're in a different part of the room to your flash. The bride is still walking towards your flash but you can now move around after every frame as well. Combining this freedom of movement and consistently of exposure whether your flash is on or off your camera is what makes TTL such a creative and exciting tool.
How does TTL work?
Like I mentioned, TTL looks at the exposure of a scene based on that initial pre-flash and adjusts the power of the actual flash accordingly. All you need to do is set your camera up with the settings you want to achieve and the flash plus the camera will work together to always correctly expose the image within the parameters you've give them.
For example if you set your camera to manual mode at ISO 100, 1/125th second shutter speed and f5.6, the camera and flash will work together to adjust the power of the flash to correctly exposure the shot. Similarly though, if you have your camera set to ISO 1600, 1/4000th second shutter speed and f11 your flash and camera will work together to get a correctly exposed image. In fact if there was no ambient light affecting either of those shots, they would look exactly the same. Both would be correctly exposed.
Manually Overriding TTL
So if you can't adjust the normal camera settings in the camera to affect the exposure, are you left at the mercy of what the TTL metering considers correct? Well thankfully we can tweak our exposure a fair amount via the 'Exposure Compensation' function on our camera. Adjusting this up and down gives a decent amount of control either way and in some cameras as much as five stops over or five stops under, (10 stops in total) which is more than enough for most situations.
TTL Function on the Godox/PixaPro CITI600 TTL
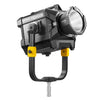
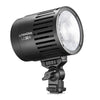
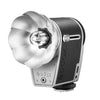
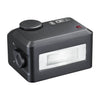
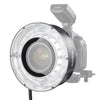
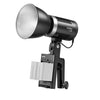
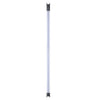
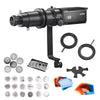
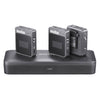
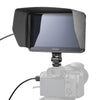
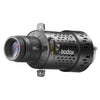
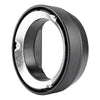
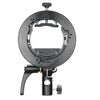
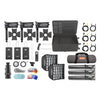
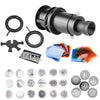
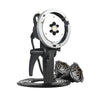
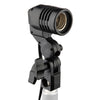
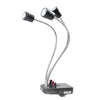
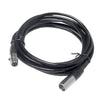
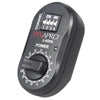
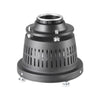
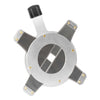
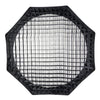
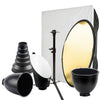
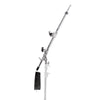
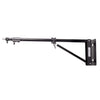
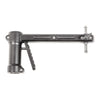
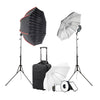
As a studio shooter myself I had never used TTL because I always had the time and ability to adjust my lights when needed, as a result I'd never needed the TTL function in the past. Recently though I picked the PixaPro CITI600 TTL head and I wanted to play with the remote head and a ring flash adapter. For those that don't know, the remote head is a cable that ingeniously plugs into where the flash bulb goes, you then move the flash bulb to the other end of the cable. This is essentially like having a flash on a cable that you can then connect modifiers too. This means that I can now handhold my flash and modifier whilst the bulk and weight of the power is either in a bag on my back or on a light stand.
So now that I'm handholding my flash and constantly moving around with it, I wanted to find a way to adjust the power of it quickly and easily to accommodate the movement. TTL was literally designed with this problem in mind so I wanted to see if firstly it would even work and secondly, what its limitations were.

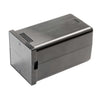
1. Power pack not in my hands. 2. Remote head (flash tube on a cable). 3. Handheld ring flash modifier.
For the TTL in this flash head to work, there are a couple of things you need to ensure are setup and in place before you begin.
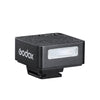
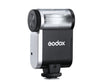
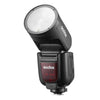
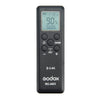
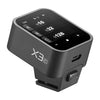
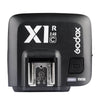
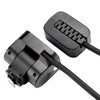
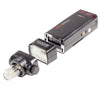
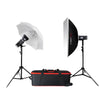
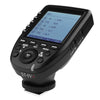
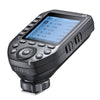
Firstly you'll need to make sure you have a flash trigger capable of firing the flash in TTL mode. The one I used here is the ST-III but there are other newer versions I think now too. It's worth bearing in mind that you'll likely need a trigger specific to your camera brand too. For example there is a Canon version and a Nikon version etc. If this is not correct, then somebody please let me know and I'll make an edit to reflect that.
Secondly you'll need to set your trigger to TTL mode. On mine I simply hit 'mode' until the trigger displayed TTL. Simple as that.

Step 1. Grab your trigger. Step 2. Set it to TTL. Congrats, you're done!
Lastly, (and this is more specific to Nikon shooters only as I dont think other camera users have to worry about this from what I've heard) we have to set our camera to enable High Speed Sync. I wont go into detail on HSS here but essentially TTL will work without adjusting this, but only on shutter speeds below 1/250th. If we want to use TTL on shutter speeds above 1/250th of second then it's worth making this quick and simple adjustment in the menu. To my knowledge there is no downside to having it enabled (probably why it's already standard on other cameras) so I recommend doing it and then leaving it set.

Click to enlarge Nikon Shooters 1. Go to the 'Custom Setting Menu'. 2. Select 'Bracketing Flash'. 3. Select 'Flash Sync Speed'. 4. Select one of the Auto FP modes. I selected '1/250 (Auto FP)' on mine.
Once you've done all that you're ready to use TTL flash and in all honesty, it was far simpler to set up and use than I thought it would be. Just set the trigger to TTL and you're off. That's my kind of feature :D
The Results
The resulting images below are from a series of tests that I did whilst using the Citi600 TTL with a Nikon D610 and a 24-70 f2.8 lens.
Test 1: Aperture control - White Background
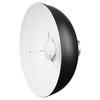
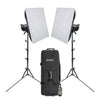
The test below was taken against a white wall with a simple 22" beauty dish on a stand. The light and the model did not move and the shutter speed and ISO was not adjusted. Here's the resulting images.


As expected the TTL keeps the exposure fairly consistent throughout the range of apertures. As you'll start to see throughout this test, TTL seems to struggle at the lower exposure values. For example the f2.8 shot always seemed underexposed no matter how many subsequent shots I took.
Test 2: Aperture control - Black Background
The test below was taken against a black sheet of velvet with a simple 22" beauty dish on a stand. The light and the model did not move and the shutter speed and ISO was not adjusted. Here's the resulting images.


Again the TTL keeps pace with the aperture adjustments but it did seem to fluctuate a little more in this setup compared to a white background. Take a look at f5.6 compared to the others. Again, f2.8 was a little under exposed.
Test 3: Exposure Compensation
The following test simply demonstrates how much the image exposure can be adjusted through the exposure compensation function on your camera

Exposure compensation usually appears on cameras in the form of a plus and minus symbol (+/-). Pressing this and adjusting the value is how you affect the exposure of the TTL flash.


The exposure compensation tool is pretty powerful. My camera goes to 5 stops over and under (10 stops in total) which is a significant amount of extra control when you consider how much just the two stops either way does here. The adjustments are made in 1/3 stops increments too so it gives you a lot of control between each stop if required.
It's worth noting that the actual flash head gives you this exposure control too. I tested it and it performs just like it does here. I cite it as less relevant though as exposure control on the head negates the need for TTL in the first place. If you can adjust exposure on the head then you probably don't need TTL but it's a good feature to have and not use over a feature you don't have but want.
Test 4: TTL and HSS
In this next test I adjusted the shutter speed in varying amounts to see how the TTL coped when being used in conjunction with High Speed Sync.
Same criteria again but this time against the black velvet. All images taken at f5.6, ISO 100.
The resulting images showed remarkable consistency throughout the shutter speed range and this test showed only minor deviation, consistent with the f-number black background test.


Test 5: Breaking TTL
Lastly I wanted to work out the limitations of TTL and after playing around with all the exposure evaluating functions on my camera I saw little to no difference. So I decided to heavily weight the darks and lights in a frame to see how TTL coped.


I tried adjusting how my camera coped with evaluating exposure to see if it had any bearing on the TTL but it didnt seem too. I tried point focus exposure and the broader area exposure controls but the same correctly exposed image resulted no matter the setting. In the above images however you can see that when composing your subject off to one side, there is a confusion as to what you're trying to photograph and TTL struggles to correctly expose the shot. It would seem that TTL is heavily influenced by exactly what is in the centre of frame. In the landscape dark background shot you can see the TTL clearly trying to expose for the background in centre frame behind the model.
This scenario of a very dark background off centre like this is certainly worth bearing in mind if you're planning on using TTL in dark room but want to recompose your shot to accommodate the rule of thirds for example.
Test 6: Run & Gun
Lastly I wanted to test the original use that I had in mind for TTL and that was to get the flash away from the camera, in my hand and move around with it and shoot a few frames in a 'run & gun' scenario.

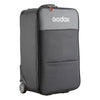
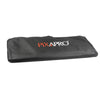
I had the CITI600 TTL in an old camera bag over my shoulder, the remote head with modifier in one hand and the camera in the other hand. Thanks to the model Jaye for getting kitted-out for this shot :D
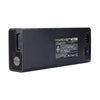
I had the remote flash head attached to the flash head and I had the battery pack and flash head in a camera bag over my shoulder. I was holding the flash and modifier in one hand and the camera in the other as I tested different positions and distances.
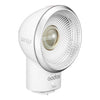
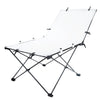
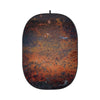
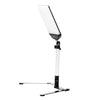
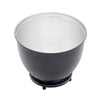
Handheld Beauty Dish
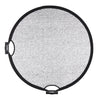
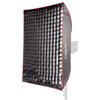
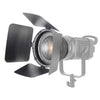
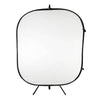
The first test saw me try out a hand held collapsable beauty dish which is very light and easily holdable in one hand.


No big surprises here and no matter the distance or angle the TTL worked as expected. It is noticeable to see it struggle a little close-up though and that may be due to the flash simply not being able to lower its power any further.
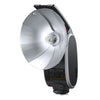
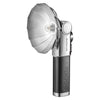
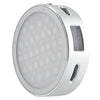
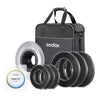
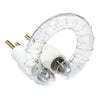
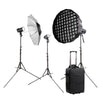
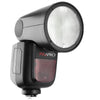
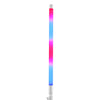
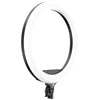
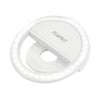
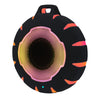
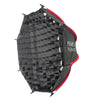
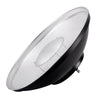
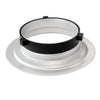
Handheld RingFlash Adapter
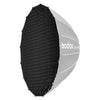
The next test saw me shooting through a ring flash adapter. It's called an adapter as it doesn't have its own bulb, it simply redirects the light around itself on the inside. The benefit of this is that it's incredibly light and easy to hold in one hand whilst I shoot with the camera in the other hand.


Again, TTL delivered admirable results and as to be expected. Once more though, it struggled up close leaving me to assume that this was the lowest power the flash would fire at. If I was to employ this lighting again I would either raise my aperture or my shutter speed so that the flash had more range to lower its power output.
Final Verdict
Pros:
I think overall that TTL is an exciting feature that has a lot of potential uses. As a studio shooter I'm not going to be using TTL all the time but I do think that the addition of the remote head and lightweight modifiers like the ring flash opens up a lot of new creative opportunities for me. I could see this remote head feature being used on location a lot. For example, this would be an amazing way of shooting some fashion images in a busy city. You could easily follow a model and shoot with a hand held beauty dish in one hand and a camera in the other. This could create some fantastic results and it would only need yourself to achieve them, no team of assistants to hold and manage lighting. This run & gun style of shooting could easily produce some excellent projects and I'd certain be interested in playing with this feature further.
Limitations:
Although I was surprised at how consistent TTL was there are a few areas to be mindful of. Firstly, you need to remember that TTL is only as good as your camera. I was shooting these on an old Nikon D610 but your camera may not produce the same results. I had mentioned I was running these TTL tests online and I received a few comments from people saying that their experience with TTL produced wildly varying results. One issue being that the pre-flash was so slow that their model constantly had their eyes closed in the resulting images. There are going to mixed results based on your system but for me personally, I had none of these issues present themselves thankfully.
Maybe it was just my system but everything I shot at f2.8 was underexposed slightly and I'm not sure why. It could even be as simple as the lens at f2.8 being inconsistent so I would need to test it with other lenses to be sure.
Also I noticed that the TTL struggled when I (and the flash) was quite close to the subject. I think this was simply down to the fact that the flash couldn't turn its power down any lower with the settings I had in place. In the future I'll try to choose a higher shutter speed or aperture to counteract this problem.
The final area to be mindful of is when your background is very dark and you have your subject away from the centre of frame. In my tests it seemed that no matter what I did, TTL was heavily weighted to correctly exposing the centre area of frame. If your subject is to the left or right of that and the centre is very dark, you may experience over exposing issues.
Overall:
TTL has came a long way indeed and I think it offers up new creative possibilities that simply weren't viable before. Sure there are a few fluctuations in exposure but I would consider them minimal and there was very few instances where the resulting image was not usable after a little tweak in post production. I'm certainly looking forward to playing with this TTL functionality further.


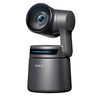
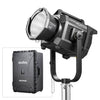
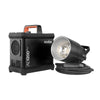
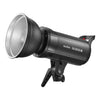
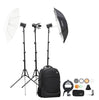
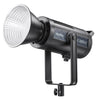
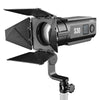
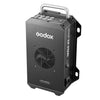
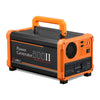
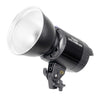
PixaPro Citi 600TTL
If youre interested in checking out the products I spoke about in this article then the PixaPro (Godox) CITI600 TTL is available here in the U.K. from Essential Photo.
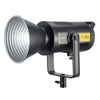
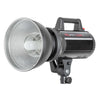
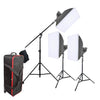
There are several PixaPro heads available but the one used in my test was the CITI600 TTL.
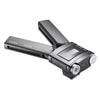
This is one of the triggers that is compatible with the CITI600 TTL and it's the PixaPro ST-III TTL-T
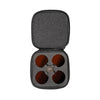
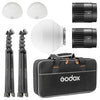
I also used the Remote Head in conjunction with these too.
Money Off
Essential Photo have given me a discount code to share with you guys too!
If you use HICK5-OFF (that S is actually the number five) at checkout then you'll also get an additional 5% off that sale price too :) That code works on anything on their site too :D

Credit: Jake Hicks Website: http://jakehicksphotography.com/latest/2017/11/13/what-is-ttl-and-is-it-any-good-on-the-godoxpixapro-citi-600ttl
For further information regarding the CITI600 TTL, please click Here
