


Top Tips for Photographing Dance On Location by Anthony Dawson
Dance Photography is a mixture of highly creative, emotive, and technically correct photography.
It’s a niche where a technical knowledge is beneficial (though reference images always help with communication barriers), and there’s a clear difference between images taken for audition and those taken for creativity's sake.
My personal work airs on the latter, and is predominantly carried out on location.
 |
 |
There are a lot of differing scenarios depending on where you go, equipment weight, wind shear, moving/transport, stability and safety, but today I will cover some of the basics in equipment, and where sacrifices are made and why.
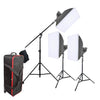
The Featured Shoot
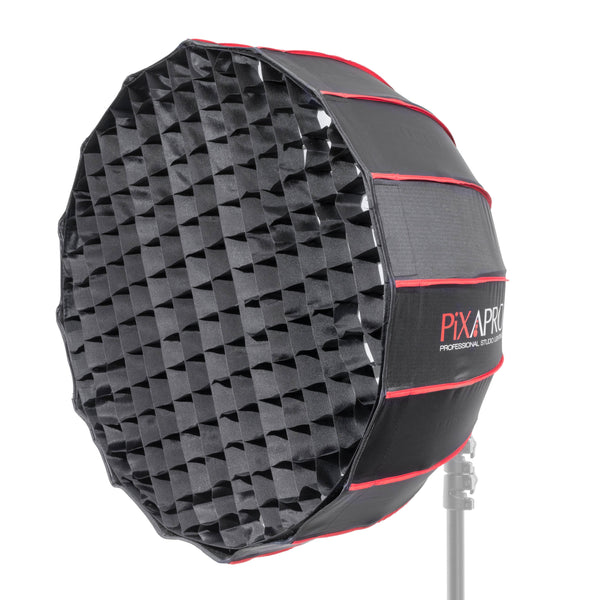
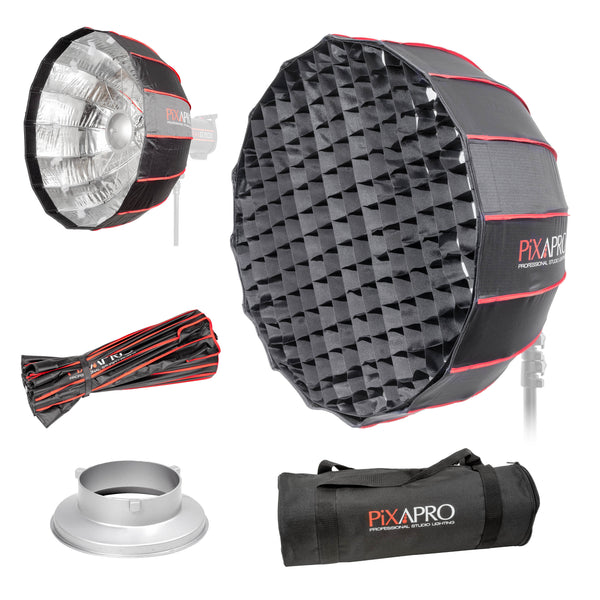
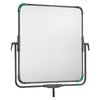
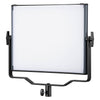
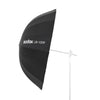
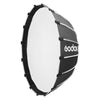
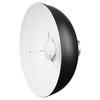
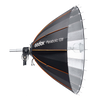
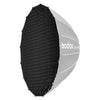
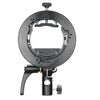
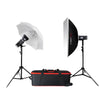
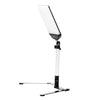
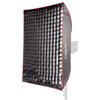
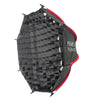
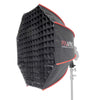
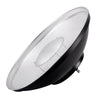
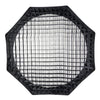
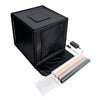
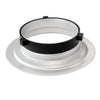
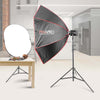
With this shoot I used the 65cm Easy Open Rice Bowl Softbox because the space was more confined, but at the same time I didn’t want a huge light spread, instead keeping focus on the dancer while still maintaining some of the ambient light and atmosphere.
We had to promptly dart indoors on location (thankfully some places have this option) because the weather turned and the wind became too strong for light stands to be safely held by weights or by person- the joys of shooting between 3 major storms of 2022.

The Elements
The weather may well be the biggest issue you can face as you can see by this shoot. In general, this is where I have focused more on looking for weather proofing, lightness of modifiers, and stabilising rigs.
If working solo, which many of us do, this is where the pointe of the balancing act comes in (pun intended). But sometimes you just have to dive for cover.
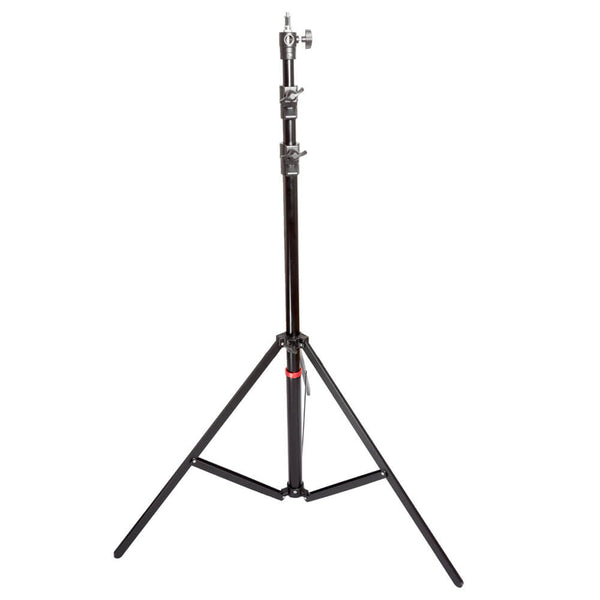
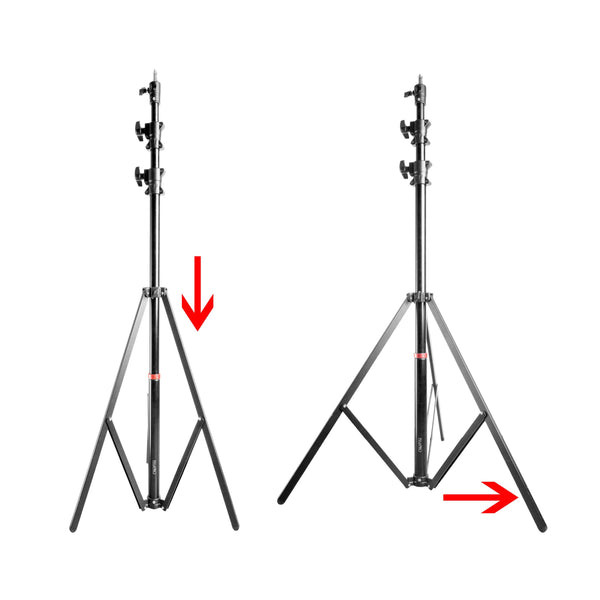
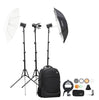
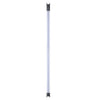
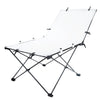
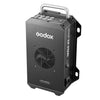
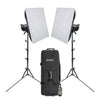
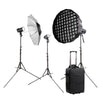
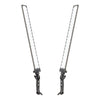
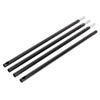
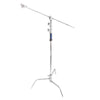
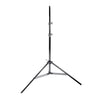
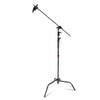
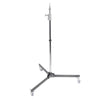
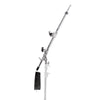
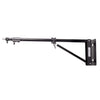
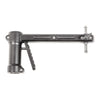
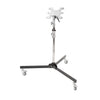
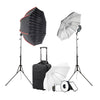
Stands
For me, my main go to stands are the 300cm Retractable Light Stands which do well for most situations. They are heavy, there’s no denying that, when carrying them around. But in terms of speed, being able to pack up and move between shots and locations, they’re hard to beat.

The fact that they collapse means you can throw one over your shoulder and move to the next location or setup, with light and modifier still attached.
And with dance, I find the additional height allows for me to place the lights at a greater distance, as well as allowing more control of the angle of light with actions like jumps.
Their only downside is they are not always suitable to uneven ground, but are so solid I have pushed a leg into soil/sand many times making them practically unmovable.
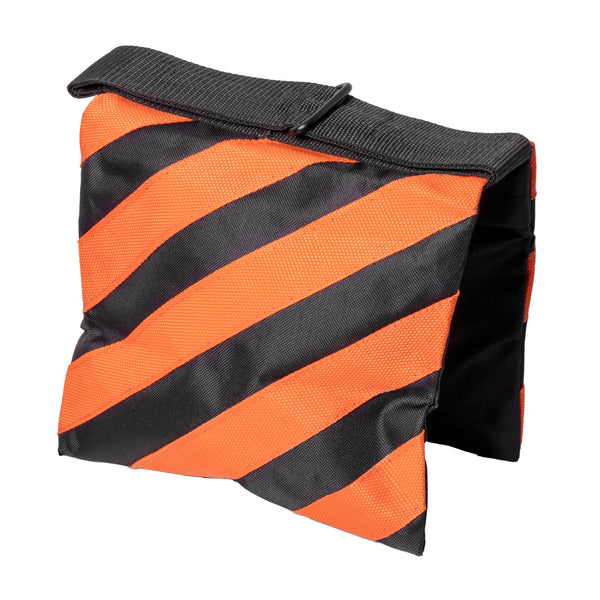
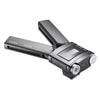
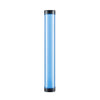
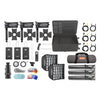
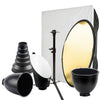
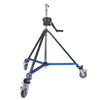
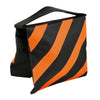
Sand Bags
If I am going somewhere unsheltered, I always have a pair of the EssentialPhoto Sandbags. They keep the stands anchored in stronger winds and on uneven surfaces, and generally, even when intense wind manages to occasionally sway the stands to tipping point, they weigh it down enough to allow enough time to react and catch it.
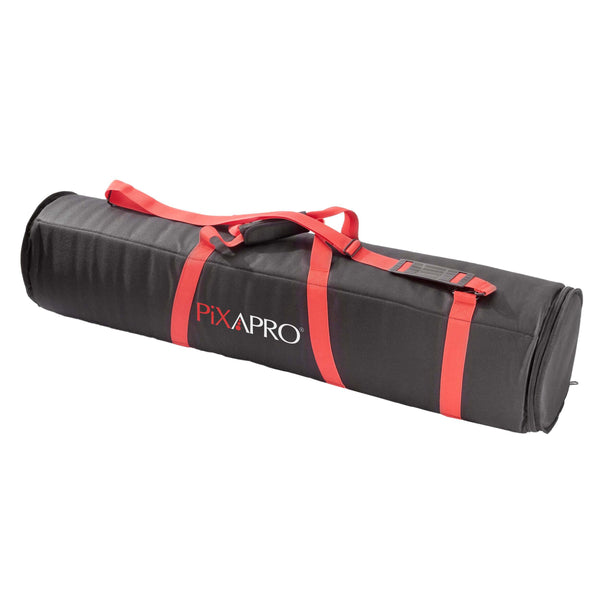
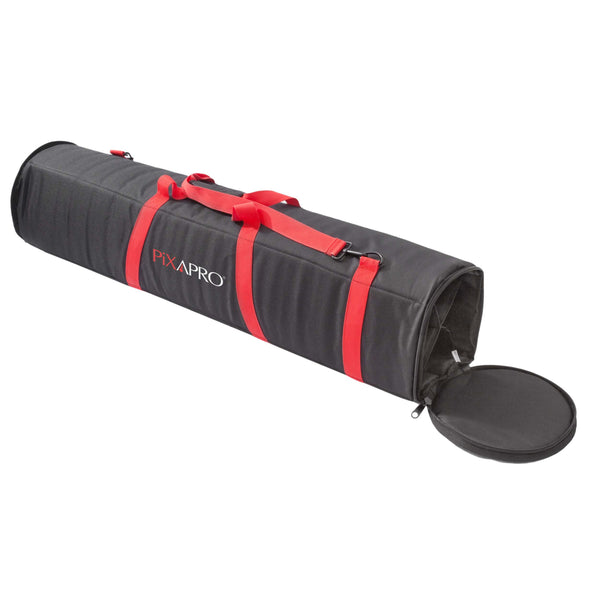
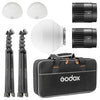
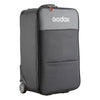
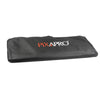
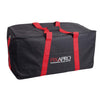
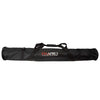
Carry Bags
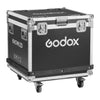
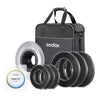
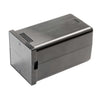
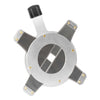
I also use the Padded Stand Bags to carry this kit around, which is available in 80cm or 120cm, which I use, which makes life a lot easier and the padding stops the stabbing pains to the side of my leg walking to and from the car to locations.
The 120cm Bag that I use actually holds two 120cm stands, 4 shorter stands, and a background pole too.
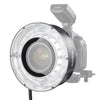
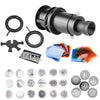
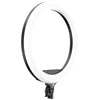
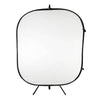
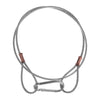
Modifiers
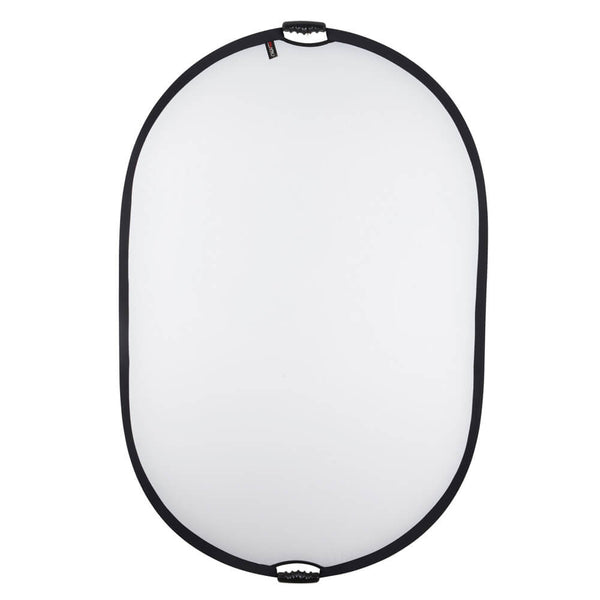
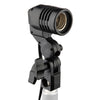
Because you are photographing movement, you need a bit of space between the subject and light so it stays out of shot and so that your dancer won't hit the equipment, but you also want the light to be feathered to avoid any overly harsh shadows being cast by the placement of arms and legs where it intercedes with the light source.

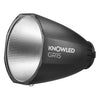
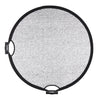
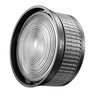
To aid this, the best modifier is a reflector, such as the 5-in-1 Collapsible Reflector which can really project the light. This saves light waste and this is important for a good reason. You want to keep the flash duration as short as possible. Never going above ½ power on your units as a general rule of thumb.
You can use High Speed Sync but I have always had mixed results and found the batteries life on the shoot also suffers.
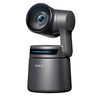
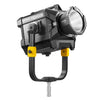
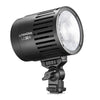
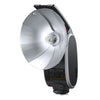
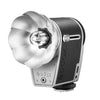
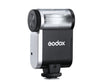
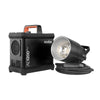
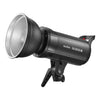
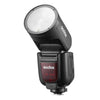
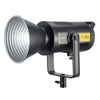
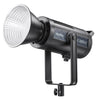
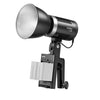
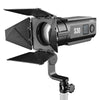
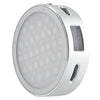
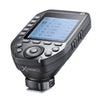
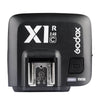
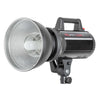
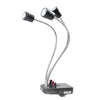
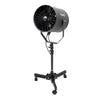
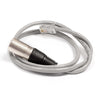
Lighting
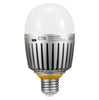
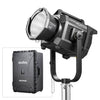
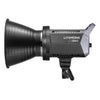
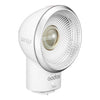
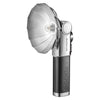
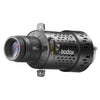
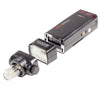
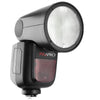
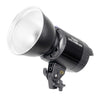
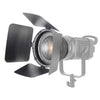
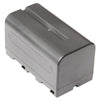
For this I go for lightweight and weather proof as often as possible, featured here in the form of my old, battered yet trustworthy AD360 (now discontinued) commonly as the main light (the predecessor to the newer CITI400/AD400), and Li-ION 580 MKII’s as my back light or other accent lights.
This might seem a little odd when there are larger units, but a few points I take into consideration with these choices are:
-
Weather Proofing:
Good weather is not always guaranteed so you want them to hold their own long enough till you can get them under cover, or keep shooting! If that’s the look you’re going for. -
Metronome effect:
Basically limiting the weight at height limits any swaying effect and lowers the risk of being blown over. -
Consider the people around you:
When looking for and shooting at unique locations, you’re going to find foot traffic. You have to consider limiting the risk of someone getting hurt. Less weight = less trouble.

There are times when you might need something more powerful (though the 360 is close to 400 so not far off). But this is normally only necessary when shooting in direct midday sunlight, but I find with 360w or 400w you can get by comfortably doing shots backlit, if you don’t mind a harder image.
If the weather is particularly gust prone (as it is in Scotland), this is where multiple smaller lights comes in. You can shoot a few units bare bulb and feather the light, using clamps and arms to space them if the wind is strong. You might get a slight crossing of shadows compared to using a large modifier, but we’re here to get the shot rather than not at all.

I hope these tips have been of benefit to understand my choices and working practices in terms of considering health and safety and the elements when working outside of a studio, and I wish all budding dance photographers the best in their endeavours!
-Anthony Dawson.
Find more of Anthony's work at Instagram @anthonydawsonphotography or his website.
For more information about any of the equipment recommended in this blog, please get in touch with our team at info@essentialphoto.co.uk to speak to our Product Advisor.