


Shooting the Cosplayers on Location


Location / Corporate / Portrait Kit
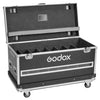
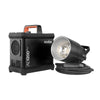
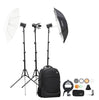
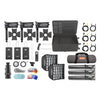
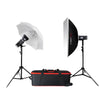
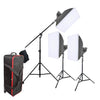
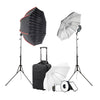
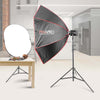
I call this my “One Stop Kit set-up”:


I can pretty much cover all of my location shoots with the kit in this case. I am able to use it for Studio based portraits, Prom and Graduation Night Balls, Corporate Head shots on location, Location shoots for both Private clients and Model based shoot and Product photography. I have covered weddings using this kit, lighting the main dance floor, the Bride and Groom shots outside and larger group shots, balancing the lights with the available ambient light.
The set-up is easy to transport in a single case or rucksack, combined with a few Nanopole stands and modifiers, this is easily carried on public transport to jobs, perfect for inner city shoots where you do not need to pay excessive amounts for parking and any city entry charges all important factors to maintain your profit stream.
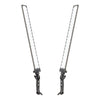
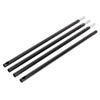
The Nanopoles, I had a separate studio set up in this warehouse space on the day using most of my nanopoles, so you will only see one in the BTS images.
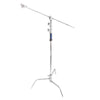
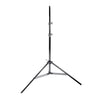
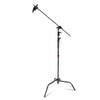
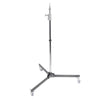
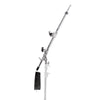
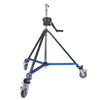
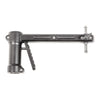
Nanopole for the CITI400 PRO would usually be the Heavy Duty Portable Foldable Nanopole Light Stand which will take up to 4kg in weight and the smaller 190cm Portable Light Weight Foldable Nanopole Light Stand for the rear or fill lights which will take up to 3kg in weight.
I will show a few different images with the lights in use, either all of them or a combination from the kit as listed, modifiers etc will vary dependant on the job and requirements and they are carried separately along with the stands.
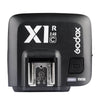
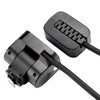
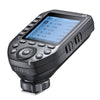
I should say, I always carry 2 triggers for the small initial investment. I feel it’s always better to carry a spare just in case, I have never had a trigger fail on me and of course I could always pop the Speedlite on-camera, point it directly up then set all the lights to SLAVE mode and trigger the lights that way if I did have a failure.
First set up is:
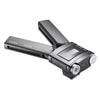
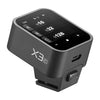
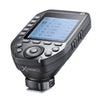
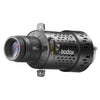
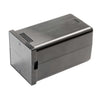
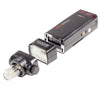
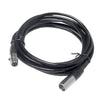
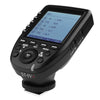
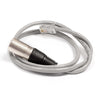
- ST-IV Trigger
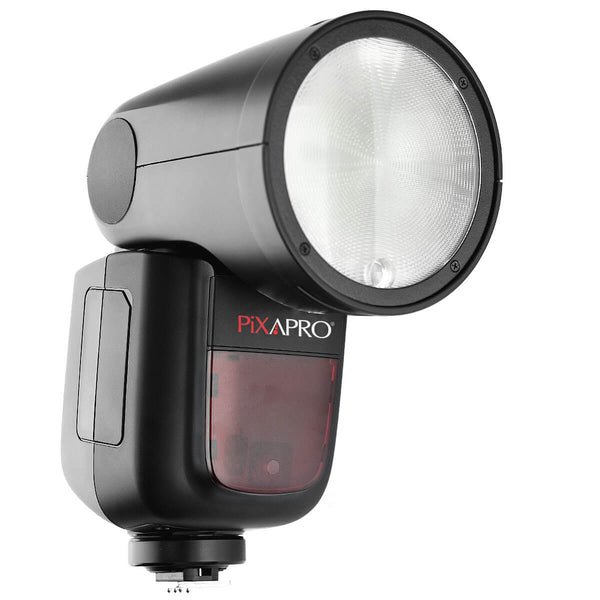
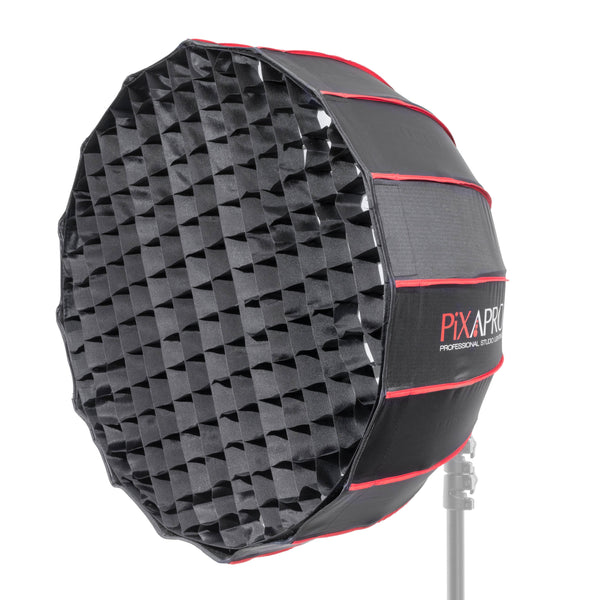
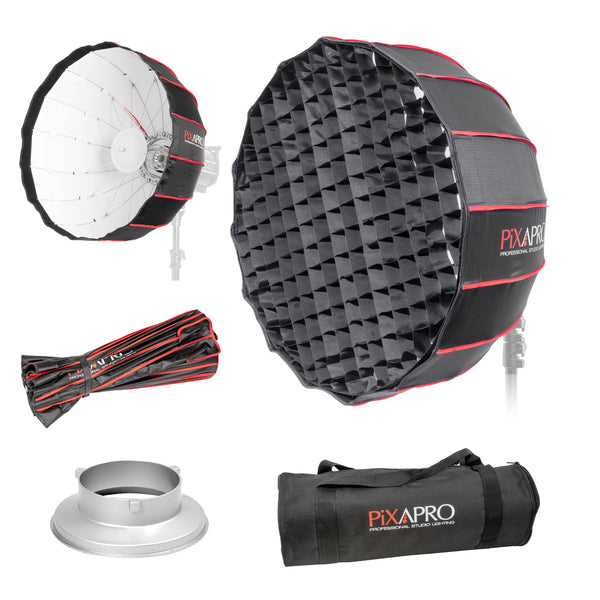
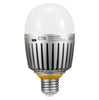
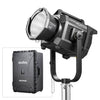
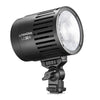
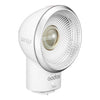
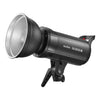
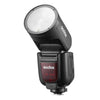
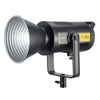
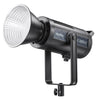
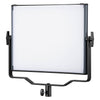
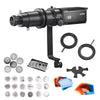
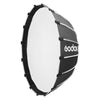
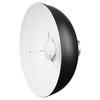
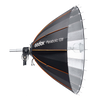
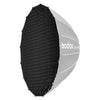
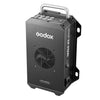
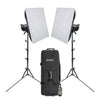
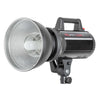
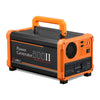
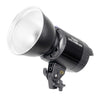
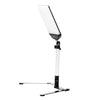
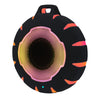
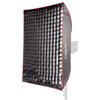
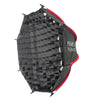
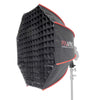
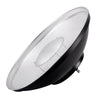
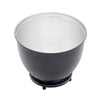
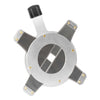
- CITI400 PRO combined with the 65cm (25.5") 16-Sided Easy-Open Rice Bowl Parabolic Softbox
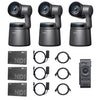
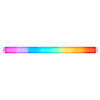
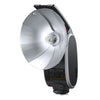
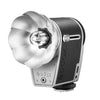
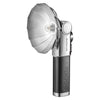
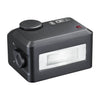
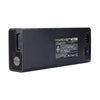
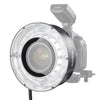
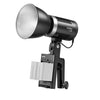
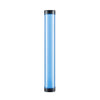
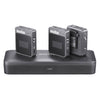
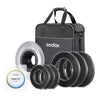
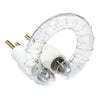
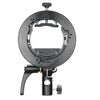
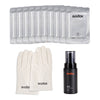
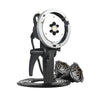
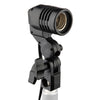
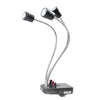
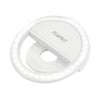
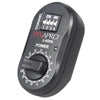
- 2x PIKA200 Units, held in the SMART Speedlite Adapter Bracket
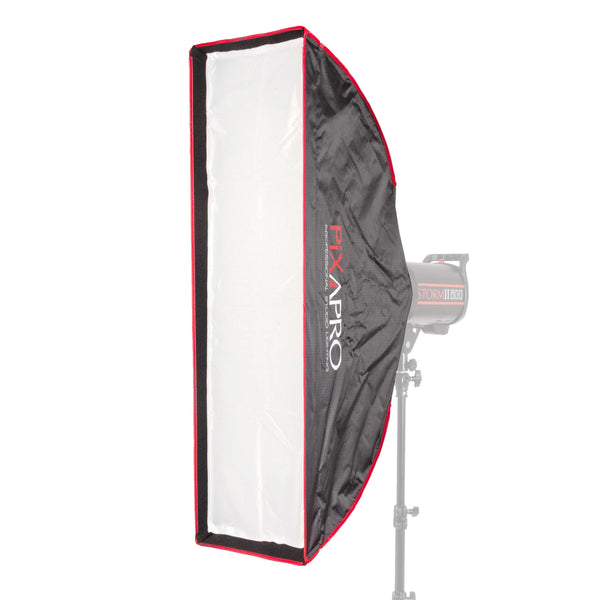
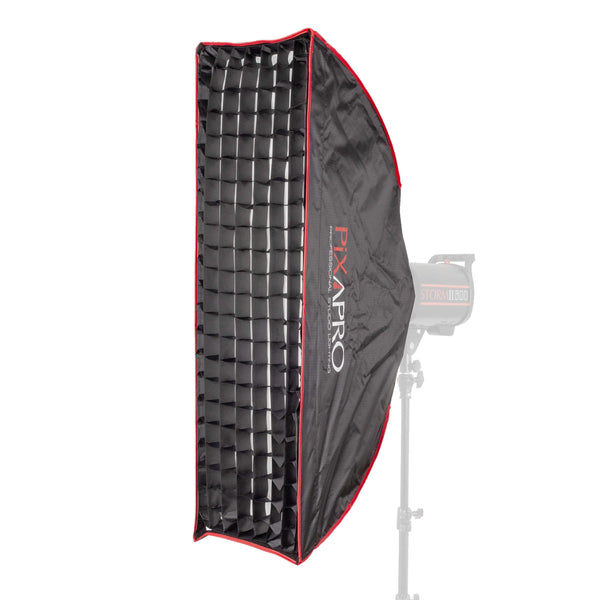
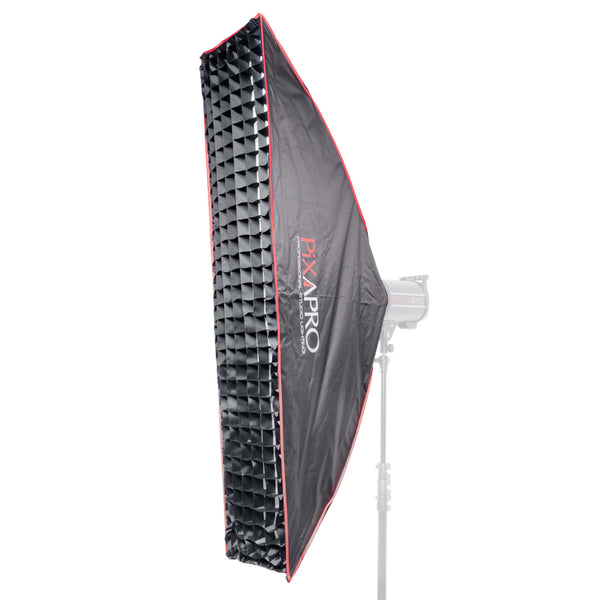
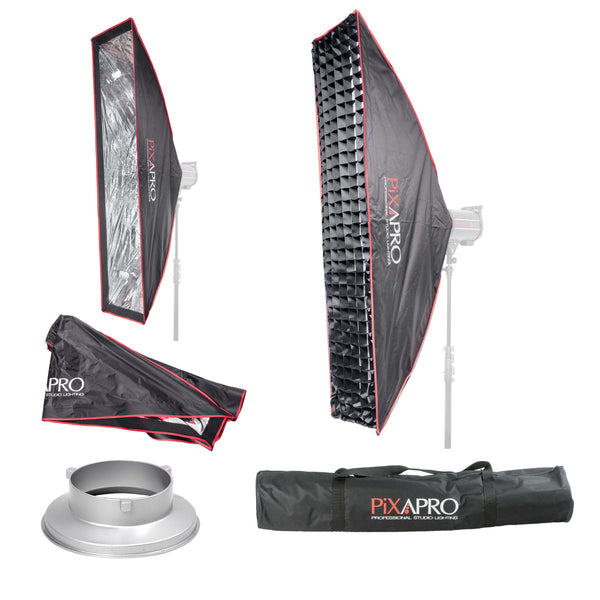
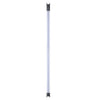
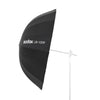
- 30x90cm (11.8"x35.4") Easy-open Strip Umbrella Softbox (Please Note, these are different than in the image as the design has been updated)
- 30x140cm (11.8"x55.1") Easy-open Strip Umbrella Softbox (Please Note, these are different than in the image as the design has been updated)
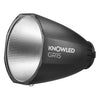
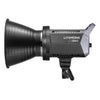
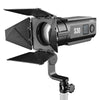
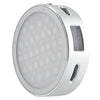
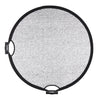
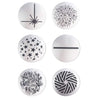
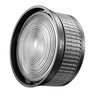
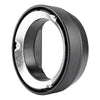
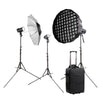
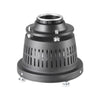
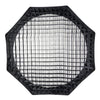
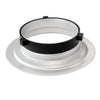
- 55° Reflector with 4x Honeycomb Grid
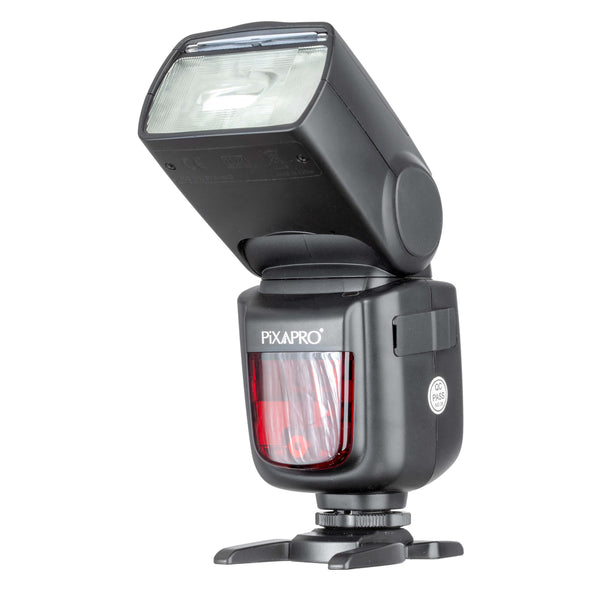
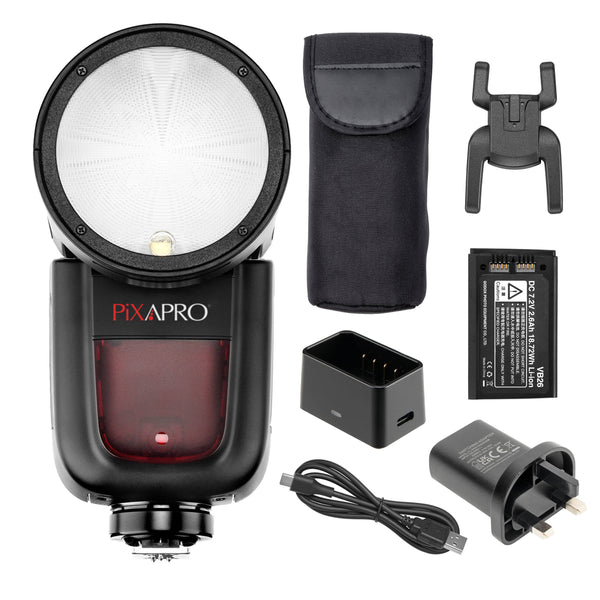
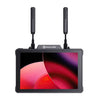
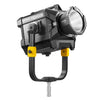
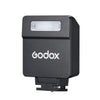
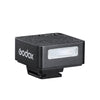
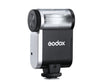
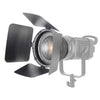
Speedlite is packed in the case for any off-the-cuff on-camera flash images I may need to do at a job (It is used on the 2nd setup) and it will of course work with the rest of the lights and can be controlled by the trigger.
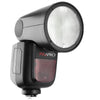
(Also available as an upgrade option would be the GIO1 Round-Head TTL Speedlite)
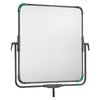
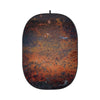
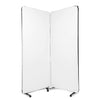
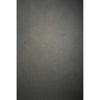
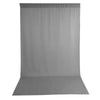
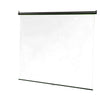
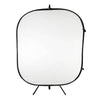
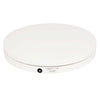
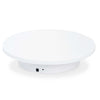
- Backdrop is the 2x2.3m Blue/Grey Collapsible Background, Stand & Clamp Kit (Also available in smaller version PiXAPRO Collapsible 1.5x2m Dual Side Background Board)


These backdrops have proven to be extremely reliable over the number of years I have used them. They can easily be stood against a wall etc as they do not sag whilst free standing.
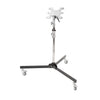
You can see one of the Small nanopoles on the right of the image below for comparison against a standard studio stand on the left.


During the shoot, I did shoot against the roller shutter door without the backdrop, but the Grey allows me to add a texture with a few clicks in Photoshop using blending mode.
Once the lights are set up, it’s easy to place within the studio area multiple subjects. So, the two strip lights each side are used to isolate the model from the backdrop.
Image below is shown straight out of camera. (Please note, I did use a smoke machine during the shoot)


All Model Images shown from now on are edited. Into to Lightroom for editing then onto Photoshop for a quick background texture.


Next subject into studio area. Back to camera, no change in lighting position.
Catwoman


Power Setting wise
Set up 1:
The CITI400 PRO was just over 1 / 8th power
The rear 2x PIKA200 units were running at 1 / 2 power
Set up 2:
Power wise, the lights would have all been at various powers and changed on the fly during the shoot, this is one of the main areas where the Pixapro range of lights combined with the PRO triggers works seamlessly.
Full BTS image


I bought out the Speedlite, this can be seen at the right rear of the BTS image, combined and used with a standard reflector and another Smart Bracket.
This gives me a 4-light set up, with a couple of people assisting in light placement, one aiming the PIKA200s directly at the model from the jeep cab, the rest again being used to rim light the model and the grey backdrop again for easy subject removal in Photoshop.
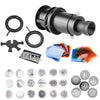
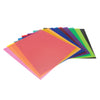
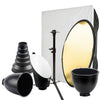
The PIKA200 Standard Reflector, Honeycomb Grid with Colour Gel Filter Set, which contains a Grid plus Coloured Gel inserts. (Please note these are NOT Colour Corrective, ie CTO, they are to add a colour to your images if you wish.)


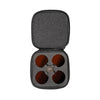
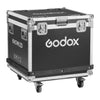
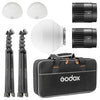
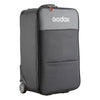
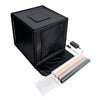
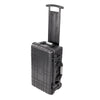
- Waterproof Tough Rolling Case (Please note, I have replaced the internal foam in the image I have shown above)
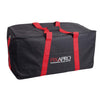
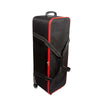
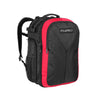
- Padded Lighting Backpack, with multiple storage areas both internally and externally
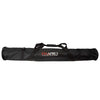
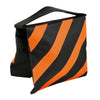
- My Light stand case is the 120cm Quad Stand Caddy Bag