


How To Photograph Shiny Equipment & Reflective Surfaces
Why Is Photographing Shiny Equipment So Challenging?
Shiny metal items like chrome taps, stainless steel handles and polished hinges may be visually appealing, but they often reflect everything, including your camera, lights and even yourself. Their mirror-like surface makes it extremely difficult to capture clean product images, and if you’re selling these types of products online, poor images can seriously hurt your sales and negatively affect your company's reputation. The good news? With the right equipment and some quick changes, you can get stunning results at home or in a small studio.

Common Problems & How You Can Fix Them
Reflective surfaces often introduce a unique set problems. Harsh reflections can dominate the image, glare can (literally) outshine details and shadows can also cause distractions and hide important details. Fixing these issues is simple: try using soft, diffused lighting from LED panels. You'll be able to hide you camera by using diffusion screens or shooting inside a lighting tent. When it comes to more complex issues like glare, try changing your lighting angle or even adding filters. To get rid of dark shadows, use fill cards (white bounce) or lighting reflectors to distribute and maintain lighting evenly, across your subject.

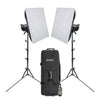
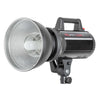
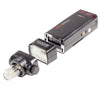
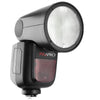
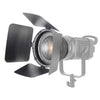
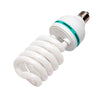
Using Soft, Diffused LED Lighting
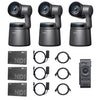
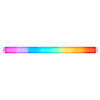
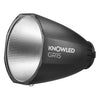
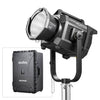
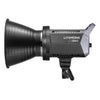
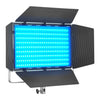
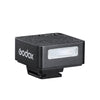
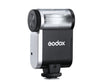
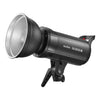
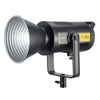
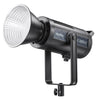
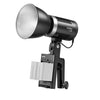
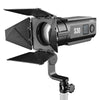
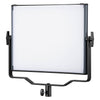
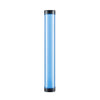
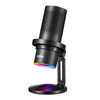
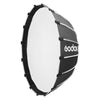
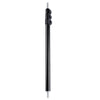
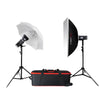
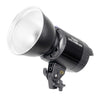
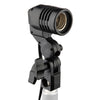
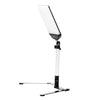
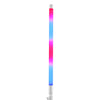
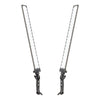
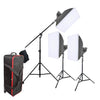
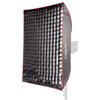
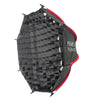
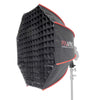
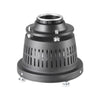
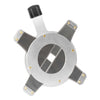
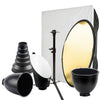
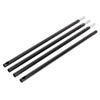
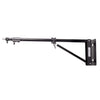
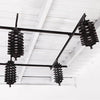
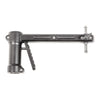
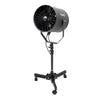
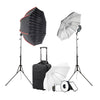
Lighting is everything in product photography, especially when dealing with shiny surfaces. Large, diffused LED lights provide the soft illumination needed to reduce harsh reflections and glare. Products like the Godox LDX100R panels offer flicker-free, colour-accurate lighting, perfect for reflective hardware. For more targeted or creative lighting, the Godox TL30 RGB LED tube lights are great for long items like handles or taps, and they allow you to add controlled edge lighting for definition.

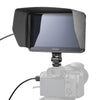
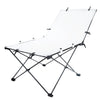
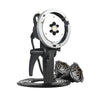
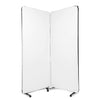
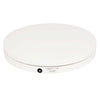
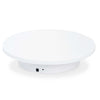
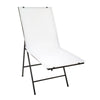
Set Up a Seamless Background With a Shooting Table
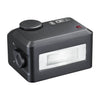
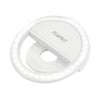
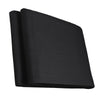
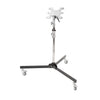
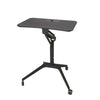
Distracting backgrounds can ruin product shots, especially when photographing small items. A foldable shooting table like the Godox FPT-01 provides a seamless white surface that keeps all the focus on your product. It’s a simple way to elevate the professionalism of your images without investing in a full studio setup.

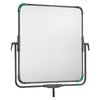
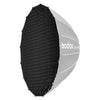
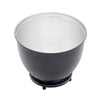
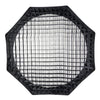
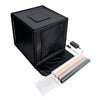
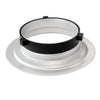
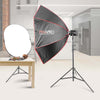
Control Reflections With a Light Tent
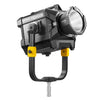
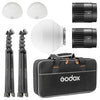
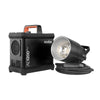
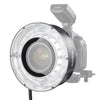
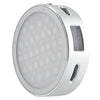
A light tent is one of the best tools you can use when photographing chrome or any other reflective finishes. It surrounds the product with diffused light and hides reflections from the environment. The PIXAPRO 70x70cm Foldable LED Light Tent includes built-in LED panels and is ideal for items like door handles, tap fittings and other small hardware. It can help you get consistent results without constantly readjusting your lighting angles.

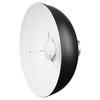
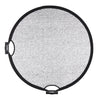
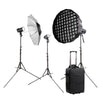
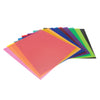
Add Reflectors & Fill Cards for Depth
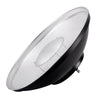
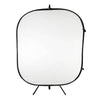
To control the overall contrast and depth of your image, you can use simple white or black cards. White cards (sometimes called "white bounce") reflect light and help fill in any dark shadows, while black cards (also called “negative fill”) block light and add soft shadows, which helps your product look more three-dimensional. For chrome products, placing black cards in the right spots can help show the edges more clearly and make reflections look better.

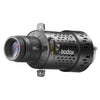
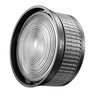
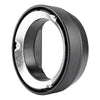
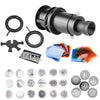
Polarising Filters: A Small Tool with a Big Impact
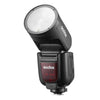
If you’re using a DSLR or mirrorless camera, a circular polarising filter is a powerful tool. It helps reduce unwanted glare and reflections, especially on curved or highly polished surfaces. By rotating the filter, you can control how much reflection is visible and eliminate distracting hotspots, without needing to move your lights.
Pro-Level Tips for Reflective Product Photography
Once your setup is in place, here are some tips in mind:
- Angle your lights at 45°, never directly head-on, to reduce lens flare and glare.
- Use longer lenses (50–85mm) to stay out of the product’s reflection.
- Disguise your camera with white card to help it blend into the light tent environment.
- Add light into hollow areas (like the inside of a tap) to maintain consistent exposure.
- Manually set your white balance to capture true metal tones without a blue or yellow cast.
- Slightly underexpose your shot to preserve highlight detail, you can brighten it in post-production without losing quality.

Post-Processing for a Professional Finish
Once you've captured your shots, take them to the next level with some basic editing. Tools like Adobe Lightroom or Capture One can help you:
- Remove dust or blemishes
- Fine-tune white balance and exposure
- Sharpen edges and improve clarity
- Crop consistently across your product range
These edits don’t need to be extensive, just enough to make your product images clean and consistent.
Shiny Fabrics
When it comes to shooting shiny fabrics and clothing, there are some simple techniques and equipment you can use to get closer to your desired effect. Jason Vaughan is back on our EssentialPhoto & PiXAPRO YouTube Channel, in a quick 4 minute video to show you what equipment you should use to effectively shoot shiny fabrics and surfaces, here.

