


Hair and Rim Lighting: A Beginner's Guide
When it comes to photography, lighting is one of the most crucial elements to consider for your images. Two specific and similar lighting techniques that can greatly enhance your photos are hair lighting and rim lighting. But what exactly are they, why are they so important, and how can you achieve them yourself?
What is Hair Lighting?Hair lighting is a technique where a light source is positioned behind and pointing towards your subject's head, often at a raised angle to create a subtle glow around the edges of the hair. Hair lighting in particular has the benefit of offering a halo effect, which can be utilised for specific moods and themes, or even just used in more subtle silhouetting. |
What is Rim Lighting?Rim lighting is the same concept on a larger scale, with the light source placed more centrally to allow the extended silhouette of your subject to be illuminated. This can be from one side or directly behind. This encompasses the concept of hair lighting and is the broader term for both techniques. Rim lighting can also be called "edge lighting" as it lights round the edges. |
In both instances, the light used is a fill light which is set at a lower power than the key light so as not to draw attention from what you want to focus in on in the image. In portraits, your focus is generally on your subject's face and eyes, so a brighter rim or hair light would distract from this.
Why are Hair Lighting and Rim Lighting Important?
Both hair lighting and rim lighting are utilised primarily to create separation between your subject and the background. Especially if pairing a dark background with matching-coloured hair, or if you're shooting a particularly moody or dramatic image, proper hair and rim lighting stop your subject from blending in and adds depth to the image by providing a more three-dimensional effect.
This helps to define shape and form, and can be used on anyone from humans to pets and animals, and can also be applied to product photography to help the viewer get a more accurate representation of who, or what, they're viewing.
A Demonstration of Rim Lighting

Photography Session Days: Emma Finch with Graham Currey at The Photography Show 2025.
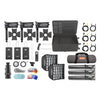
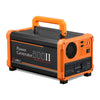
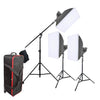
The guide above demonstrates how rim lighting can affect your image in three different levels. The images were shot using 2x AD200Pro II's and 2x 30x140cm Flatpak Strip Softboxes.
| The first image is with the key light only, on the Joker's face. His back disappears into the background thanks to the dark coat and dark background combination, and the light on his face not reaching to his back area as it's directional. |
The middle image introduces the rim light at a low power level, and you can notice a small difference between his coat and the background, giving a mild degree of separation between the two. |
The third image is with a more powerful key light and rim light, which creates a super dramatic and high-contrast image with that "edge lighting" technique. |
You can watch the full live workshop from this shoot on our YouTube channel here: A Portrait Of The Joker | Live Photography Workshop with Photography Session Days
How to Incorporate Hair or Rim Lighting
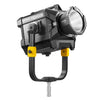
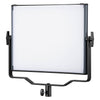
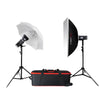
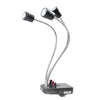
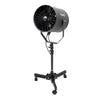
To add a hair or rim light to your setup, you'll need a main, key light which you'll use to light the face of your subject. This will generally be the most powerful light you'll need, around 200w or more to be able to fully control your ambient light.
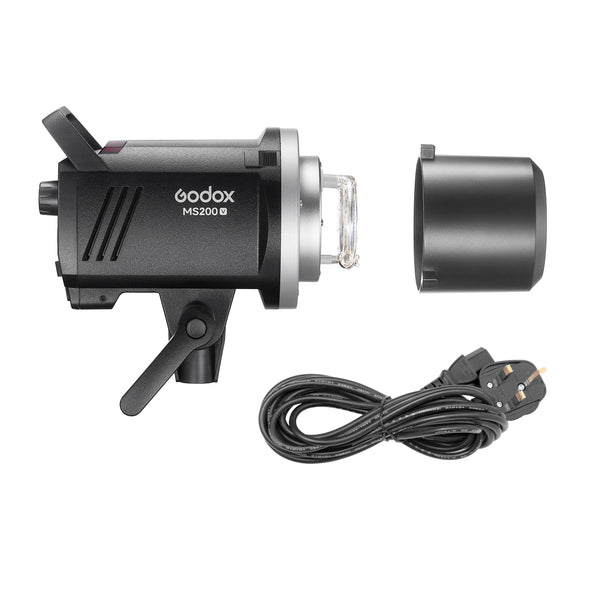
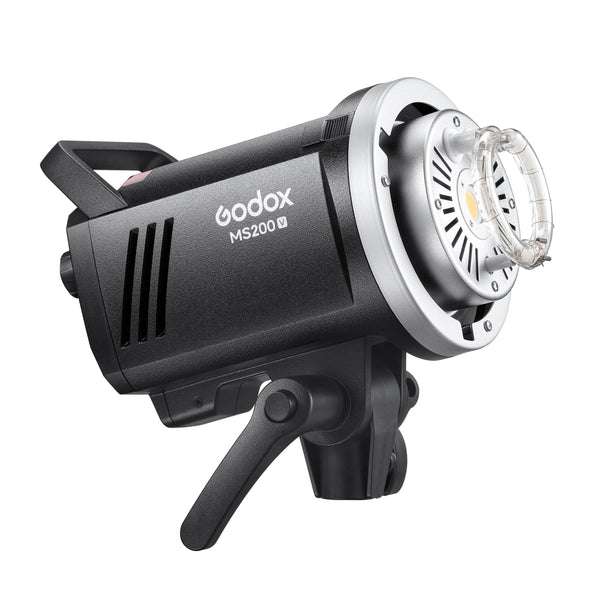
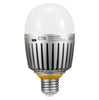
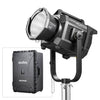
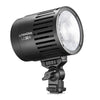
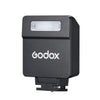
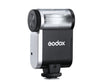
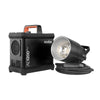
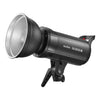
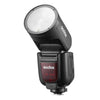
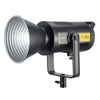
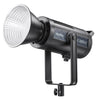
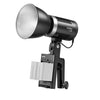
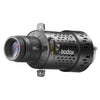
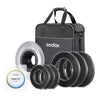
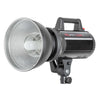
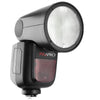
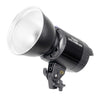
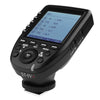
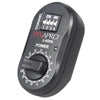
The hair/rim light can be around the same output, but if you have a smaller or less powerful flash this works just fine! This light will be set to a much lower power output so as not to overwhelm the key light. The AD200Pro II would be a great match for this, or if looking for studio mains powered flashes, the MS200V would be a great pick.
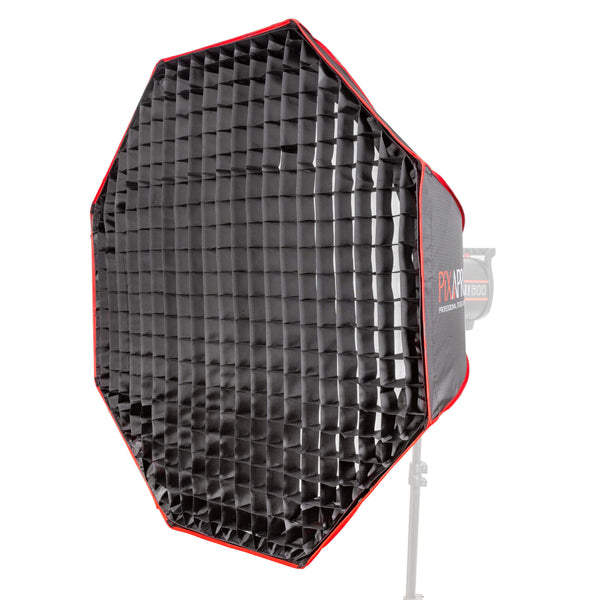
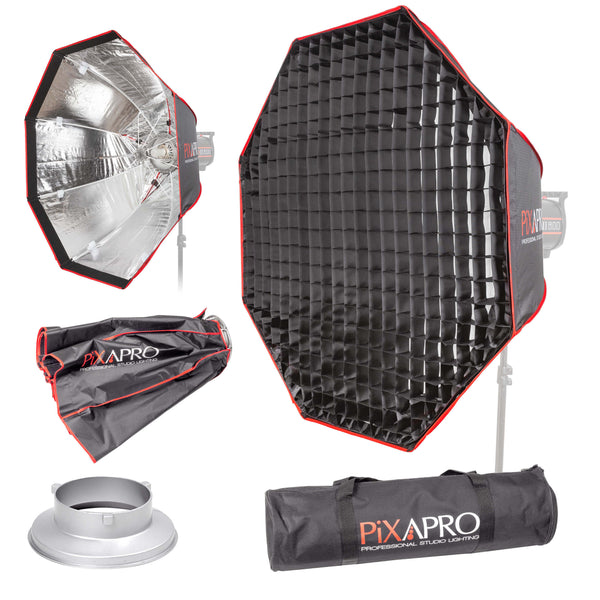
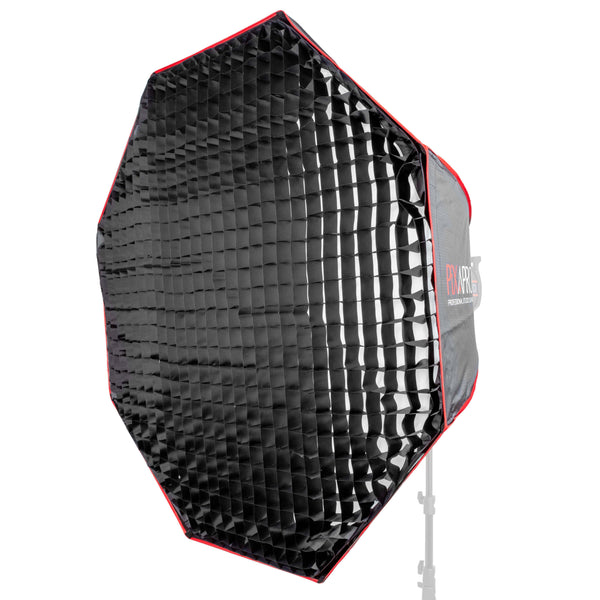
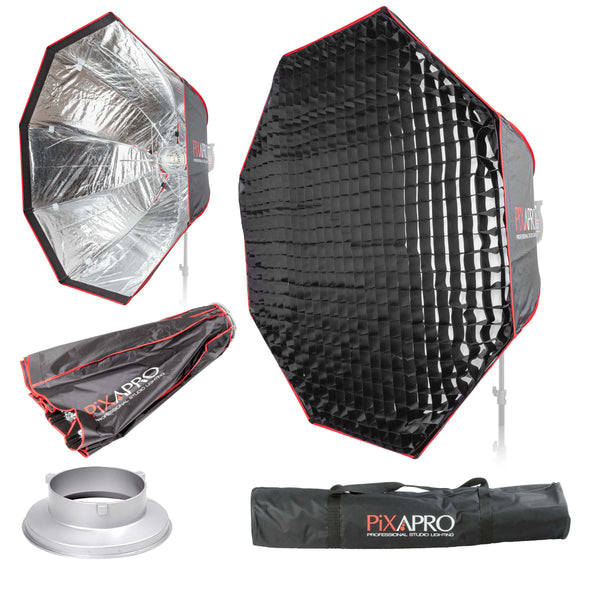
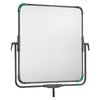
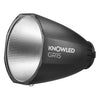
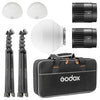
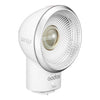
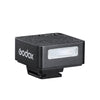
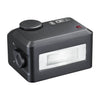
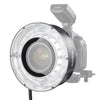
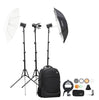
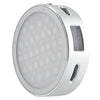
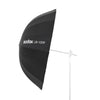
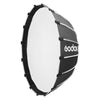
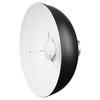
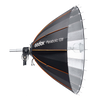
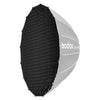
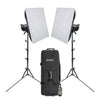
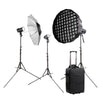
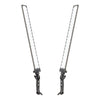
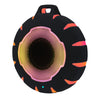
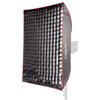
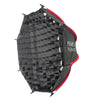
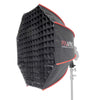
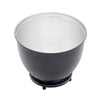
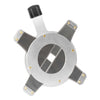
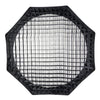
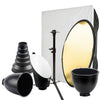
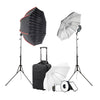
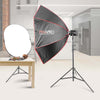
Preferred modifiers will depend on the style of lighting you're aiming for. For softer, more flattering lighting such as for headshots, a larger modifier such as a 90cm Octagonal Softbox or large Umbrella would be a great option. If you're looking to hair light from behind your subject and directly target the head and hair area for a halo-effect, a smaller softbox like the dinky MiniBox3535 would be a great choice and will direct the light nicely.

BTS image from RJ Bradbury Photography with model Gwendoline. Rick uses a 4-light setup for this shoot, but the hair light (top middle, square 35x35cm Softbox) makes a big impact!
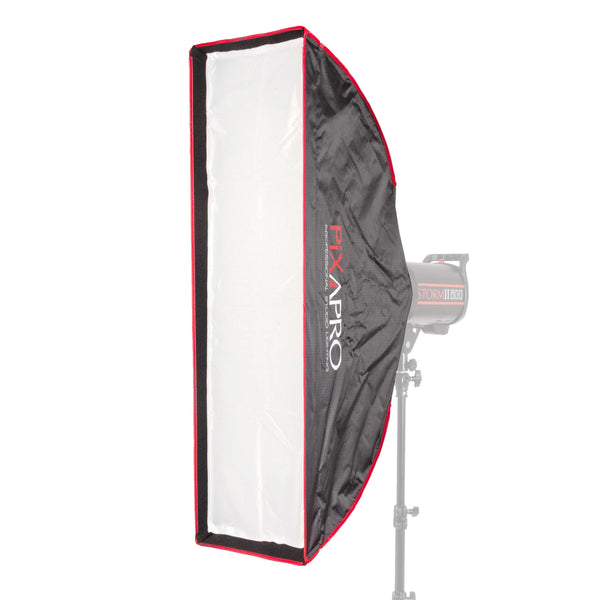
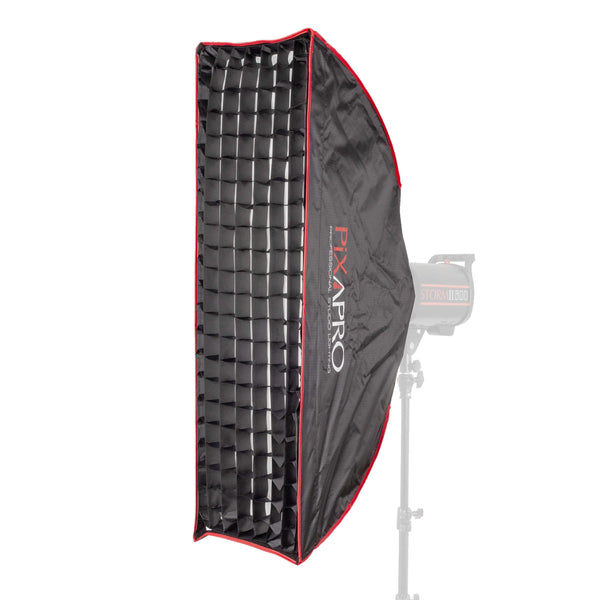
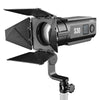
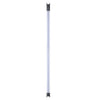
Alternatively, if you're looking for a more dramatic outcome, a strip softbox angled to the side of your subject can create a lovely, sharp stripe of light on the one side. This is particularly handy for when your subject isn't looking directly into the camera like in the example below. In the image above, Rick uses 30x90cm Strip Softboxes on each side with the Minibox to create a mix of hair lighting and edge lighting.
Tip! Try turning off all your lights except your rim light and take a test shot. This is the best way to see exactly how much light this is putting out and where it's falling.
Work your way up to your two lights, and start with your key light first to make sure you're happy with the positioning and brightness on your subject's face. Then, add in your rim light and take a few test shots to decide what brightness looks best. Brighter rim lighting will make the rest of your image look a little darker, so you may have to adjust your key light and exposure to accommodate and stop your image looking too dramatic (unless that's your aim!).
Make sure the rim light isn't encroaching too heavily onto where your key light is falling, otherwise you'll end up with an overexposed face and minimal rim lighting effect, with no separation from your background.
Give it a try!
Next time you're playing with lighting, try out rim lighting! It's super straightforward and can make a big difference in making your images look more professional and advanced. You can also tag us in your photos at @pixapro on Instagram so we can see the results!