


A Photographer’s Manual for Lighting a Photo with Reflectors
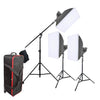
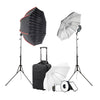
A reflector is one of the most popular forms of light modifiers used by photographers. It lets you salvage poor lighting and use it to your advantage. Reflectors are also used to fill and remove light, alter lighting tones, and eliminate shadows.
Here’s a guide on what type of reflectors you should use to light your photographs.
Reflector Shapes & Sizes
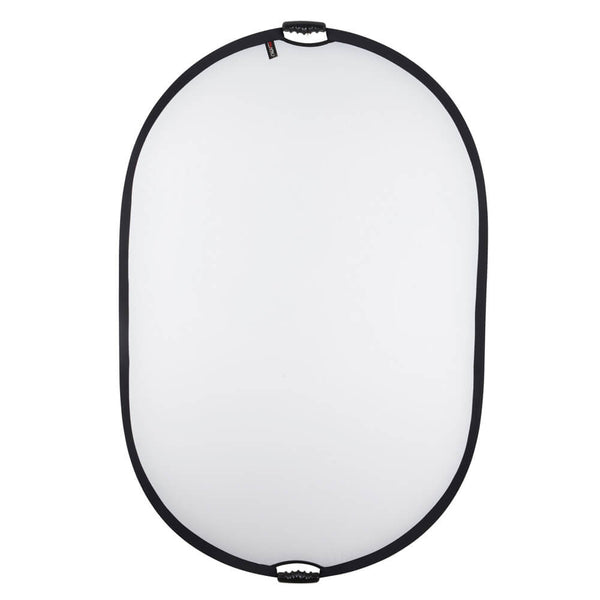
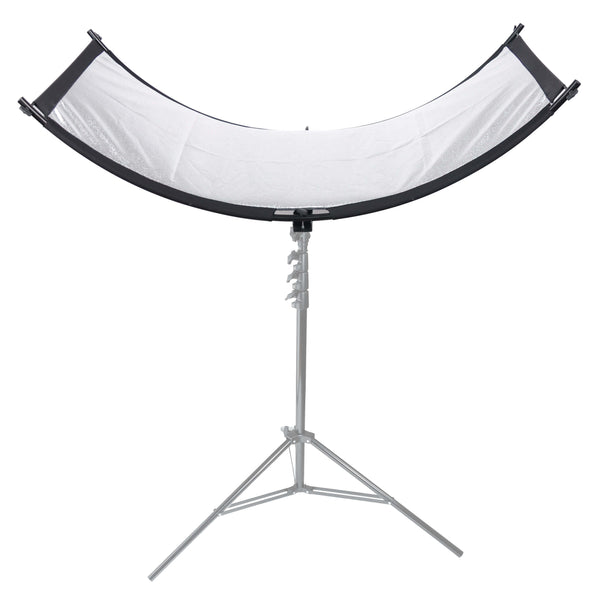
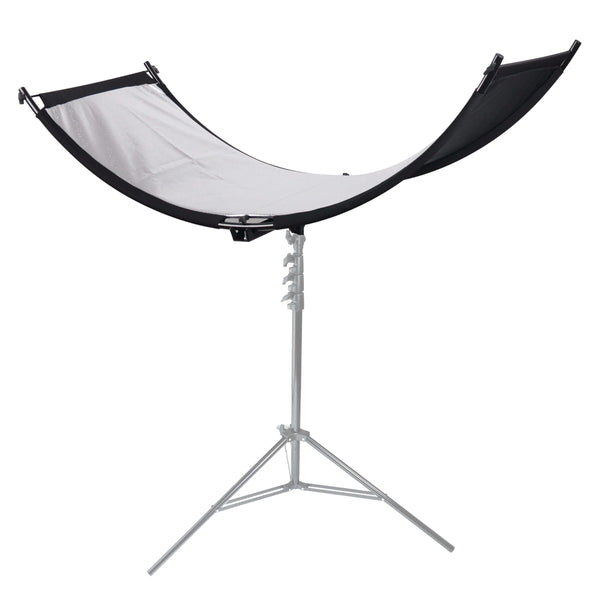
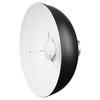
Light reflectors exist in various shapes and sizes. While most reflectors tend to be flat and are either rectangular or round, you can also find curved reflectors. The latter is popularly used in fashion photography and is great for taking portraits as they illuminate the subject evenly from various angles. This results in more defined details in the final products.
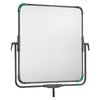
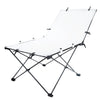
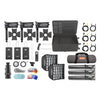
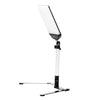
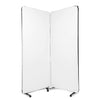
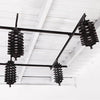
The Professional Heavy Duty Reflector Panel (100x200cm) is a good option if you’re looking for rectangular reflectors. It’s made of lightweight aluminium and includes a double metal grid bracket that allows you to adjust the panel in any angle that you wish. This also offers rectangular reflectors as opposed to round ones.
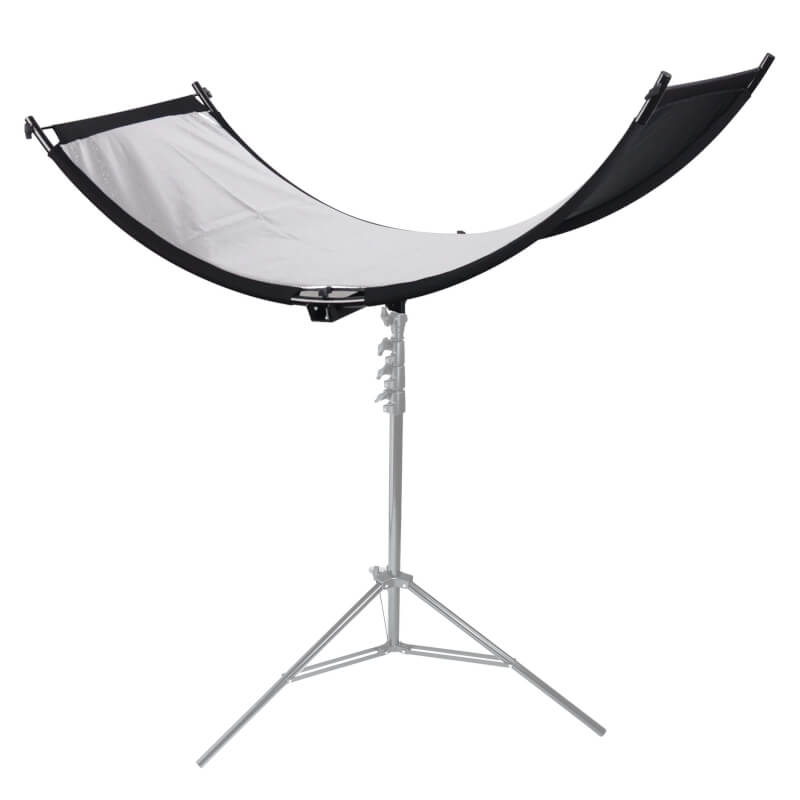
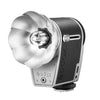
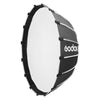
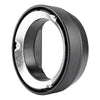
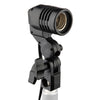
The PiXAPRO Curved Reflector is the perfect choice for you if you’re looking for a modifier that can be used in clamshell lighting set-ups. You’ll only need a single light source to get the required lighting results with this reflector.
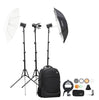
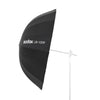
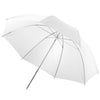
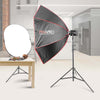
Alternately, you can also use light umbrellas for your photoshoots. These are ideal for beginners as they make it easier for you to control the reflected light. As compared to flat reflectors, umbrellas allow for more focused reflection. The light source is placed at an angle away from the subject so that the light bounces off the umbrella and reflects it onto the subject.
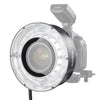
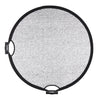
Take the Standard 55 Degree Reflector with Umbrella Slot, for instance. It produces even lighting and prevents light spill. This type of reflector is generally used in taking beauty shots and low-key dramatic portraits.
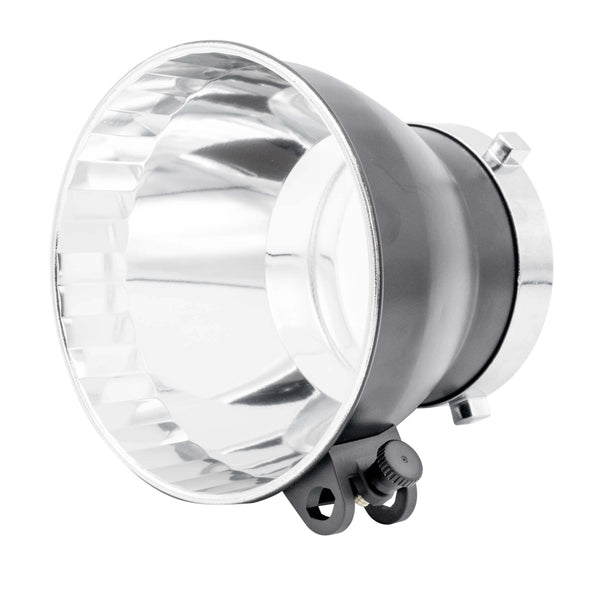
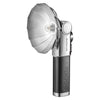
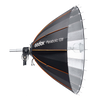
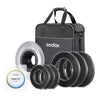
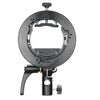
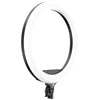
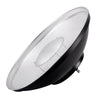
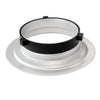
Alternately, the PiXAPRO 120 Degree S-Type Fitting Wide Angle Studio Reflector with Umbrella Holder is another great option if you want an umbrella-style reflector. It offers even coverage and enables a greater light spread.
 |
 |
Light reflectors are also available in multiple sizes. Typically, the bigger the reflector is the better lighting you’ll get. This is because a larger reflector gives you more freedom and control over where to place it and allows you to add more distance. This way, you’re able to get more even lighting. However, the downside to using larger reflectors is that they’re often difficult to handle especially during smaller shoots where you don’t have many crew members.
When picking out a reflector size, here’s what you should keep in mind:
- Reflectors that are approximately 120 cm (50”) or larger are better suited for shooting portraits of landscapes and bigger groups.
- Reflectors that are approximately 80 cm (30”) are suitable for capturing three-quarter-length portraits.
- Reflectors that are approximately 50 cm (19”) are recommended for macro photography such as close-ups and product photography.
Reflector Colours
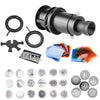
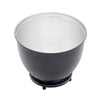
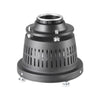
Another thing that you should remember when using light reflectors is the different colours they’re usually available in and how each colour produces a different lighting effect. The four main reflector colours include black, white, silver, and gold. You can also get translucent reflectors to diffuse lighting and make it more even.
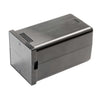
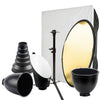
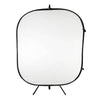
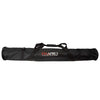
The PiXAPRO 100x150cm (39.3"x59.0") 5in1 Reflector with Grip Handles comes in all five varieties and can be used as per your lighting needs. You can use your desired reflector surface for each photoshoot and even switch surfaces within an ongoing photo session. The grip handles at either sides of each reflector panel allow for easy handling.

Black reflector surfaces are used in scenarios where you need to remove or block the light from your shots. In contrast, white reflectors are used to fill light. They produce natural-looking lighting that can effectively soften or get rid of harsh shadows.
In conditions that require maximum lighting, for instance, if you’re shooting in a dimly lit room, you can use silver reflectors to reflect light. These reflectors are also useful for enhancing contrast and highlights in your photos. However, silver reflectors should be avoided when you’re shooting under direct sunlight or when the brightness levels are already high as this will result in harsh lighting.
Finally, gold reflectors are perfect for adding a golden light to the shots and producing a warmer tone. They can also be used for providing fill lights.
Tips on Using Light Reflectors Effectively
Now that we’ve covered the kinds of light reflectors available and the purpose they serve, let’s dive into a few lighting tips for when you’re working with these modifiers.
Place the Reflector Directly Opposite to the Light Source
The best place to keep your reflector during a photoshoot is directly opposite the light source. This allows you to capture maximum reflected lighting and use the brightest light for your shots. This arrangement works best in bright lighting conditions.
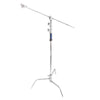
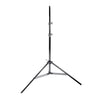
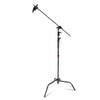
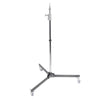
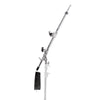
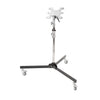
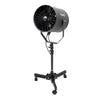
Use a Stand to Mount the Reflector
While you can adjust your reflector at a slanted angle or have a crew member hold it into place while shooting, the best way to go about using this modifier is by using a lighting stand. This allows you to hold the modifier at just the right angle and capture consistent lighting for your shots.
Use a Reflector to Fill In Shadows
Sometimes, the best way to remove or fix shadows is by using reflectors. For instance, if the light source has been placed behind the subject then you can use a reflector to prevent a silhouette by placing it right in front of the subject. Similarly, if the light is being blocked by a large object then you can keep a reflector nearby to minimise shadows.
EssentialPhoto is the ultimate online store for all your lighting equipment needs. Call our team at 0121 552 3113 or reach out via email to get in touch!