


Lighting is not only equipped for the service photographer but also can use good lighting equipment to take good clinical photographs.
Clinical photography is a specialist type of photography used to depict medical situations. Sometimes, it usually has ‘before’ and ‘after’ images to have a set of photos of growing older. Therefore, it is extremely to ensure your photo must have good consistent lighting set up which requires standardisation of lighting, distances, angles, colour, etc. Moreover, these photos use in clinics to record a patient’s conditions for diagnosis while treatment. Because effective photographs can offer a range of benefits including treatment planning, documentation of facial, pre/ post-procedural comparisons, teaching as well as education.
As the result, more and more lighting devices appearance to support this purpose. As a direct partner of Godox, Pixapro stock the widest range of Godox kit in the UK, offering different types of lighting equipment to help you become a clinical photographer or know how to set up perfect clinical photography.
In this blog, we will share some top tips for setting up excellent clinical photography as well as taking the best images every time.

Choosing the right cameras
Shutter speed:
One of the most crucial parts of photography is lighting, especially clinical photography. With enough light produced, it will give the doctor the opportunity for easier to be able to make a diagnosis. If the shutter speed enough high, your photos will deeply show your objects. In contrast, if the shutter speed isn't enough, your images will destroy by blurring. And also, if the camera does not have enough light when setting, the shutter speed will decrease. In detail, the shutter speed decides the duration for which this light enters. The longer the shutter is open, the brighter the picture because more light created.
Colour temperature:
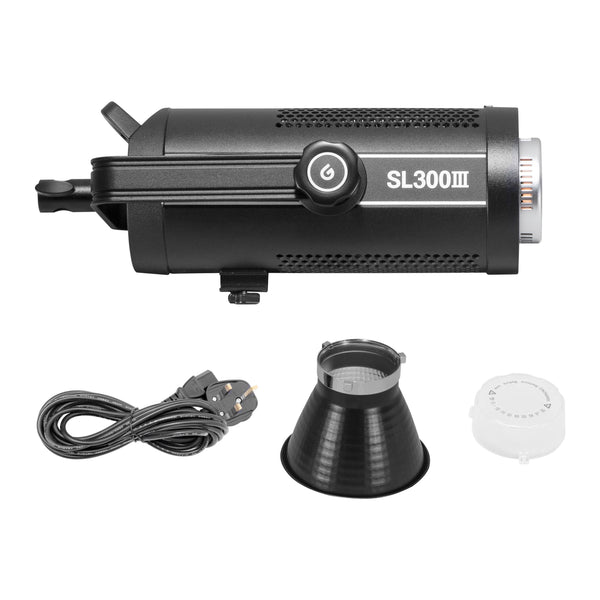
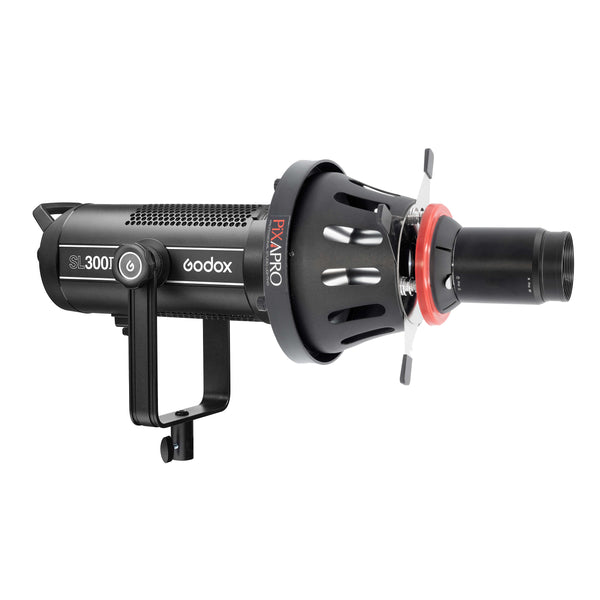
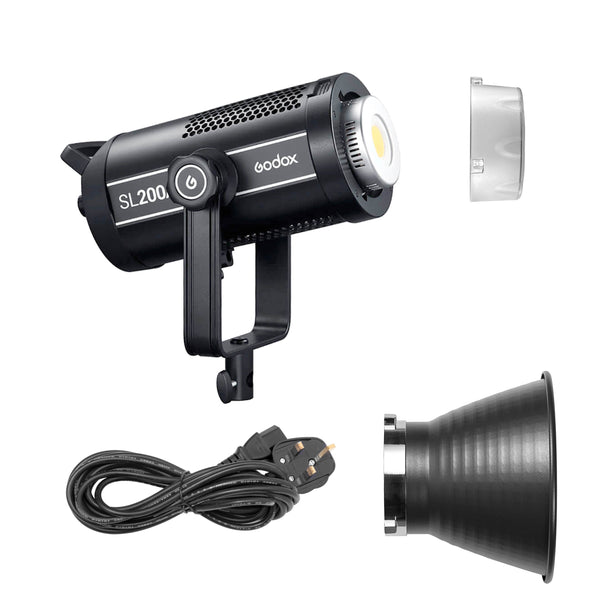
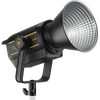
Colour is also one of the most important elements to achieve successful and consistent lighting. Moreover, you can adjust the colour temperature depending on your light source and your demand. For example, if you are shooting in a surgical room, you will require a colour temperature of 4500-6500K. While the colour temperature is around 6000K-7500K is especially applied for the photos that need highlight intensity and good colour rendition. In some cases, the colour temperature of 500K is ideal for medical photography as it gives the perception of daylight with white light to clarify the detail of your images. Therefore, LED light is recommended to use in clinical photography because it not only adjusts the colour temperature but also usually comes with high CRI and TLCI. Take Godox SL300I LED light, for instance, which has a CRI of 96+ and a TLCI of 97+ ensuring the colours reproduce faithfully in your photographs.
Exposure:
In terms of exposure, the camera's exposure will be shown the amount of light. If the lighter your camera is exposed, the brighter your photographs will be created. The exposure of the camera is decided by the ISO setting.
Aperture:
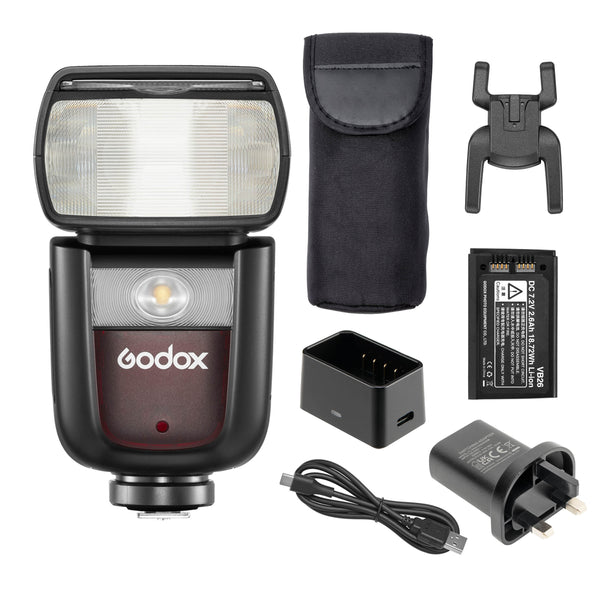
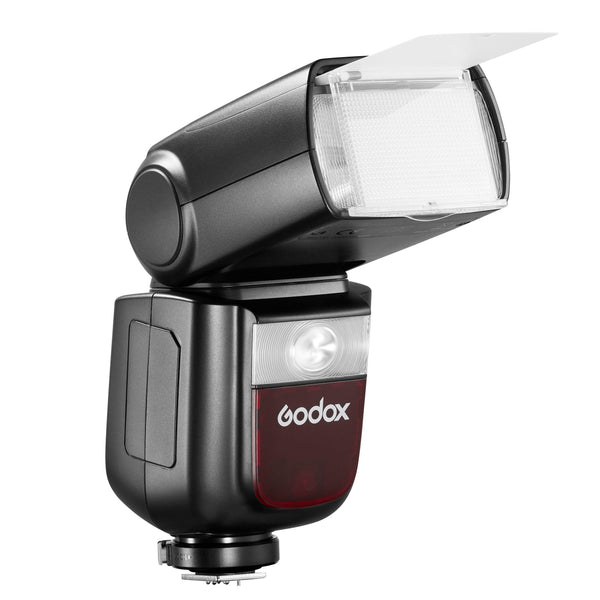
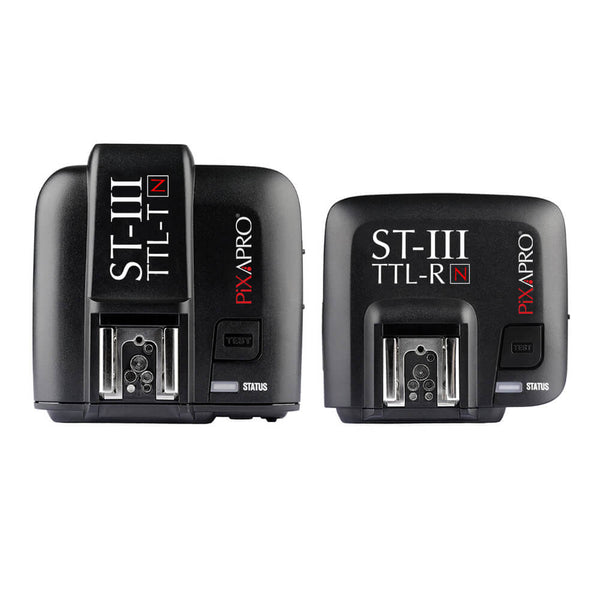
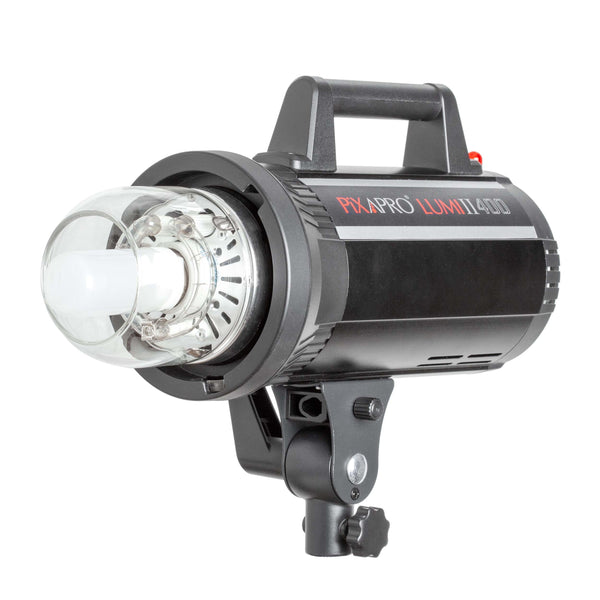
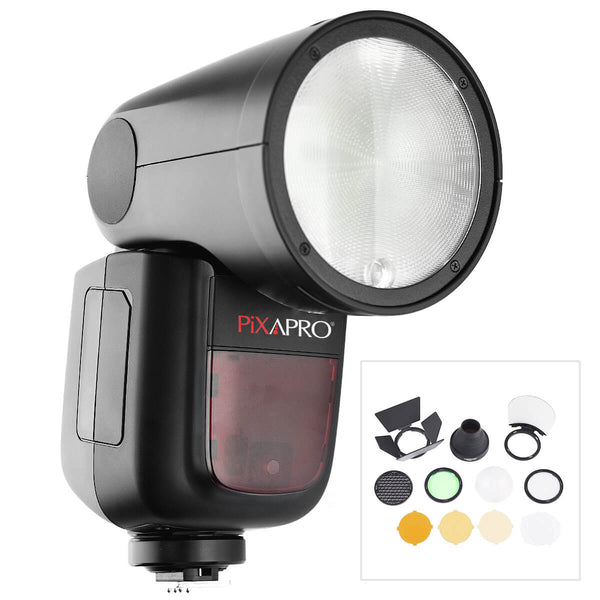
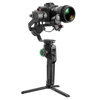
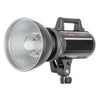
The aperture is a small set of blades in the lens that controls how much light will enter the camera and the depth of field. It is such that the area of the image that you want to be in focus on. If the number of light over that leads to your images being created little dots or fuzzy. Overall, it is also one of the factors that will affect the quality of photos. In fact, a digital single lens reflex (D-SLR) camera is recommended because D-SLR cameras allow you to change settings like aperture, shutter speed, and exposure. For example, Godox V860II, X1R, V1-N and Lumi400II features of D-SLRs including the ability to change lenses and capture images in a quick shot. These products released at an affordable price and generated high-quality images.
Furthermore, balancing these lights can be difficult. This is the reason why having an additional source of light or lights on the patient is invaluable. It will decrease or destroy shadows and brighten which might have a negative effect on your photos. Read below to learn more about extra light sources.

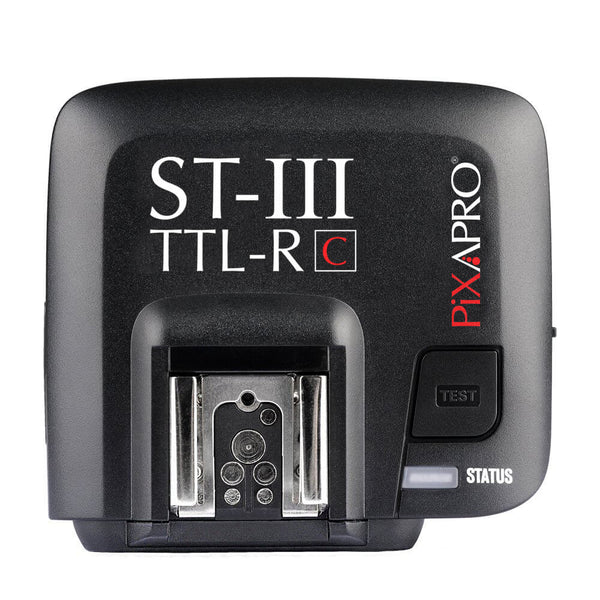
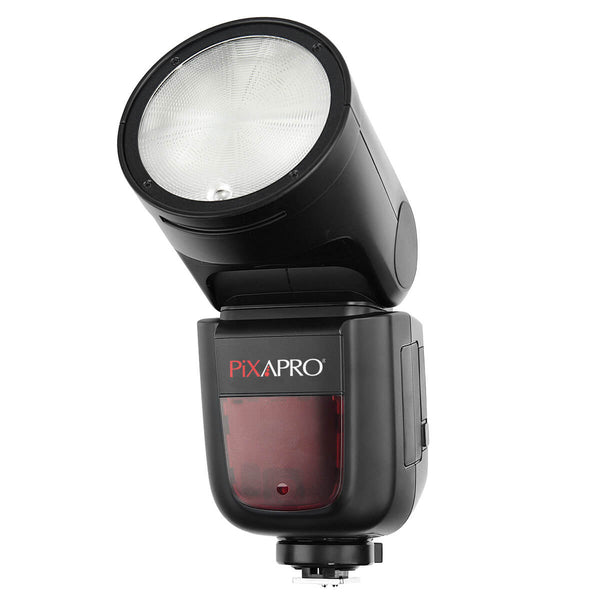
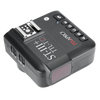
PRO ST-III R 2.4GHz Flash (X1R)
Supplementary Sources Of Light
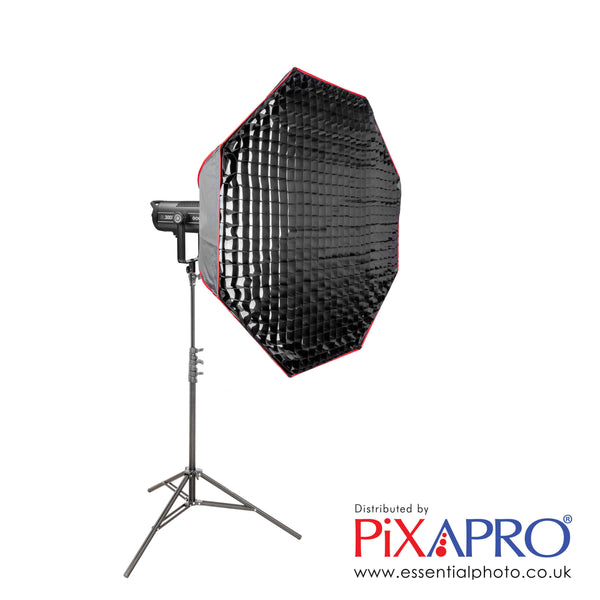
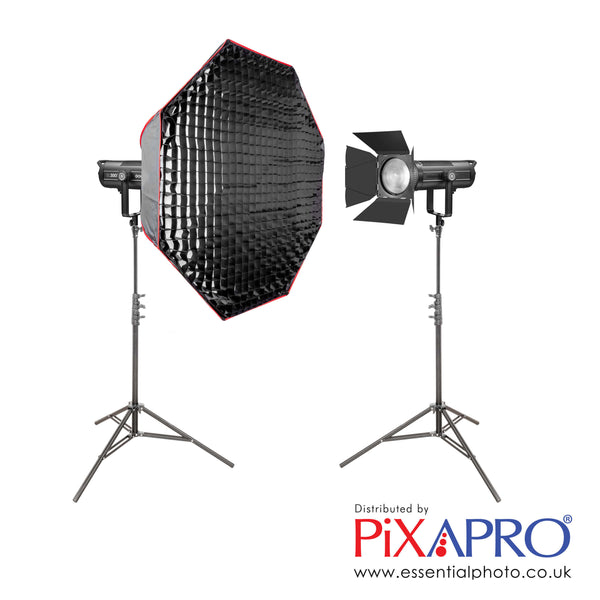
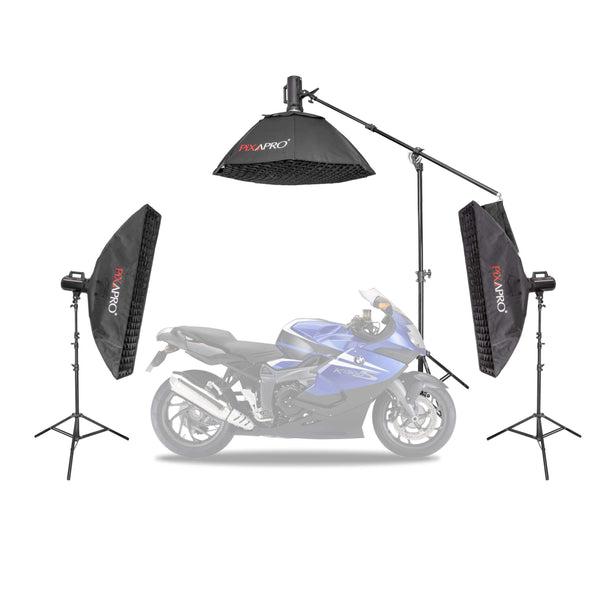
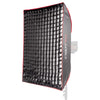
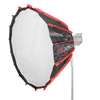
Option 1: Softboxes and Umbrellas
In form of softboxes and umbrellas, it can generate soft, even, diffuse light, devoid of shadows and sharp lines. By definition, the light comes from softboxes also known as strobe lights because it is closest to the natural day light. Therefore, it is very suitable for skin treatment as the ability to eliminate facial redness and pigmentation such as 160cm (63") Parabolic Black/White Umbrella With Removeable Diffusion and 130m Umbrella Black/White Parabolic. Furthermore, softboxes are also used to avoid shadows when placed behind the photographers to achieve optimal outcomes.
Option 2: Ring light
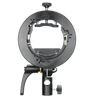
For dental, macro flashes are recommended, especially for intraoral photography. Because of the ability to illuminate the oral cavity and the patient’s face. For example, the MF12 is designed for macro photography to take more dental photographs. Meanwhile, it enables to capture of small subjects. While a ring flash is also the best option for surgery. Its small size and the placement of the flash tubes next to one other like RIKO400. It is possible to due to the lens completely illuminates all of the areas in the limited space of the oral cavity and also remove the appearance of hash shadows.
Ring lights are the quickest and most space-efficient way to achieve well-lit photographs with the least effort. To flood the shot with light uniformly, the light source should be positioned parallel to the subject at the level of the face. Ring lights are extremely popular since it can be simply attached to your iPhone and can substantially increase lighting quality with minimal effort. For example, Ring 72 Daylight and MF-R76 Macro ring flash are also used in conjunction with a diffuser to soften the light emitted by the flash.
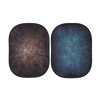
Option 3: Background
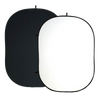
If you want to boost the professionalism and focus of any clinical photograph, investing in a high-quality backdrop can provide incalculable benefits. Your images should have the following background: neutral, surface, non-relfecting and monochromatic. Medical photography backgrounds should be neutral white or grey to avoid any unusual colour casts caused by using a coloured background such as 2x4m Dual Sided Grey And White Vinyl Backdrop And Telescopic Background Support. Because these photographs aren't intended to be displayed to the public and are just for medical purposes, you don't want anything distracting from the subject.

Option 4: Stand
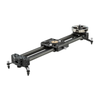
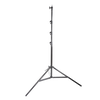
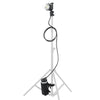
To avoid any fluctuation between photos, both the before and after images were taken in the same standard setting, including the position of the lights and softbox, since most medical studios/clinics normally have lights fixed in one position. This can be achieved by utilizing fixed features such as wall mounts or floor markings where illumination is required to provide consistent outcomes at all times. For instance, 240cm Air Cushioned Studio Light Stand might be helpful for your clinical photography. Because it has a lightweight design that allows it to be easily moved and changed, as well as a sturdy build that protects it while in use. The design is unique in that it has an air-cushioned mechanism between the stand's components to prevent inadvertent collapses and further safeguard your equipment. One more option is the 90° Right-Angle Baby-Pin Wall Plate. With a horizontal length of only 17.5cm, it won't take up much space, making it ideal for small clinical and busy spaces. It also has a universal 5/8" Baby Pin, which is the most common fitting currently available. Thus, it has ability to compatible with a wide range of different lighting and equipment alternatives.
Option 5: Brackets
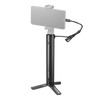
Brackets are used to keep flash heads away from the lens and camera body. The fastening screw secures the bracket to the tripod socket of the camera body. In detail, a 6" Ring light on a smartphone bracket allows is the ideal system for photographers with several variations of the same image to choose from or combine to guarantee they obtain the right shot.
Option 6: Speedlite
It is also used to flood the image with even white light, making them perfect for clinical photography. For instance, GIO1 round-head speedlights provide an increased and more plentiful source of light in your images, providing the level of light you'd expect to find in a professional studio. Moreover, speedlights may be simply synced to your iPhone for easy use. Li-ION580II Speedlights work best with diffusers to make the light appear softer and more natural in the photograph.

Li-ION580II Manual Speedlite (V850II)
Option 4: Medical kit
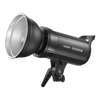
Medical professionals looking to capture excellent both before and after pictures of their patients can use the PIXAPRO LUMI II 400 (Godox Gemini GS400 II) Medical (Before and After) Photography Kit. This kit includes two simple-to-use LUMI II 400 400Ws studio strobes that will deliver a strong burst of light and when used with the two 60x90cm softboxes will give an even light, allowing them to cover even a full-body image, as well as 2 main light stands to mount your light and softboxes on to the at or above eye level. All of your client's skin colours will be complemented by the neutral grey paper background, making it an excellent choice for diagnostic imaging. The item in question is ideal for plastic surgeons and orthodontists who like to keep a record of their patient’s progression, allowing them to provide consistent results.
In other ways, for medical practitioners with limited space who want to capture high-quality before and after pictures of their patients, the PIXAPRO LUMI II 400 (Godox Gemini GS400 II) with Wall Mounted Stands Medical (Before and After) Photography Kit was developed. This set includes two LUMI II 400 400Ws studio strobes that are simple to operate, two 60x90cm softboxes for gentle, even illumination, and two wall-mounted supports. The softboxes and strobe work together to produce an even light that can cover even a complete body image. The strobe will deliver a strong burst of light. Due to the wall-mounted stands, a small studio space will gain much-needed floor space, which is perfect for people with limited room who still need to work on a computer and combine with 90° Right-Angle Baby-Pin Wall Plate. Additionally, this kit comes with a neutral grey paper background that blends perfectly with all skin tones, making it a great option for medical imaging.
Conclusion
If your clinic does not have the luxury of a specialised photography area, the addition of a few affordable items can help you improve your client photographs significantly. Investing in a collapsible chromakey background, window blackout curtains, and a ring light will significantly increase the quality of your images. It is an extremely worthwhile investment that will ultimately benefit you by improving your clinical.
EssentialPhoto and PiXAPRO are pleased to be a direct partner of Godox in the United Kingdom, with the largest collection of Godox stock available in the UK, so you can be confident with the support and assistance we provide. As we are representing Godox at The Photography Show 2022, this further shows our partnership and commitment to the Godox Brand, and we are always looking to expand this further.