


Simulating Natural Light by Richard Bradbury
Simulating Natural Light
Me again.
Natural Light VS Flash… It is a common term thrown around in this industry like they should be mortal enemies. Both are awesome and both need to be understood as a working photographer today.
That all being said you can simulate that holy grail of natural light in the studio and whilst we have many ways of doing this I am going to walk you through how I did on a workshop I ran earlier this year.
You can use diffusion sheets, scrims and light modifiers to do this with.
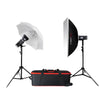
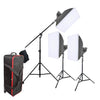
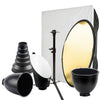
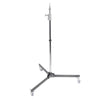
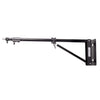
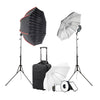
For the images below I used two lights and modifiers as well as a fill card. (See BTS Image & Diagram)


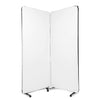
The background was black seamless paper but could have been any colour, you could even build a false wall to further simulate being inside a home or fine an area of your home to set this up in.
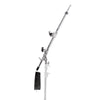
I decided to do this using traditional modifiers as I felt that whilst rigging scrims, sheets or other diffusion is easy enough, not everyone has the additional grip equipment to hand so I wanted to keep it to a more normal kit.
For the portraits below I wanted to simulate natural light coming through a large window or patio doors. If you look at light that is pushed through the edges of clouds and then skims past window or brick work framing you will see a hot spot on your subject when close to the window, this is due to the light angle and the framing blocking part of the light. To replicate this the light needed to show that but still be soft. It has a snap in it’s intensity but is still open and soft.
This of course would change if clouds parted or became denser. It’s all about the little nuances of the light you are trying to re-create, and I honestly think that just blanket calling it natural light does it a disservice. We have to think about the type of light we are looking for & looking to create. Ask what the light says and how it feels for the image in mind.
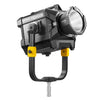
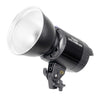
In the first image below we just have the key light firing. This is the Pika 200 with extension cable and 7ft Parabolic umbrella. This modifier has a hot spot (as do all parabolic modifiers) and that hot spot is 1.5-2 stops hotter in the centre of the modifier vs the edges.
This hot spot (think brighter part of the light) still shows with the diffusion material fitted and gave me a hotter exposure on the shoulder/ arm area.
You will hear repeatedly “don’t blow out highlights, expose for the highlights” - yeah yeah. If you place someone near to a window with natural light coming through (sun through cloud edges) you will see hotter zones of brightness and we can use exposure/highlights to convey that.
Exposure is a creative tool and is enormously powerful for helping tell the story and change the mood/feel of an image.
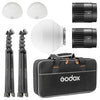
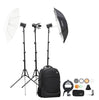
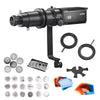
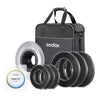
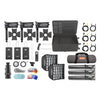
Kit Used
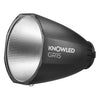
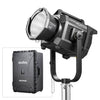
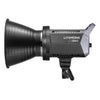
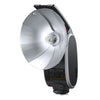
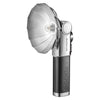
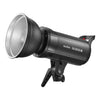
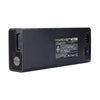
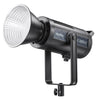
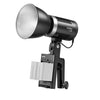
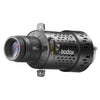
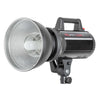
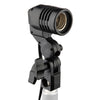
Pixapro Pika 200 – 200ws Portable flash. Love these little lights.
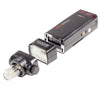
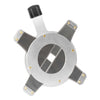
Pika 200 Extension head – Handy for separating the Pika 200 body and flash head.
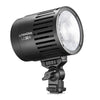
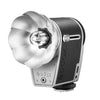
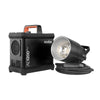
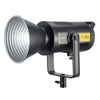
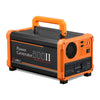
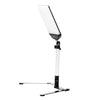
Pixapro Hybrid 360ii – A 360ws Battery Pack and Light set. (now discontinued)
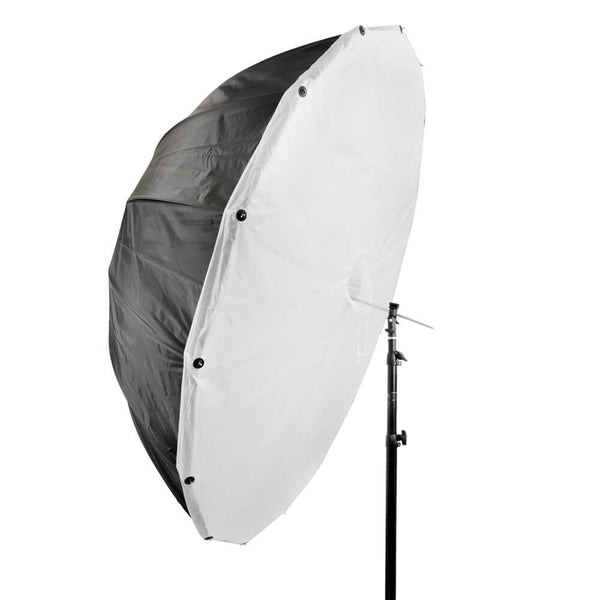
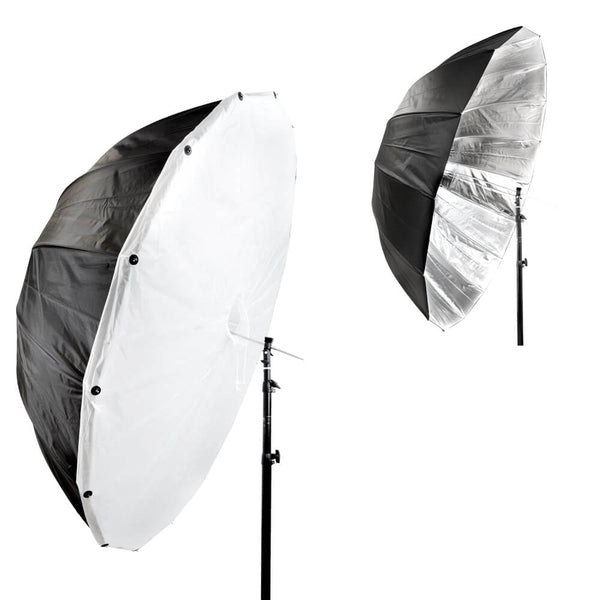
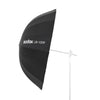
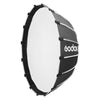
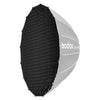
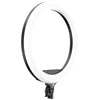
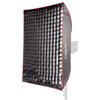
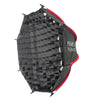
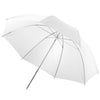
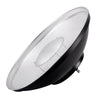
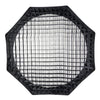
7Ft Silver Parabolic umbrella with diffuser – You can get the 63” version today
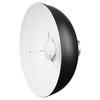
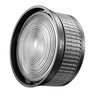
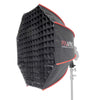
51” Pixapro Silver Parabolic Umbrella . – I have had this for a few years now.
Key Light Only

In this image we have just the Key only (Pika 200 + Extension head) modified by the 7ft Parabolic Silver Umbrella with Diffuser ( Alternate Umbrella 63” Silver ). It provides a soft light with a little bit of punch to it but, we are not quite there yet.
To elevate this we need to add another light and parabolic umbrella. The duty of this light is to open open up the shadow side of Tatiana and reduce contrast. It also makes the light source larger with both the umbrellas being places next to each other.
Key Light + Fill Light
Once we have the fill light (Active Fill) on we can see the shadow side open and the transition between highlight to shadow become softer. The fill light is a Pixapro Hybrid 360ii modified by a 51” Silver Parabolic Umbrella and Diffuser ( Alternate Umbrella 63” Silver with Diffuser)
You may notice that the fill light is placed in front of Tatiana which may seem like a waste of light and I totally understand that. The reason it is placed in such a way is to open up the shadows without working against the direction of the key light and it’s more subtle than pointing it directly towards the model.
If the shadow side of your subject can see the face of that fill light or your key light it will get some light. This is not light wrapping around your subject because it does not wrap around anything, light travels in a straight line or beam.
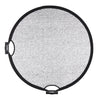
The Reflector Card (none active fill)
This was added on the later images to simply open up the hair / back of Tatiana a little. It is placed to simulate some light bouncing back in from a white or off-white wall in a room.
You can control how much light you get from a bounce card via the distance you place the card from your subject and the angle as well.
All you need is either a 5 in 1 reflector or some white foam core and you are good to go.
Quick Tip: You can do the opposite of this and build more contrast or subtract light by using the black side of your reflector or black foam core, otherwise referred to as negative fill.
Back to the images…
Remember at the beginning of this post I said that I wanted to simulate light coming through a window or patio doors and I wanted the hot spot/higher exposure around the shoulders. This is to simulate the light being cut off by the frame or brick work on a door set, depending on the height of the windows/ doors the light is often found to be at quite a steep angle through the day resulting in a brighter patch on the floor ( or your subject ) vs the rest of the room.
To help convey this I ran the exposure a little hotter on the lights.
You can see the key, fill and the bounce card in use on the images below.


The next set using the same lighting setup was a seated set and we changed out to blue jeans as they were less at risk of being lost against the black background ( compressions issues online mostly).


With both the main and fill being large sources, placed as they are we get a bright feeling light that is also soft providing lovely tones on the skin and has the open soft feel of a large window.
The background being dark helps with the overall contrast, but you could place any background you wanted back there.
A lighting setup like this provides the results I was after and gave a large soft wash of light that is more forgiving than a directional lighting setup from say an Octa would be. This allows Tatiana the freedom to look towards the lights or towards camera and still get light in the eyes.
Alternative Modifiers
You could of course use large softboxes or octa’s or you could grab some additional stands and some diffusion material and fire lights through that material.
If you use diffusion material you then have the choice of firing a hard light, softlight or a mix of the two through them to give you further control. It will require further grip stands and potentially additional lights to pull off though.
Thank you for reading & stay safe everyone.
If you would like to know more about a topic or lighting skill set that I have covered in this post let me know by hitting me up on Instagram or email and I will see what I can do. Who knows it may become the next post on the Pixapro site.
Instagram
Contact Me
Rick
RJ Bradbury Photography