


School Photography Set-Up by Mark Ratcliffe
Having been a school and graduation Photographer for 20 years, I have changed my lights several times, always looking at improving my workflow, quality and stability light output, photographing hundreds of pupils per school per day, the importance of stable, colour consistent lighting is essential for fast post editing and printing.
By far the best and most rewarding move was to go all battery powered lighting in 2015.
I will give a few details of how I have tweaked my kit over the years to get to my perfect balance of power, weight set up and transport.
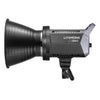
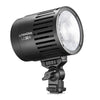
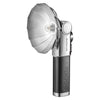
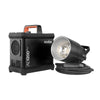
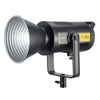
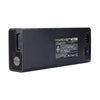
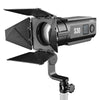
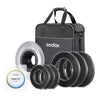
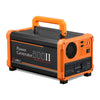
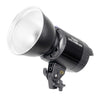
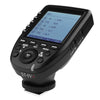
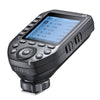
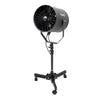
Lights I use are a combination of the following: CITI600, CITI600 PRO, CITI400 PRO & PIKA200.
Initially I used all CITI600 Manual / TTL Heads, but have moved over to PRO version and my main lighting is now. CITI400PRO and PIKAs for various school setups, and the CITI600 PRO for when I need a single light for larger outside groups, I could double up 2x CITI400 PRO, but again find the CITI600 PRO on its own gives me enough light for groups.
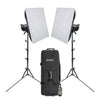
Set Up 1
This I use for 80% of my school photography, allows me to balance all my lights and run pupils through the studio every 20 seconds, my workflow may be different than yours, but I will give you the number of pops I get per battery charges and my power setting as a guide.
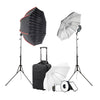
Lighting used:
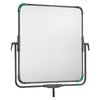
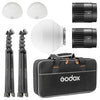
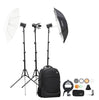
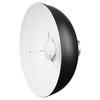
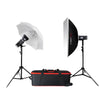
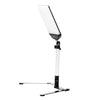
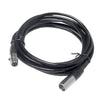
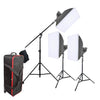
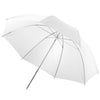
3x CITI400 PRO, 3x CITI400 PRO Spare battery, 1x 40" Translucent White Umbrella (I also carry a few spare Umbrella again they pack into the Quad stand bag) & 1x Padded Lighting Backpack
Components of set up are:
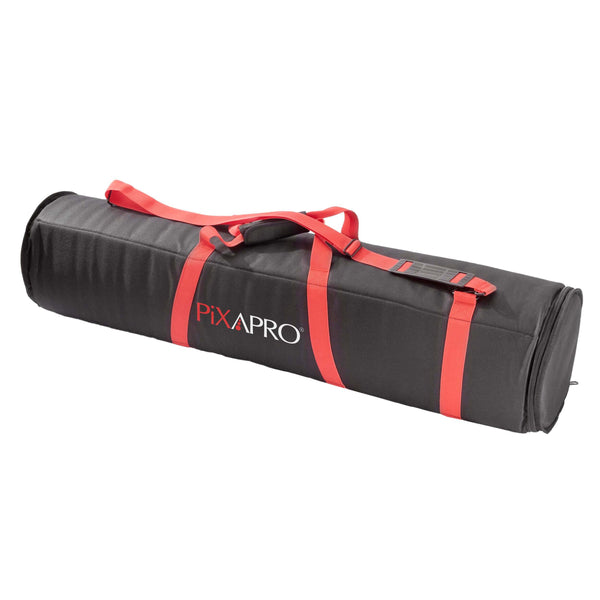
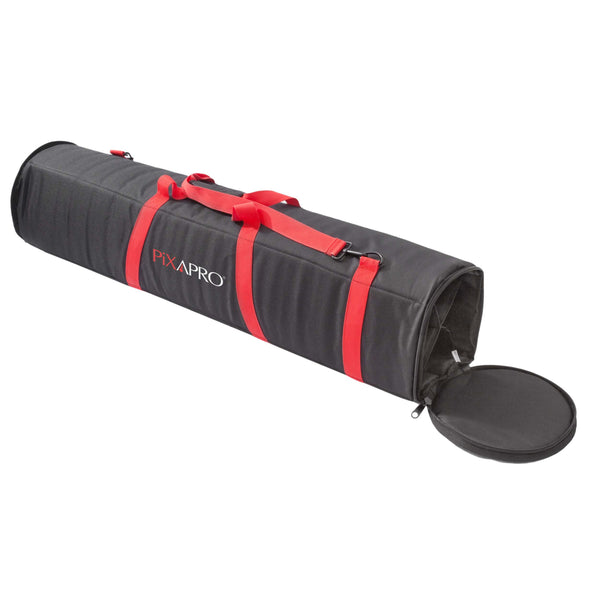
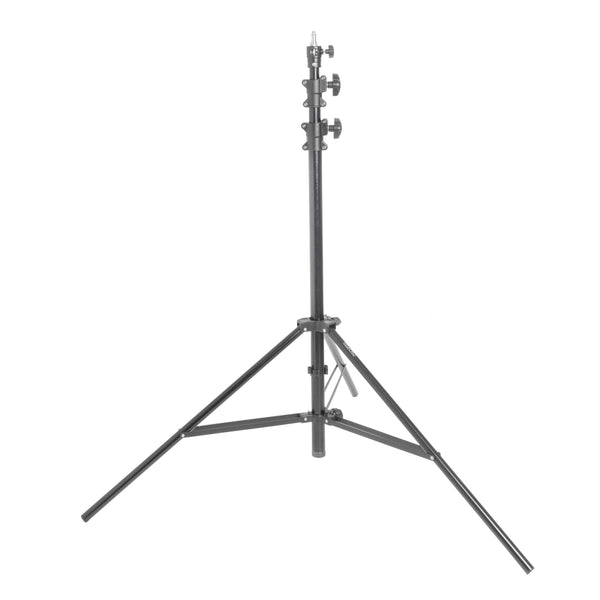
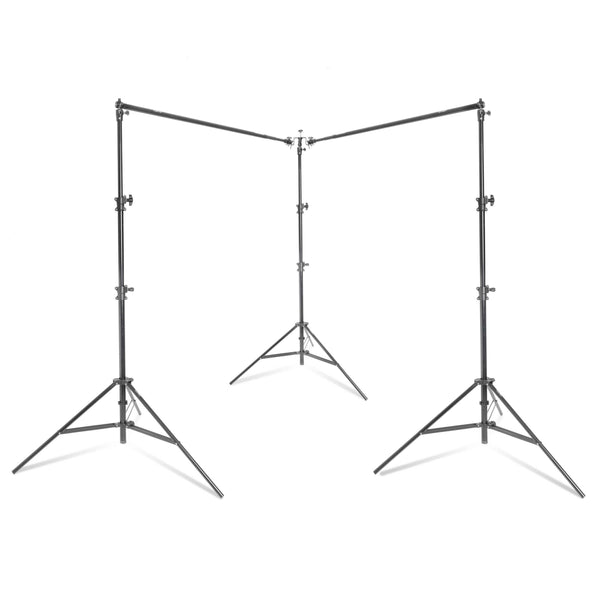
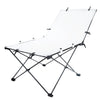
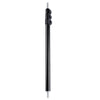
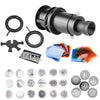
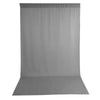
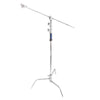
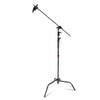
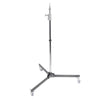
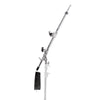
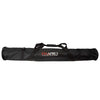
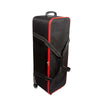
1x 1.35x10m White Seamless Paper Background (Will fit in a standard car without needing to run it from the boot space into the car interior), 1x Studio Telescopic Background Stand (2.8x3.0m) (This is supplied in a good quality padded carry case, I always carry a spare cross beam which I store and carry in the included case), 3x 240cm Air Cushioned Studio Light Stand & 1x 120cm Quad Stand Caddy Bag (This is well padded, I also pack my camera tripod in this case along with the 3 light stands)
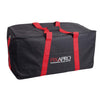
I carry the 3 CITI400 PROs in a backpack along with 3 spare batteries, this also has a space for other things and will take a small laptop in its rear zip up compartment.
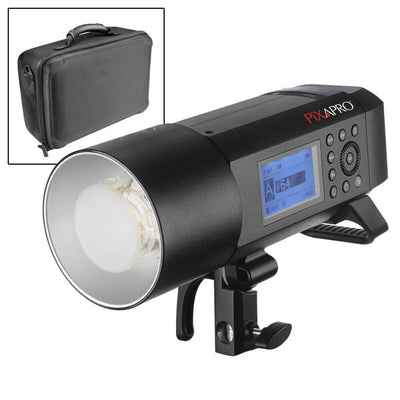
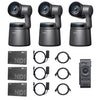
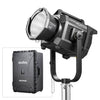
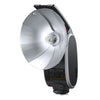
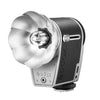
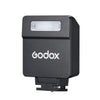
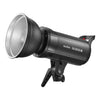
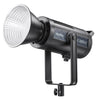
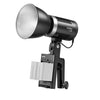
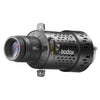
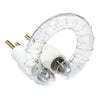
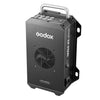
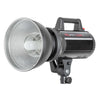
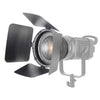
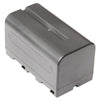
 CITI400Pro TTL Battery Powered Flash (GODOX AD400PRO)
This setup gives me a large white Hot-Spot down the backdrop. The paper could easily be lit from the front with the 2 lights, but I prefer the look of the studio setup, again the presentation of my studio is important.
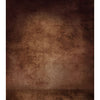
Hot spot area and how clean the studio looks from the front can be seen here:


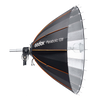
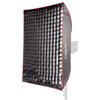
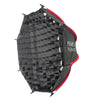
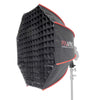
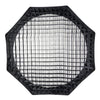
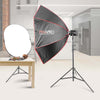
You can also use an Octabox, this will give a little more contrast but needs a little more careful placing of the pupil to avoid a dark fall off on the pupil’s face, Umbrellas are a lot more forgiving and give a nice soft fall off.
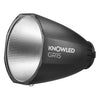
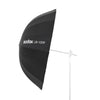
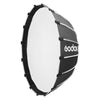
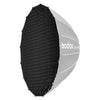
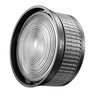
The Octabox I use is the 85cm (33.5") 16-Sided Easy-Open Silver Interior Parabolic Softbox, which pops up just like an Umbrella.

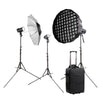
Set-Up 2
This is a more complicated set up, for multi pose shots.
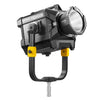
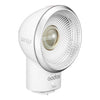
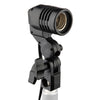
For this, I use 2x CITI600s combined with 2x PIKA200s with the following equipment:
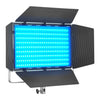
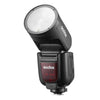
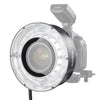
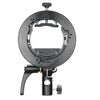
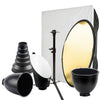
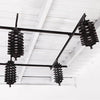
2x CITI600 Manual with 85cm (33.5") 16-Sided Easy-Open Silver Interior Parabolic Softbox, 1x PIKA200 (Bare-Bulb Head) with 60x60cm Square Easy-open Round-Head Speedlite Softbox & 1x PIKA200 (Bare-Bulb Head) with Smart Bracket, Standard Reflector and Universal Barndoor with Honeycomb and 4* Colour Gels

2-Studio Set-Up
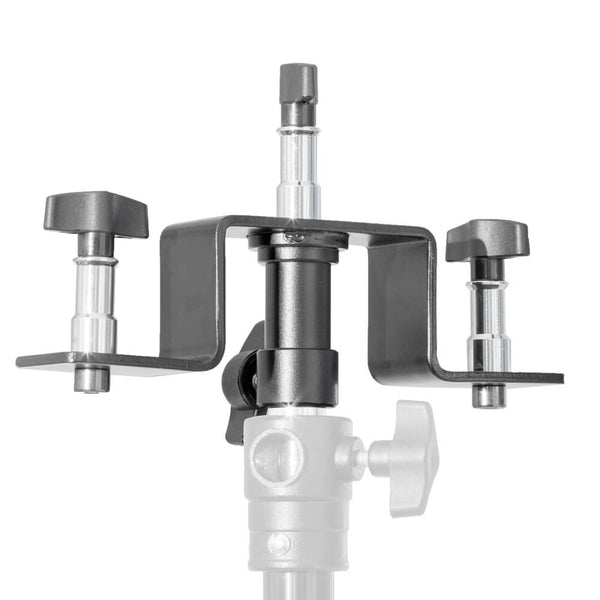
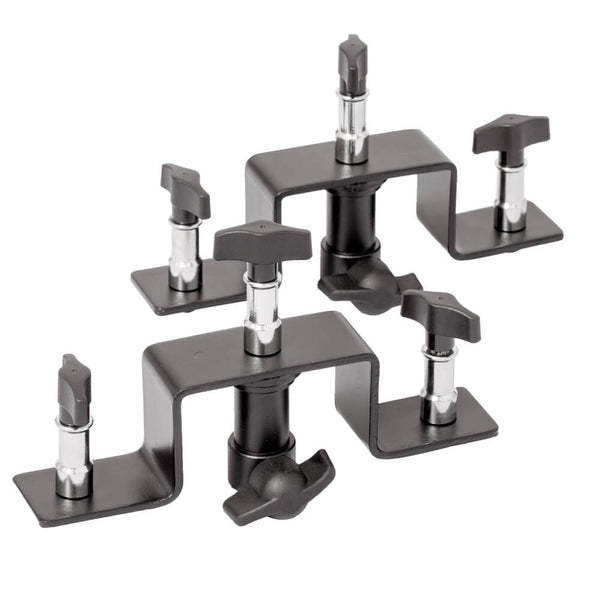
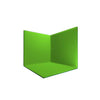
An issue at many schools is that of privacy on the studio area, we have all been there with a large line of pupils and they are laughing at each other and the pupil on the studio struggles to pose, all these delays can cause issues later in the day. It is important to keep a fast workflow, so an addition I added 5 years or so ago was the right-angle studio. This is a simple set up, but you can also use it to shoot 2 different backdrops for each pupil, light setups will be different for a two back drop shoot.
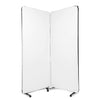
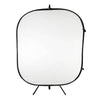
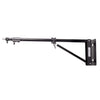
I add one more studio stand and cross beam along with the bracket shown, now the bracket is originally designed for hanging 3 paper backdrops in a studio (they come in pairs). You can either use a small dark backdrop as the privacy part or I use an Oldbury Series Double Sided Textured Collapsible Background allowing me to shoot the two backdrops.
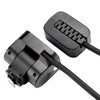
The Right-Angle Bracket I use is one of the brackets from Pair of Triple Crossbar Light Stand Brackets

This image has the bracket overlay showing

This studio setup creates a private area within the studio and the pupil line feeds to the front of the studio area allowing just the next 1 or 2 pupils to see how to pose when they walk on, any chatter from other pupils is not heard or seen by the pupil being photographed.