


Jewellery Photography - How to Capture Each Precious Detail
When it comes to product photography, jewellery photography has a reputation for being the most difficult. It does not matter whether you are photographing a heavy white-gold necklace or an intricate diamond ring; you will struggle to capture all the fine details of the product unless you have the correct equipment and techniques.
What makes this different but certainly achievable is the depth of field required to make sure the correct size and features are captured. In addition, you might struggle with lighting that is key to making it a successful venture. Because jewellery itself has a smooth and shiny surface, it will reflect light onto your lens. To resolve this issue, you will need to control light and create high-quality visuals.
Here are some tips and products that will make the most of your photographic skills and capture each precious detail.
Selecting the right background
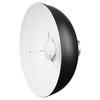
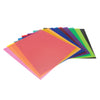
The first thing you need is a clean and smooth background for your photo shoot. It would be best to select a simple yet effective backdrop that supports your product but does not outshine it. We recommend using one of the following backgrounds:
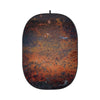
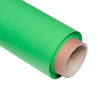
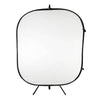
1. The 1.5x2 meters black/ white collapsible background
2. The 1.35x10m Seamless Paper Backgrounds
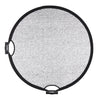
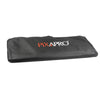
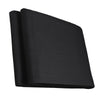
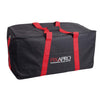
3. In case you are looking for more portability, a Foldaway background can be set up anywhere
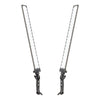
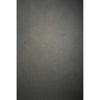
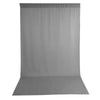
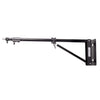
4. If you are looking to invest in a perfect background for large product shots, a Muslin Cotton Grey Drop is ideal. However, you will need a crossbar or background stand setup for it.
5. A black and white PVC background
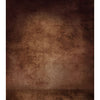
6. Printed Textured Backgrounds
Once you have made sure the background will absorb light and reduce reflections, you can confidently start taking pictures of the jewellery.
 |
 |
 |
 |
 |
 |
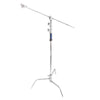
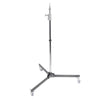
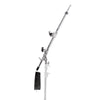
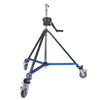
Tripod and Lighting
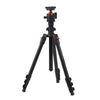
Of course, having a tripod is essential, but we wanted to reiterate this point because of its significance. If you are using a product photography kit (which we will discuss later in this article), you need a sturdy tripod to support your camera movement and angles
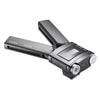
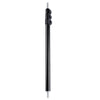
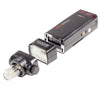
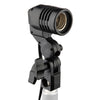
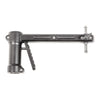
You can go with a Table-Top Compatible Tripod if you only use digital cameras. But, if you are using smartphones to photograph jewellery, the extendable Mini Tripod with Smartphone Bracket will suit your needs.
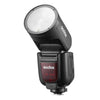
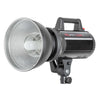
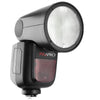
Now, on to lighting. Because of the proximity to the products, using flash is not recommended. Not only does it create excess brightness, but it also leads to harsh shadows, and you will never be able to capture full details of the jewellery.
Using continuous natural-coloured lights will have a more authentic and soft effect, and you have to make sure you are leaving any effects on the image. To adjust your lighting, here are some products that you can use to set things up.
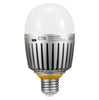
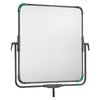
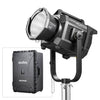
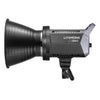
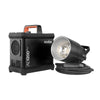
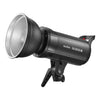
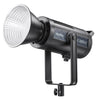
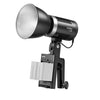
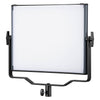
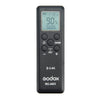
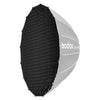
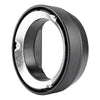
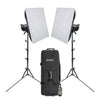
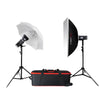
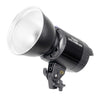
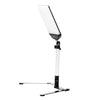
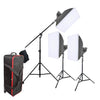
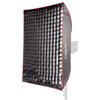
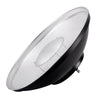
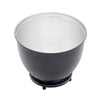
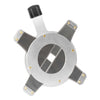
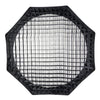
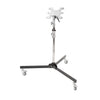
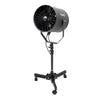
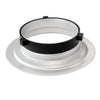
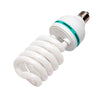
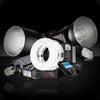
1. You can adjust the brightness, and colour temperature using the LED100D MKII Daylight Balanced LED Studio Light. It comes with a softbox, power cable, and a stand.
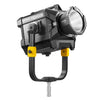
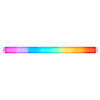
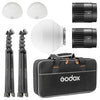
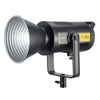
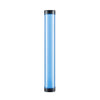
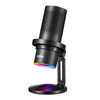
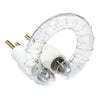
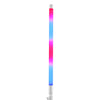
2. At times, the light within the setup or softbox is not enough, and you might need to place your light closer to the product. You can use the flexible and hand-held VISO500 LED Light Stick. They are portable and can be used where there is not enough room for LED panels or grand setups.
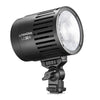
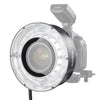
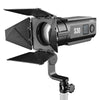
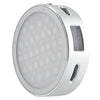
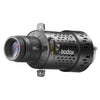
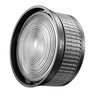
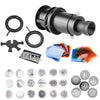
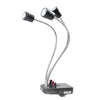
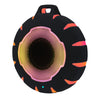
3. Another great option is the MacroPod LED Macro light.
 |
 |
 |
Product Photography Kits
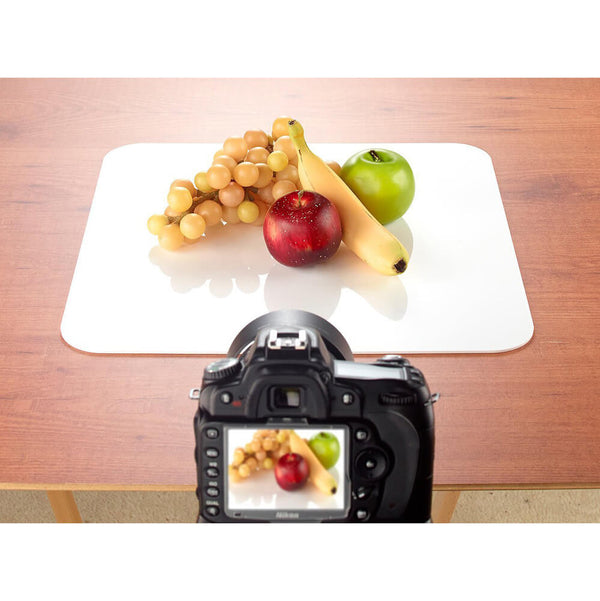
We have talked about individual components of a setup, but the most important thing is capturing each detail. This is extremely hard to achieve in a traditional setup because the product cannot be illuminated or moved in every direction.
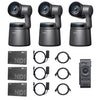
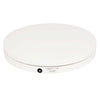
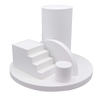
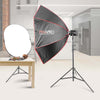
For this purpose, you will need one of the following kits that include a turntable. This will allow you to rotate the product in different directions, vertically and horizontally, and capture it from all possible angles. This is what sets good jewellery photographers apart- the ability to make the jewellery sparkle from tempting angles.
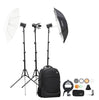
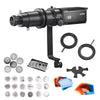
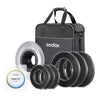
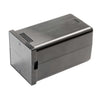
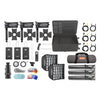
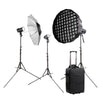
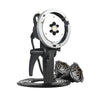
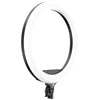
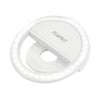
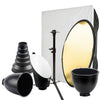
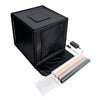
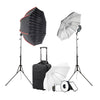
We recommend using the RICO240 Ring Light 360° Product Photography Kit.
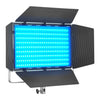
If you are on a budget, you can also select the RICO240 Ring Light Product Photography Kit that does not have a turntable but is a complete setup for your photographic venture. It comes with a ring light with a diffusion filter and LED panels with a built-in diffuser giving the same effects as a softbox.

PixaPro RICO240 Ring Light 360° Product Photography Kit
Handling the Camera
We know with certainty that soft lighting is the ideal choice because it distributed light evenly. It would be best to use a tripod, so your camera stays fixed in its position, and portable lights will help you shine a light on what you wish to illuminate especially.
It is just as crucial to know how to photograph under these conditions. You have to understand exposure and very meticulously control the shutter speed, ISO, and aperture of your camera. If you are holding a camera, instead of using a tripod, using a fast shutter speed to capture sharp images of jewellery would be difficult.
You need a low-value aperture and then set the ISO accordingly. Remember that increased ISO leads to grainy images that will look terrible even if you manahe to capture each detail of your product.
Jewellery photography requires exceptional control over lighting. Once you have grounded your products and set up your equipment, you must make sure every angle is covered. The goal is to highlight all the delicate and intricate features without any reflections or clutter in the background. You can easily do that by using our professional kits or creating a setup using the most relevant and valuable equipment.
To learn more about photography and lighting products, please visit our website. Our main objective is to provide high-quality products and highlight the key areas of improvement for the photography industry.
