


Key Tips for School Photography Beginners
School photographers have to tackle the monumental task of taking photos of easily excitable students, ranging in age from nursery and reception age up to teenagers. These photographs will be hung on the walls of family homes and tucked away in school yearbook albums, so what makes a school photograph stand out and be memorable?
The first important thing to note is that photographing children is not easy, and it takes a lot of practice patience to find all things joyful, innocent, and professional in one frame. But if you are tasked with photographing the entire school, you will not have the luxury of time.

1. Be Prepared and Well-Informed
The first step to a happy client is to gather all the requirements from the school. You need to know the number of students you will be photographing, the amount of time you will have, any special requirements, and most importantly, the school's aesthetics and where you will be shooting so you can prepare for outdoor or indoor lighting.
If they have school colours for uniforms and logos, you should enquire about the background colours they want. Other factors such as the poses, and the props should also be considered. You also need to see the location of the shoot and how well-lit it is. Only after you know what you have to do and where you will be doing it can you start setting up your equipment.
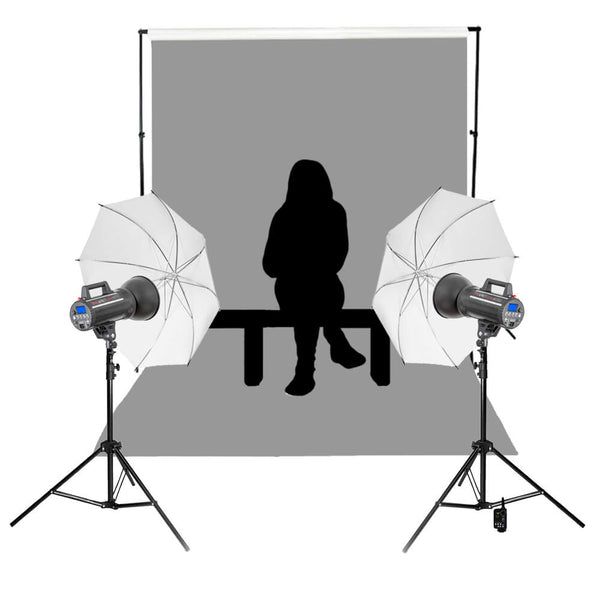
2. Create a Set, Adjust Lighting and Camera Settings
Backgrounds
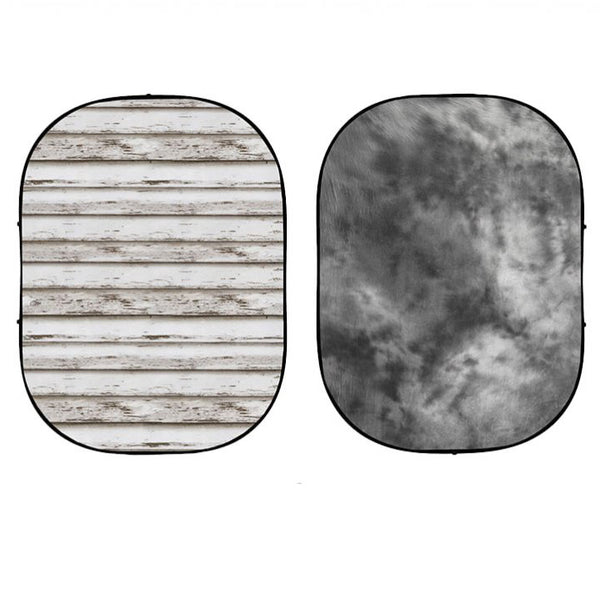
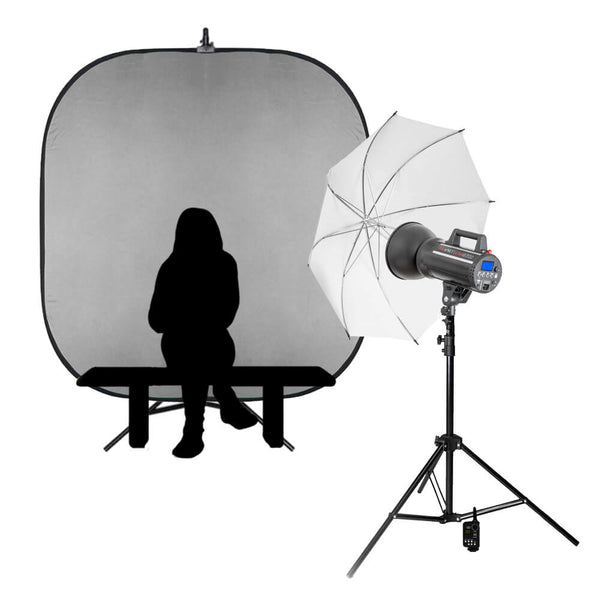
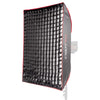
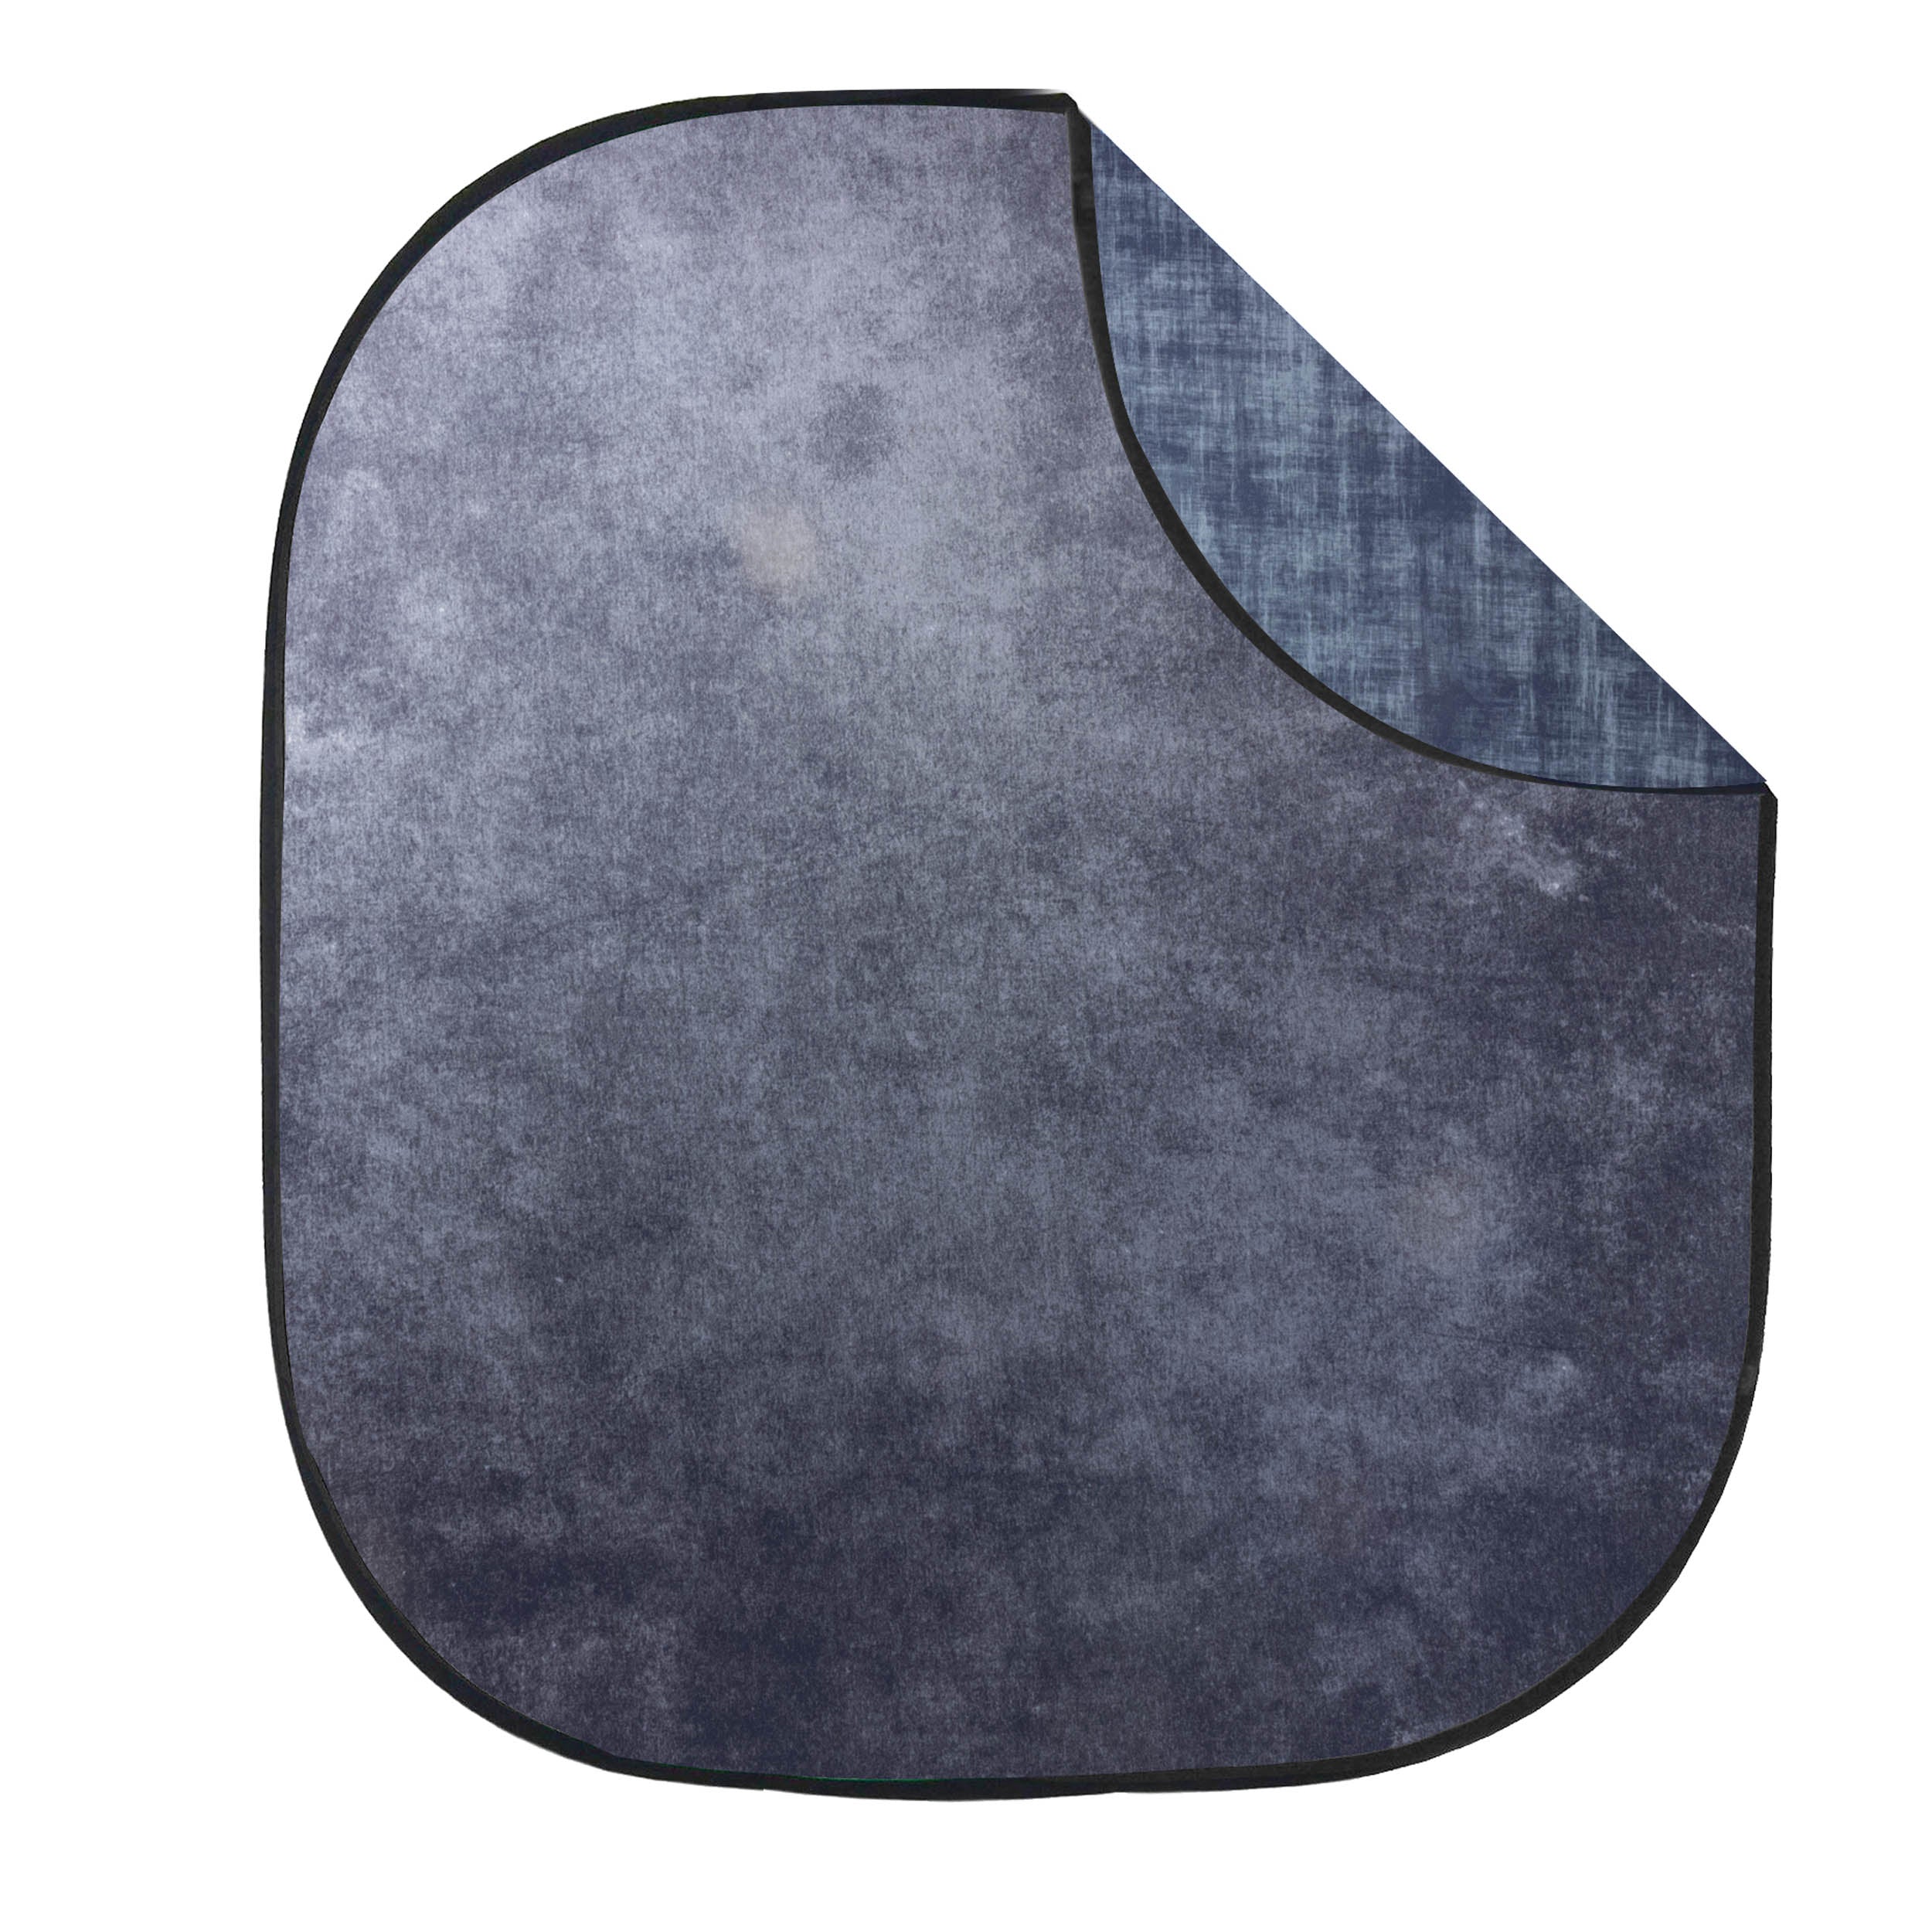
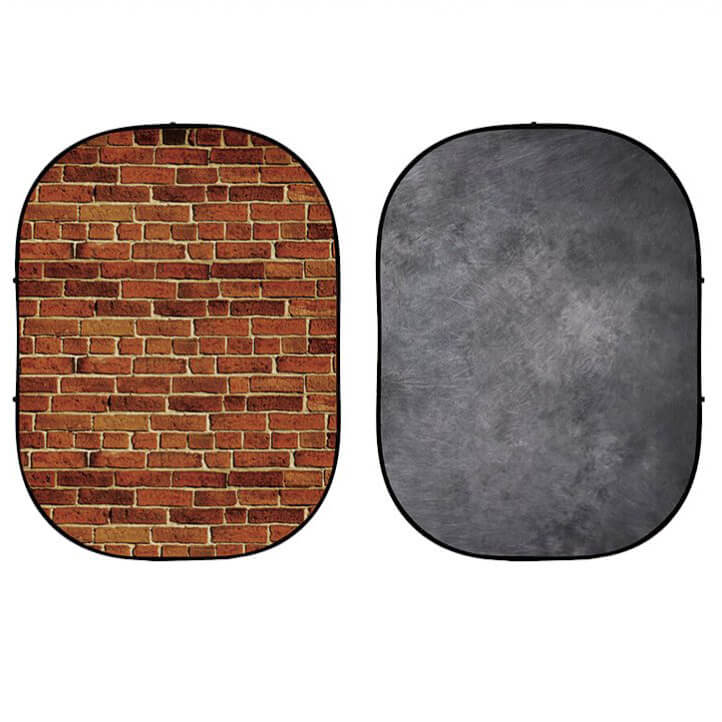
You can go with a collapsible background that is lightweight and portable. We offer a wide range of double sided and anti-crease backdrops in different colours and textures. These are perfect for taking photographs of a single or small selection of students. A 1.5x2 meter background is ideal for children, while a 2x2.3 meter option is well-suited for teens and secondary school photo shoots. These collapsible backdrops are the most portable and lightweight option for school photos if you're looking for a more compact backdrop to travel with.
 |
 |
 |
There are more colour options available in paper backgrounds that are great for a plain and seamless background effect for minimal editing. If stained or scuffed, the paper roll can just be extended and trimmed. Even though they are not as portable, they are still portable in most cars. For one student, a 1.35x10 meter background works perfectly.
If transportation or the weight of your background is not an issue for you, you can go with a vinyl background that is easy to clean, available in more colours, dual-sided, and hard-wearing. While these backgrounds are more suited to single-subject photographs, you can also use our fabric backgrounds available in size of 3x6 meters for group photos.
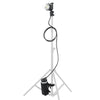
Studio Lighting
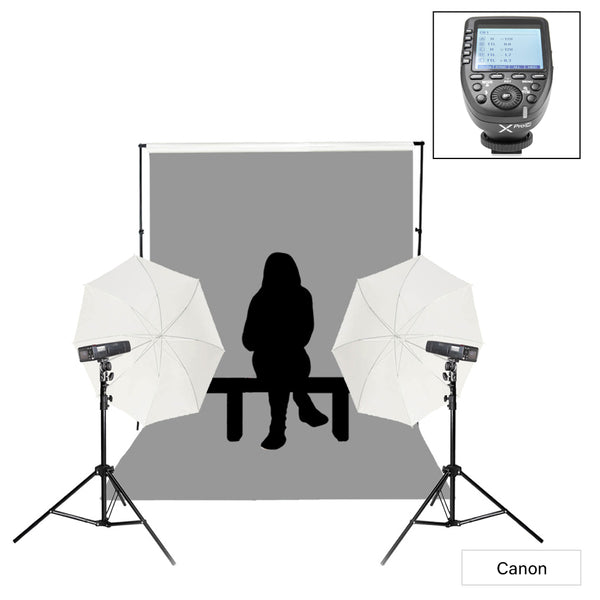
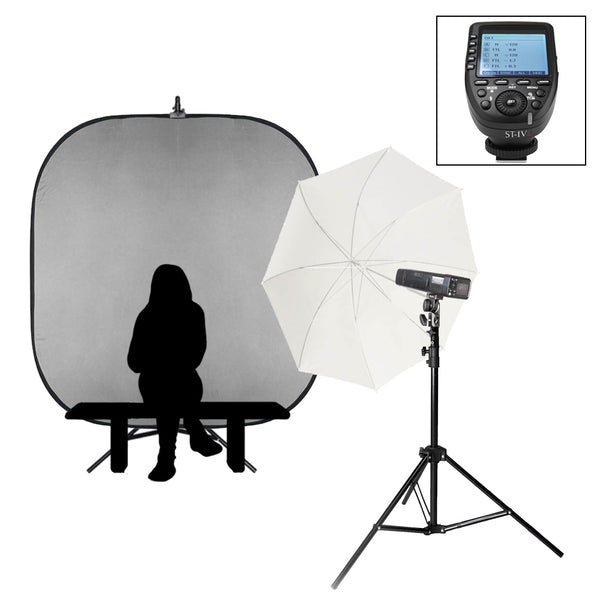
You will need to set up studio lights to illuminate the shooting location and your subjects. Since most school photos are taken in school halls, main power studio flashes are ideal, provided you've got access to sockets. Some schools prefer outdoor shoots, especially for full-year group images, meaning battery flashes are best for this. This removes the need for mains power outside, and also means less trip hazards where cables are removed.
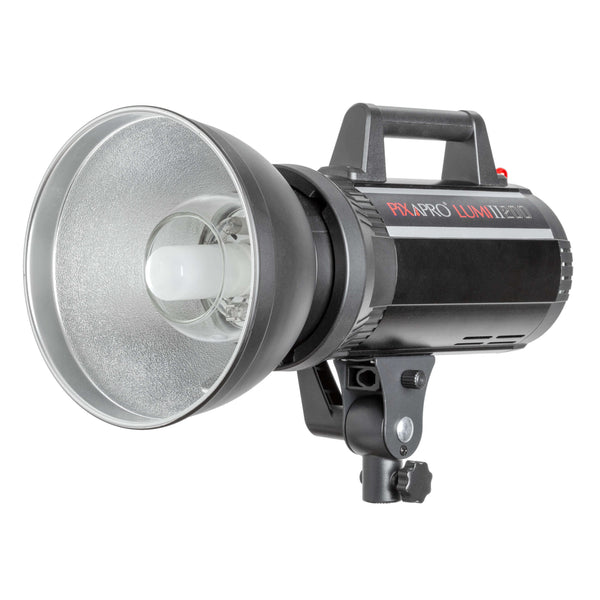
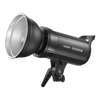
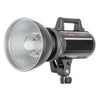
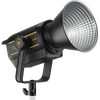
A few lighting kits we recommend are:
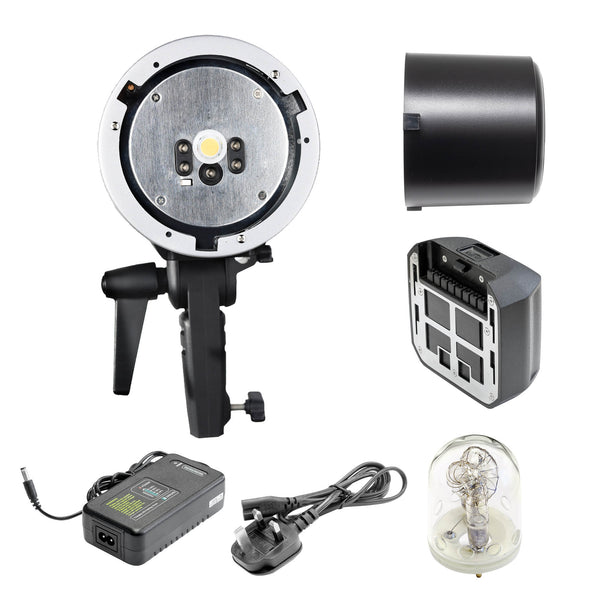
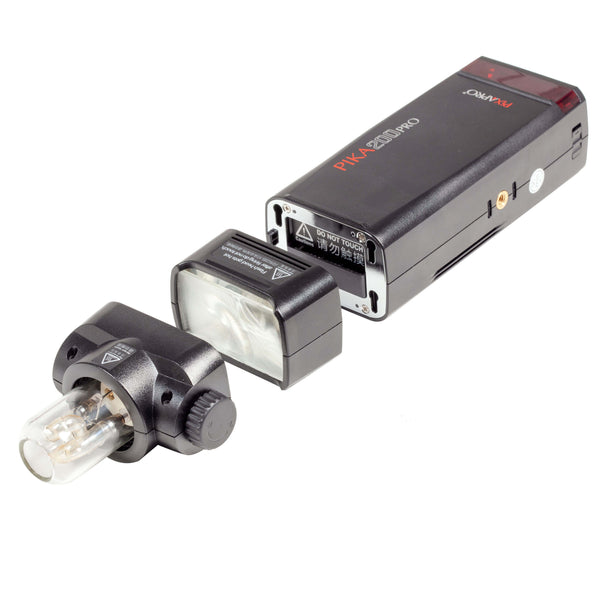
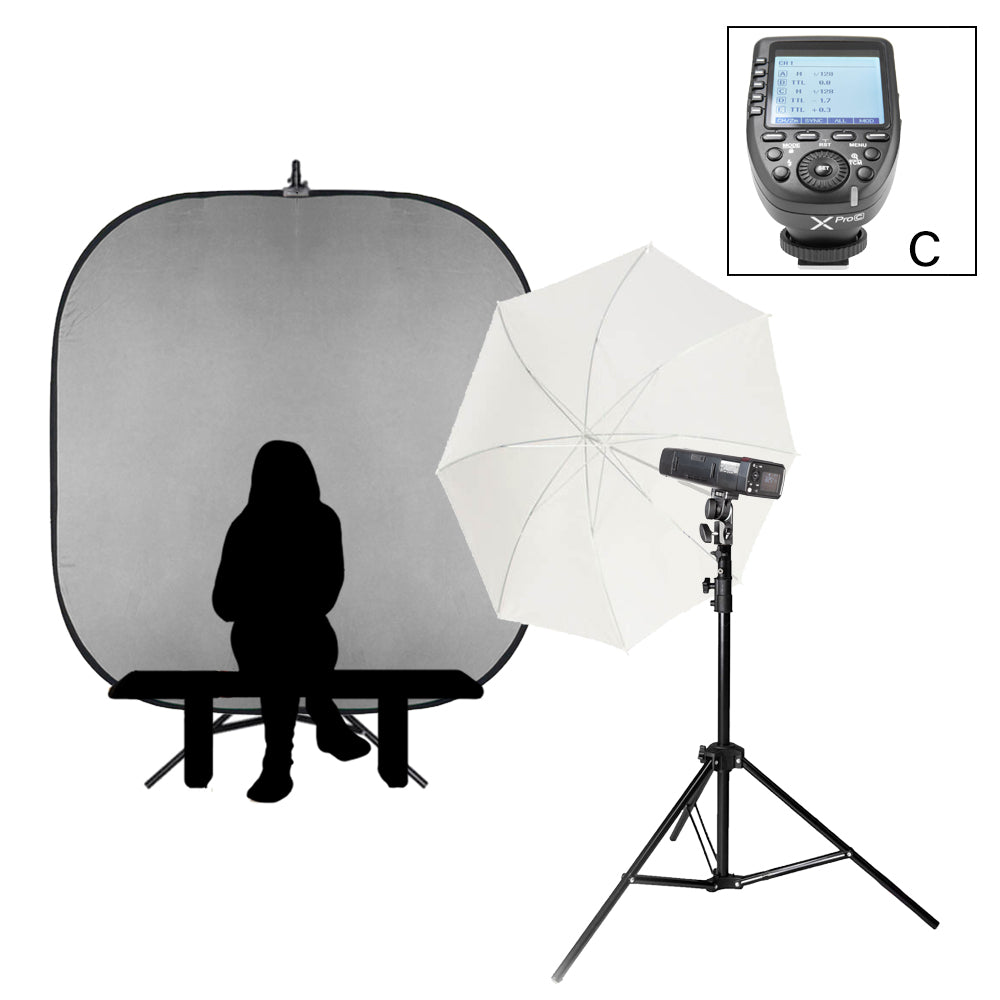
- The battery powered, one light setup PIKA200 PRO Single Subject School Portable Portrait Flash Kit
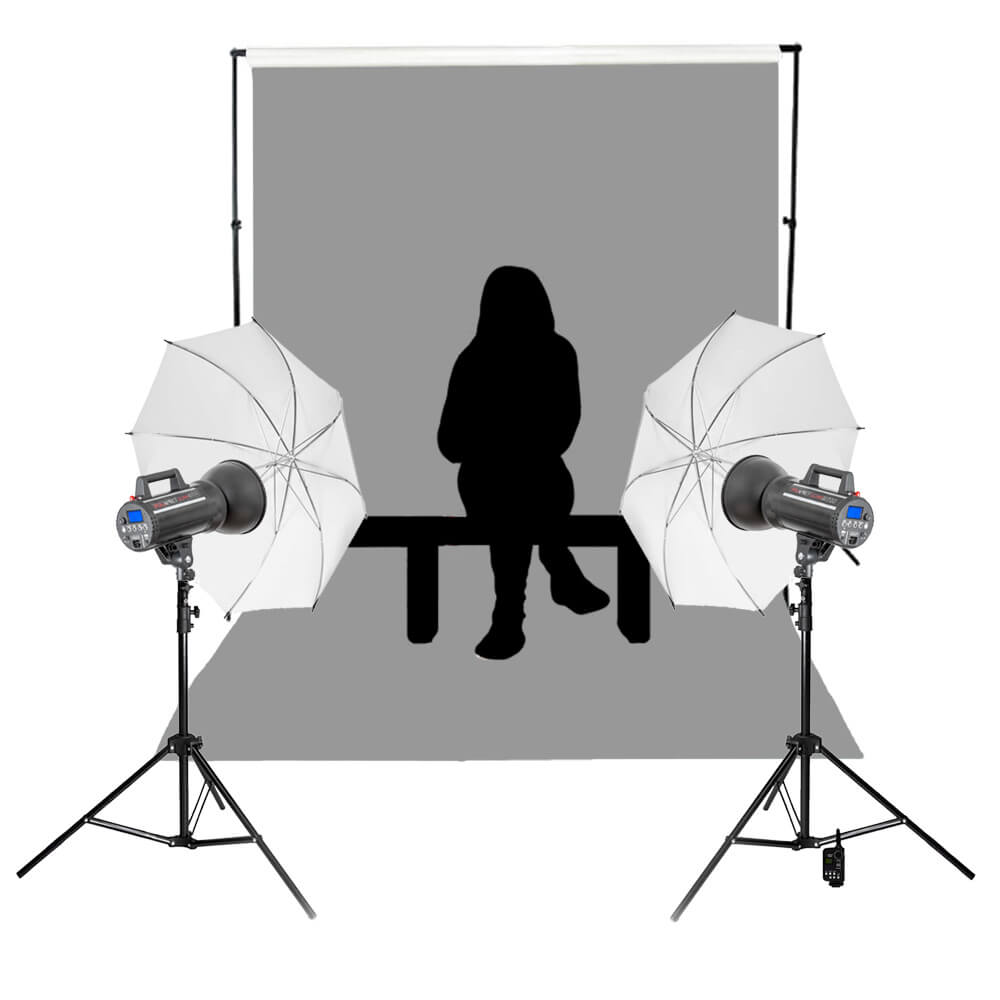
- The main power, two light setup LUMI200 II Flash Portrait Twin Kit
- The battery powered, two light setup PIKA200 PRO Flash Portrait Twin Kit
- The CITI600 manual is often used for outdoor photography because of its ability to overpower the midday sun. Similar alternatives include the Godox AD600 Pro.
 |
 |
 |
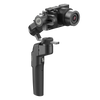
Camera Tips
You may need to bring various lenses and even require a telephoto lens if you take pictures of young students outside. This is because you might need to vary the zoom distance and move for some students.
As for your camera settings, you can increase the ISO as far as 800 or more as long as the resulting images are not grainy. You can set the aperture at f/2.8 to f/4 and a relatively slow shutter speed of 1/60 seconds.
If you are outside, you need to reduce your ISO speed if there is too much light and exposure. For a typical sunny day, ISO set at 100, aperture at f/16, and shutter at 1/100 seconds is ideal.
These are only general guidelines, but you have to keep in mind that lighting and brightness is the most fundament component of your photography.

3. Consistency
You have to customize your white balance at the start of your indoor shoot. For example, the auto white balance can work for daylight, but you have to use another pre-set indoors to make sure the colours are well-balanced.
It would be best if you kept your exposure and lighting consistent throughout the photoshoot. Make sure you are using the camera in manual mode and adjust exposure only if required.
4. Bursts and Focus
Make sure both eyes are in focus. It may also help to use bursts and capture multiple photos. You can also increase the shutter speed and ISO as long as it does not affect the image's brightness.

5. Posing
Light bounces off of subjects. If the students wear a bright colour on their uniform, it may be reflected on their chins.
You can suggest a specific pose with a slightly tilted head, so the highlights and shadows favour the image. If your background is too prominent, use a wide aperture at f/8, and the background will no longer be as dominant.
A good tip is to follow the rule of thirds when preparing to take a photo. This means photographing so the image can be equally divided into thirds, and the student is at the intersection of these dividing lines.
Practice Makes Perfect
You can excel at any craft, and being a school photographer certainly puts your skills to the test. Working with varying locations and lighting, students of different age groups, and still making sure each shot comes out spectacularly will require you to understand balancing colours, exposure settings, and how to guide the students for the perfect pose.
If you've got any questions about the equipment or lighting in general, get in touch with our team directly at info@essentialphoto.co.uk.