


My Approach to Headshots - By Richard Bradbury
"Hello Everyone,
For this post, I will be talking about my approach to shooting headshots in my studio.
Plenty of options for more traditional backgrounds exist on the market ranging from material to pop up through to paper rolls. They can all get the job done of either being grey or being lit to white background.
Personally, I approach these two ways. I find the pop-up backgrounds fine if I want a grey or other colour but either go to paper or the possibly not that often-used light modifier for white backgrounds.
White Seamless Paper Backgrounds
Let’s take a look at using a white seamless paper first. This is a very well known and well used way to shoot head shots.
You can get paper rolls in a few sizes these days, PiXAPRO have some half length rolls which can be more easily transported if required.
My studio has full sized rolls and for white, I will typically go for an artic white, which is a brighter white paper that is easier to snap to white. You can also do this with grey paper, but it will need more light putting on to the background to send that paper to pure 255 white.

Seamless Tabletop Product Photography MOBI LED Twin Kit (White)
In the BTS shot above, you can see the white paper (2.72m x 11m roll ) pulled part way down, no point in laying down a full sweep and getting unneeded marks on the paper.
The lighting setup for this solution ideally needs a minimum of 3 lights, two for the background and one for the main/key light. You can of course add more to light your clients as needed.
The two lights on the background help provide an even light across the wider paper rolls. You could go down to one background light for smaller rolls and hide the light behind your client.
  |
EF Lens Mount This can provide a nice clean result for both head shots and even full-length portraits providing you have space. Space is needed to prevent the now lit background from flaring or starting to influence the edges of your client too much. |
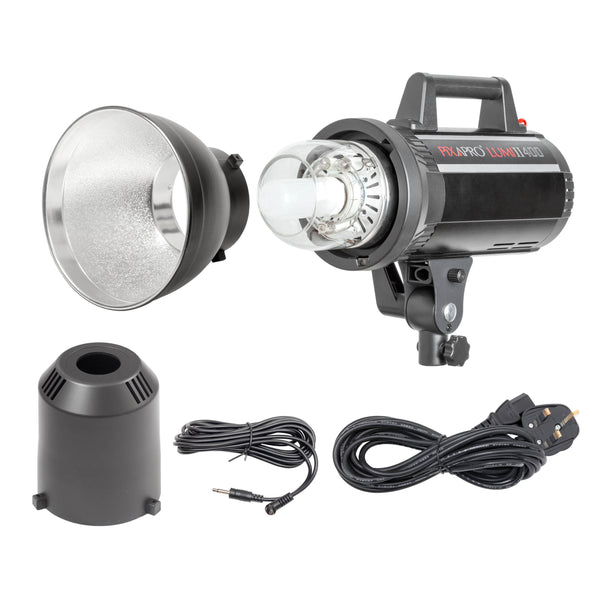
Gear Used
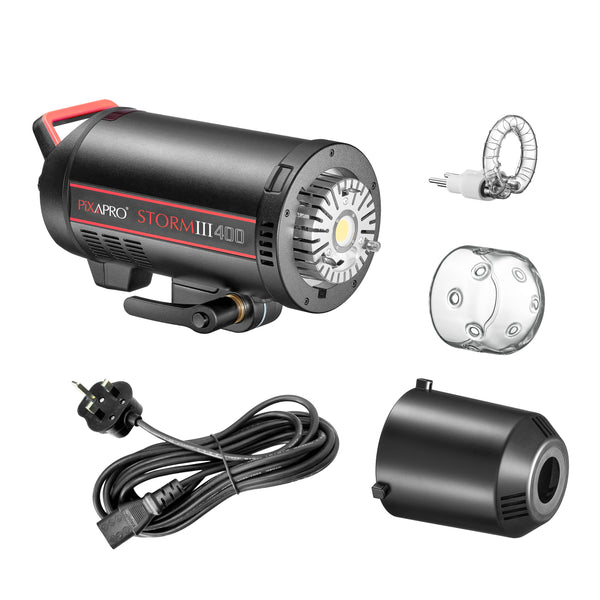
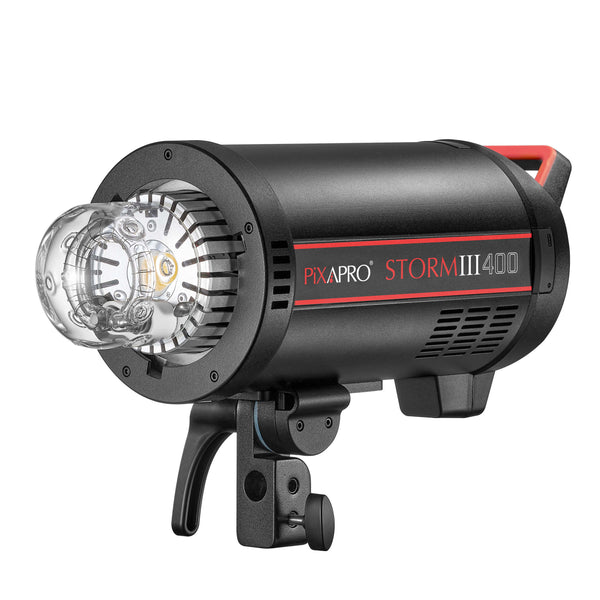
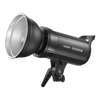
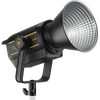
1. PiXAPRO Storm II 600 (Key Light) modified by a 21.6” White Beauty Dish with sock
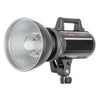
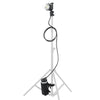
2. Two PiXAPRO Storm II 400 with barn doors for the background lights.
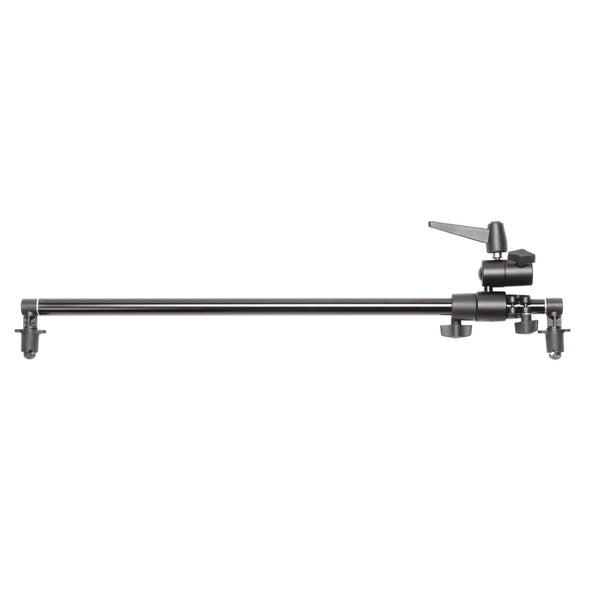
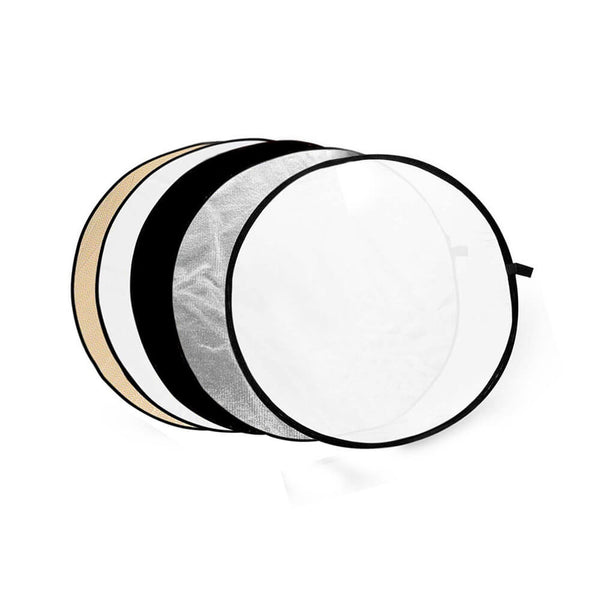
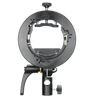
3. A 5in1 Reflector was used for fill. The reflector arm needs replacing with this one from PiXAPRO.
By running separate lights for the background, it gives us the option to change that white background paper to grey by simply turning the background lights off. This can be done from any of the triggers from PiXAPRO via the One System of triggers and lights. It all just works.
My trigger of choice is the ST-IV as it allows me to run more groups and has a nice large display for my old eyes.
By turning off the background lights the light fall-off from the key light lets that white paper go grey.


Few tips for you:
· If you are working close to the lit background paper, you may start to get light flare on the edges of your client’s cloths reducing contrast and separation, this can be controlled with negative fill cards or flags.
· Also, you can get some of the light from the background hitting your key light modifiers which can increase the key light exposure a tad, it does depend on your working space and positioning of the key light. Just a few things to watch out for.
· I tend to light the background so it is 1.5 stops over the key light exposure to get pure white, your milage may vary as you may have different paper types.
· If you see light coming through a client’s ears with this setup you can prevent that by asking if they can apply a small bit of black gaff tape to the back of the ear but make sure they are not allergic.
With this setup, you have the option to shoot head shots, half-length or ¾ length portraits on both white or grey in the one session.
If you are shooting wider open you will want the modelling lights on the background lights (and may be even the key light) turned off or you will get a colour cast on the background.
Let’s take a look at the other way to approach this.
Using a Modifiers for the background
This is becoming my go to approach for head shot sessions in the studio.
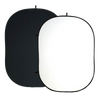
These days, I tend to leave the grey seamless paper roll on the background bar because it can be used for many different looks and even lit to white if needed.
I setup to shoot on my grey background paper and when I need a white background I setup one light and modifier to play that role.


You can see in the BTS shot above that I have two lights on set.
|
1. Key light – PiXAPRO Storm II 400 and 90cm Octagonal Softbox. |
 |
Do it in camera where you can folks.

I shoot on the grey background paper first and place the setup at a distance needed for the tone of grey wanted by my client.
 |
 |
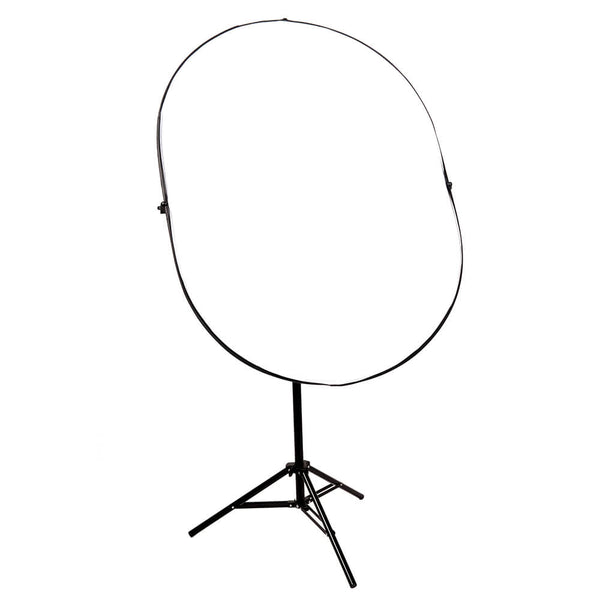
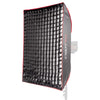
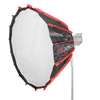
Super Large 170cm (66.9") Octagonal Easy-Open Umbrella Softbox With 4cm Grid and STORM II 400 High-Speed Flash Head (QT400 II)
Once the grey background shot is nailed, we move to the white background by simply placing the 170cm Octa behind them.
The nice thing about this setup is because I am shooting a Lightsource that is directly in the frame, I don’t need to put as much power into the background light. This means light bleed on the edges is still controllable and I can get the 170 Octa closer, providing a larger background to work with.
The downside to this setup is I do only have so much background to play with. You can see this in the out of camera shot below.
That all said, the edges of the Octa are easy enough to clean up in post. I could also go to a longer lens but that would change perspective which I may not want for a head shot.
 |
 |

The other advantage of this approach is you can take it on location far easier than a paper roll and background stands/bar. If they have a white or grey wall at the client’s office, then you are good to go to shoot grey and white in the same session.
The key is to keep it simple and make it run as smooth as possible, so you can spend more time getting to know the client and working the shot.
Alternate Gear
1. Background Lights – PiXAPRO LUMI 200 II or 400 II. I would go 400w units myself for the additional power as you may be running the 200’s close to full power for F8 and up.
2. Key Light - PiXAPRO CITI 300 Pro – I chose this one over the PIKA200 for the modelling lamp it has as it can aid obtaining AF in a darker studio. It’s a nice option as it’s battery powered and means no cable to run on the boom.
Conclusion
The paper background setup is a tad cleaner in respect of the edges of clothing and on shoulders, but it means more time is taken during a session to shoot grey and white. Time is money for both me and my clients.
Honestly, spend the time to find a workflow that works for you to make you more efficient on set, it will pay off in the end. After all, portrait and head shot work is about the client and the story they bring and not the gear.
Thank you for reading.
Any questions fire me a message over on Instagram.
Rick
RJ Bradbury Photography"