


Essentials for the Perfect Product Photography Setup
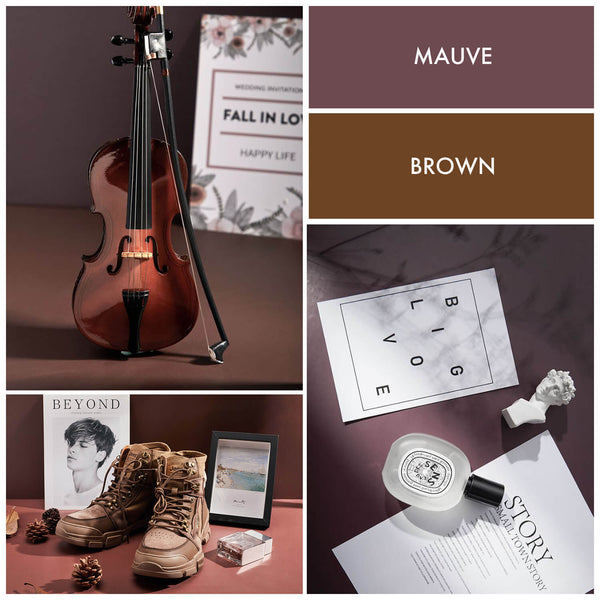
Product photography is very different from photographing real estate, nature, or even people. It requires you to get creative with lighting and background to create appealing and high-quality visuals, and having a proper product photography setup is vital.
There is a spectrum of photographers that are involved in product photography. Some might have high-end DSLR cameras, a large crew, an elaborate setup, and a high budget. But, there are product photographers that are minimalist and still take those polished and professional-looking shots.
There are also two types of product photography. One features product images only, in different angles, across a clean background that accentuates product features. An example could be a shoe or watch against a white backdrop. The other type of product photography is lifestyle photos, which showcase a complete scene such as a girl wearing a sundress in a garden or a man holding a fishing rod by the lake.
For this article, we will focus on indoor product photography for products against white or similar backgrounds. You can definitely ace the game with a basic camera, provided you have the perfect setup that allows you to manipulate lighting in a way that complements your products. Here are the essentials for a perfect product photography setup you need to have.
Complete Kits
We start with a one-fits-all solution that you can invest in, and it will accompany you in your ventures over a long time. Products are of varying shapes and sizes, and depending on those physical parameters and the angles you wish to capture, you can go with one of the following kits.
-
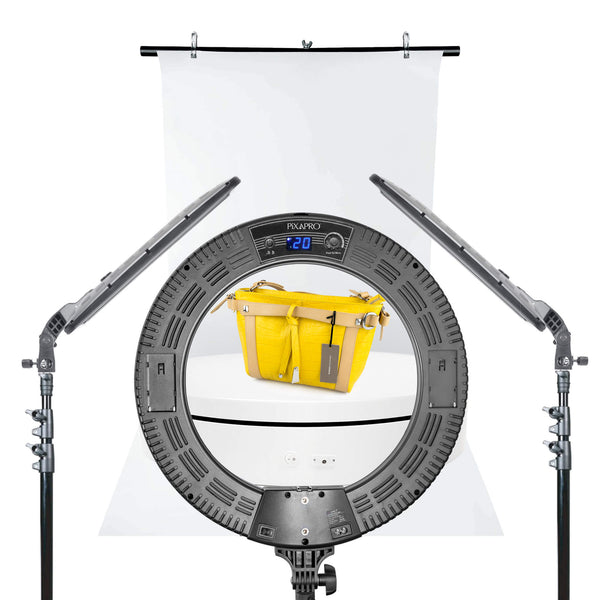
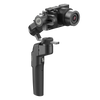
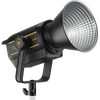
The RICO240 Ring Light Product Photography Kit. It comes with a table-top background stand, clamps, air-cushioned stand, and a white PVC background. For lighting, it has a RICO240 Ring Light as the main light that has a dimmer. It is supported by two more LED panels that can be used to create rim-light. The advantage of this setup is the size of products it supports. You can photograph a bag, a shoe, or a ring, and it will provide high-quality images. The diffusion filter and built-in diffuser ensure that colours are maintained, and you would be saved from the hassle of editing photos post-production.
 RICO240B MKII Ring Light Product Photography Kit
-
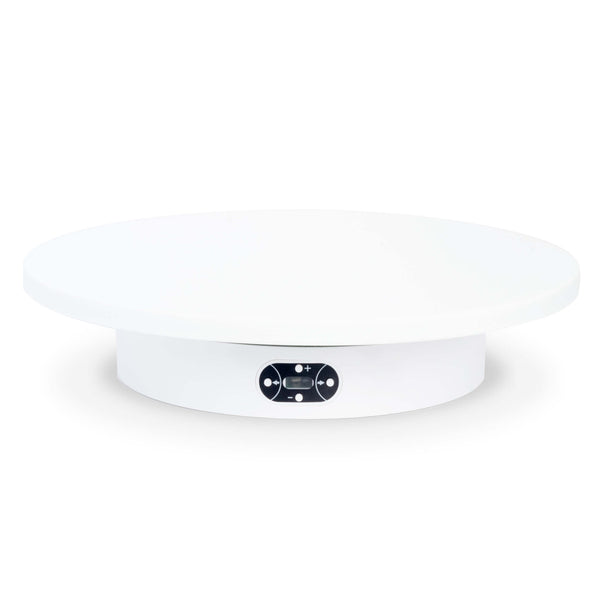
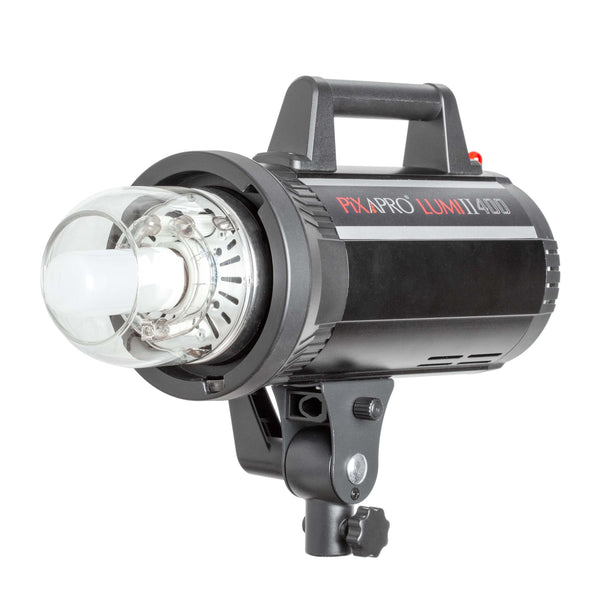
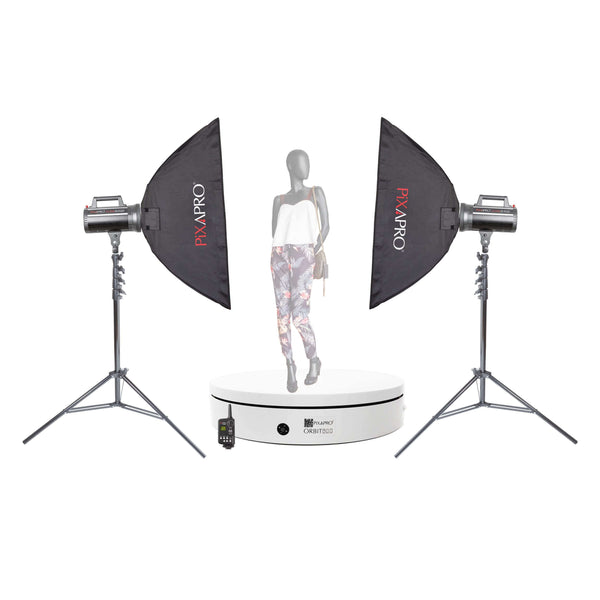
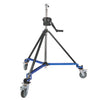
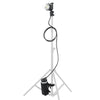
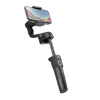
If the products you are photographing are small in sizes, such as watches or jewellery, or mini Bluetooth earbuds, you would want to capture them in the best light and a unique style. The LUMI400 Turntable Product Photography Kit includes a turntable that allows you to rotate your products in different directions, both vertically and horizontally.

LUMI400II 360 Product Photography Spin Systems Rotating Lighting Kit

Light Tents & Softboxes
If you are not using the complete, you can go with the separate components of a lighting setup. This includes softboxes and light tents.
You can either go with a complete softbox kit such as the DayLite4 Twin Softbox Kit with Shooting Table or DayLite4 Twin Softbox Kit with Cube Tent.
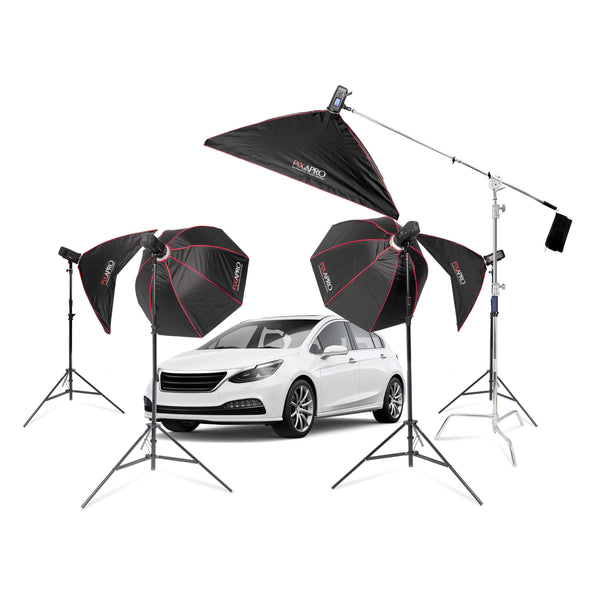
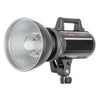
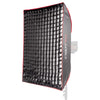
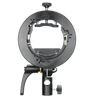
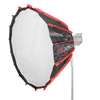
You can also work with two softbox light setups. You can easily attach your lights to our Octagonal Easy-open Umbrella Softbox or the Easy-Open Rice Bowl Parabolic Softbox. One would be your main light, and the other would be your backlight. You can use a beauty dish that has a diffuser to soften the images further and create more contrast if you want to highlight one part of the product.
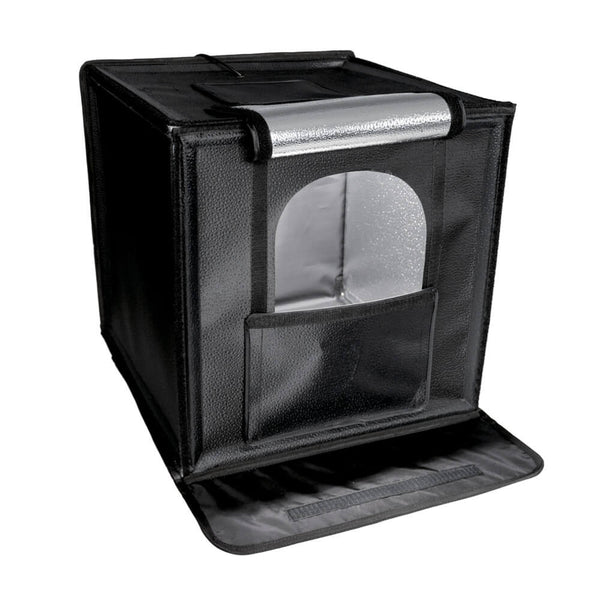
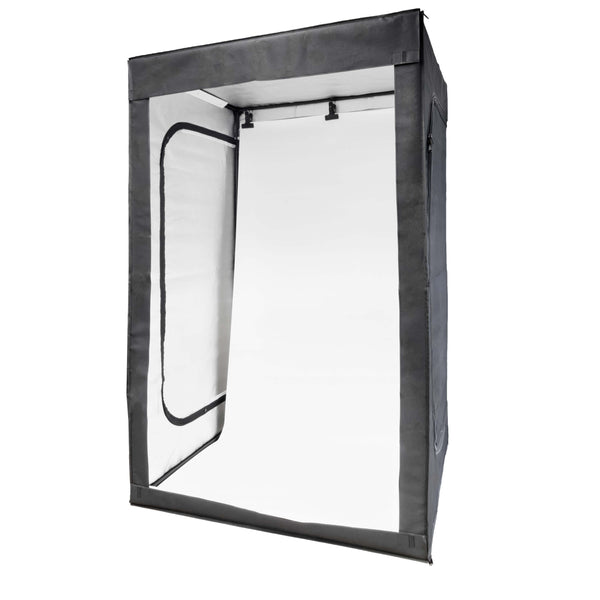
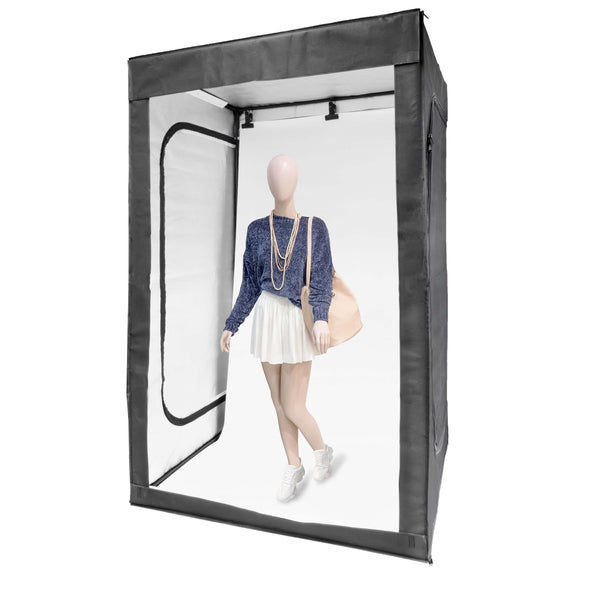
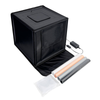
If you are working with small to medium-sized products and require consistent lighting, we recommend using a light tent for balanced light that spreads out evenly. The Daylight-Balanced LED Light Tent has a reflective silver interior that ensures clean and crisp results. Another portable option is the Foldable LED Light Tent. We also have larger LED light tents for larger products such as suitcases, clothes, handbags, and cooking pot.

Tripods, Reflectors, and Hand-Held lights
So far, we have talked about the setup in terms of immovable equipment, but you can have more control over the process and your studio setup.
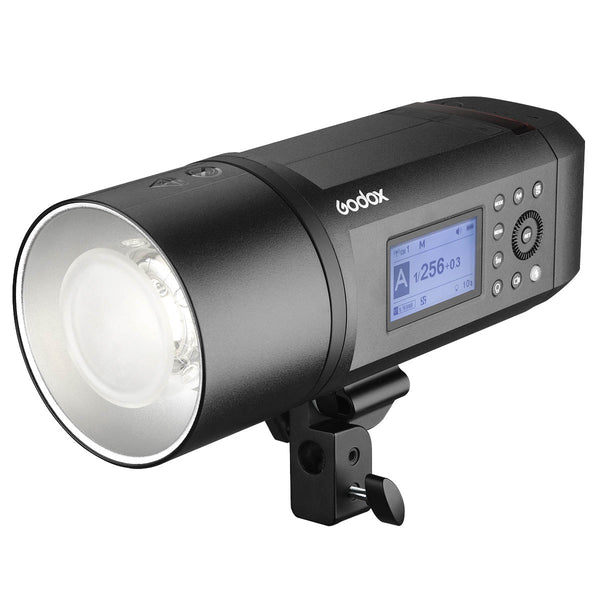
Most of the time, the studio lights would be enough to create an even depth of field and absorb any reflections. But if you see any shadows or contrast, you can either adjust the location of your LED panels and studio lights or give extra light to the product via a hand-held VISO500 LED Light Stick.
Another tool to reduce contrast and shadows or warming up the ambiance is a reflector. It is portable, available in five colours, and works ideally for photographing large products.
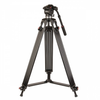
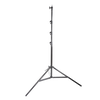
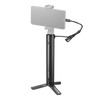
If you are used to holding your camera while shooting, we suggest getting a tripod. It adds to the consistency and focus of your images, and you reduce the risk of grainy images. Using turntables will ensure you don’t have to move to change the position of the product.
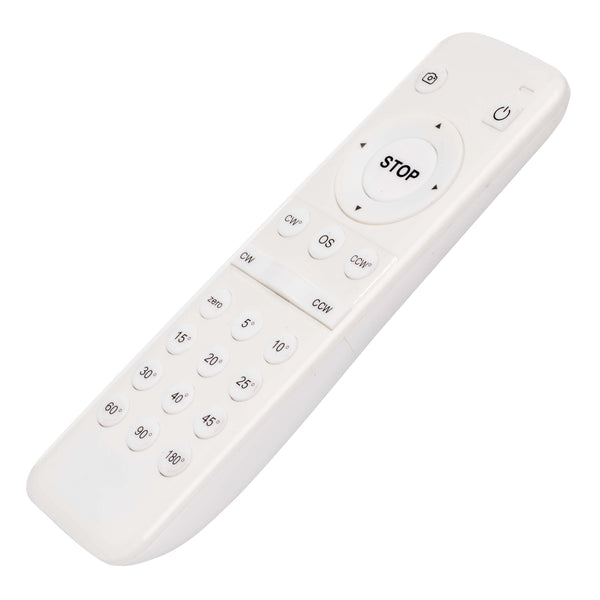
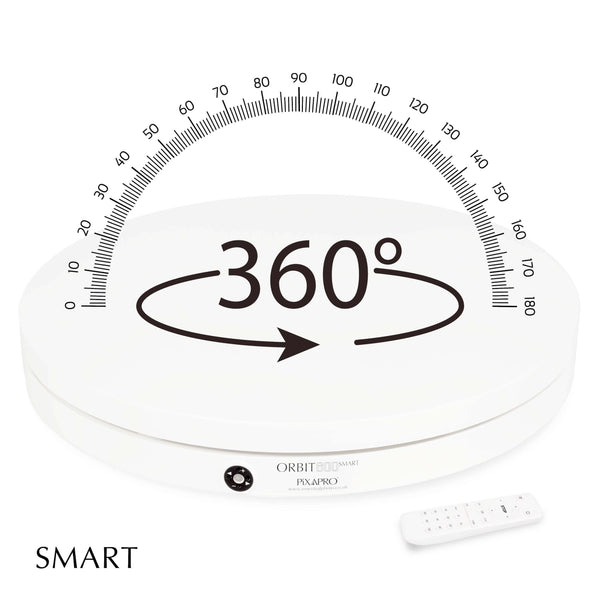
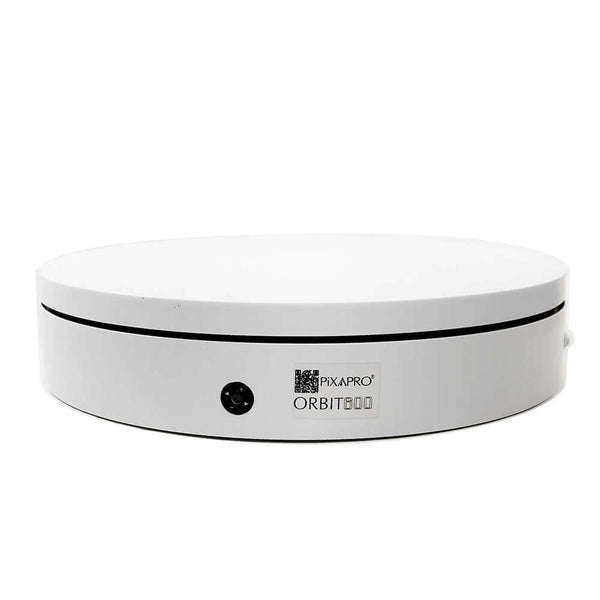
We have a 30cm Smart Turntable for small products and an 80cm Motorized Turntable with remote control for larger products such as chairs.

Backgrounds and props
To place your products, you will need a prop, and there are many to choose from. Our 3D Block Prop Set is well-suited for product photography. Other items that might come in handy are shooting tables and shadow casters if you are looking to create an extra special effect.
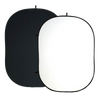
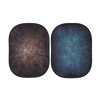
Last but not the least, you need a proper background. If you are not using a tent or a kit, you will need to set up a background. It does not have to be fancy, and a black and white collapsible background or PVC background will work.
Other more popular options are printed backgrounds, such as:
1. The J-16 board type
2. The J-19 coated hardwearing paper print
3. The J-17 dual side colour hardwearing paper background
4. For cosmetic and make-up product shoots, we recommend the Water Effect Background
 |
 |
 |
 |
Last but not least, the V flat board is an essential tool for any table top photography.

Product photography is an art, and with the correct tools and guidance, you can easily master it. To learn more about photography products, please visit our website.