


Car Photography - A Complete Guide
Running a car dealership is no easy task. In addition to selling vehicles, you will need to promote them using high quality photographs. This is essential if you intend to promote your vehicles on your own website, or in other online advertisements.
The truth is that a significant percentage of vehicle buyers make their purchase decision based on photographs. This makes it vital for dealerships to take and present attractive photographs of their inventory. This guide will take you through various steps and tips for photographing vehicle interiors and exteriors.
Challenges of Car Photography for Dealerships
Before we look at the best ways to photograph vehicles for your dealership, it may help to learn about some of the various challenges of car photography.
Volume of Cars and Photographs
One of the main challenges of photographing vehicles for a dealership is the number of cars that need to be photographed. If your dealership intends to promote dozens of vehicles in the near future, you will need to photograph each one individually.
Each vehicle will require multiple high-quality shots of the exterior and the interior. This means you may need to hold multiple photo-shoots over the course of several days. More photographs also means more time spent on editing and correcting photos. Car dealerships should plan their photography sessions well in advance to ensure the final photos are ready in time for promotional activities.
Consistency
Photographing a series of cars can be tricky as each vehicle needs to be captured in a consistent manner. This means taking exterior and interior shots of each car from the same angles. You will need to find the right camera setup that allows you to take similar shots easily and without spending too much time on adjustments.
Lighting
Lighting is crucial for car photography as you will need to control for reflections. These reflections may vary from vehicle to vehicle depending on their exact shape and curvature. Photographers will need to use modifiers to account for these reflections.
Some photographers go as far as to create ceiling lighting rigs to give the vehicle the best possible appearance using lighting. However, others may be satisfied with using tripod mounted studio lighting.
Location
It is also vital to find the right location to photograph cars in. Many dealerships prefer photographing their vehicles indoor spaces. However, this often creates space challenges as finding an indoor area with enough space to comfortably photograph the vehicle can be tricky.
Getting Started
Here are steps to get started with photographing vehicles for your dealership.
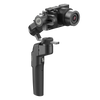
Choose the Right Camera
It is vital to choose the right camera for your photography sessions. Some photographers may be satisfied with using their phone cameras for this purpose, especially if they own a high end mobile device. However, most others would prefer to invest in a professional Nikon or a Canon camera. You can find these for as low as $200, so you should consider purchasing one if you are comfortable handling and operating them.
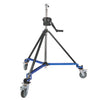
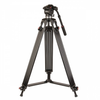
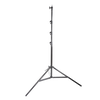
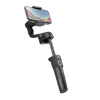
Get a Quality Tripod
A good tripod stand can take your photography to the next level. Many people assume that a tripod stand’s job is simply to give the photographer a break from holding the camera throughout the shoot. However, they also enable you to take stable and consistent shots.
A good tripod stand can last for many years, so it is wise to invest in one, especially if you intend to photograph multiple vehicles for the shoot.
Choose the Right Lighting
You will need an appropriate lighting set up to get the best looking shots of your dealership vehicles. Some commonly used lighting types include:
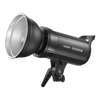
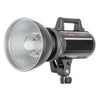
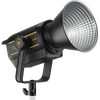
Continuous Lighting
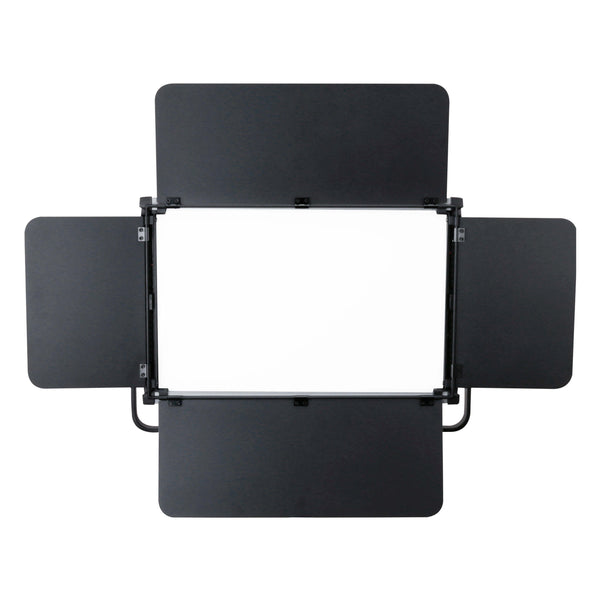
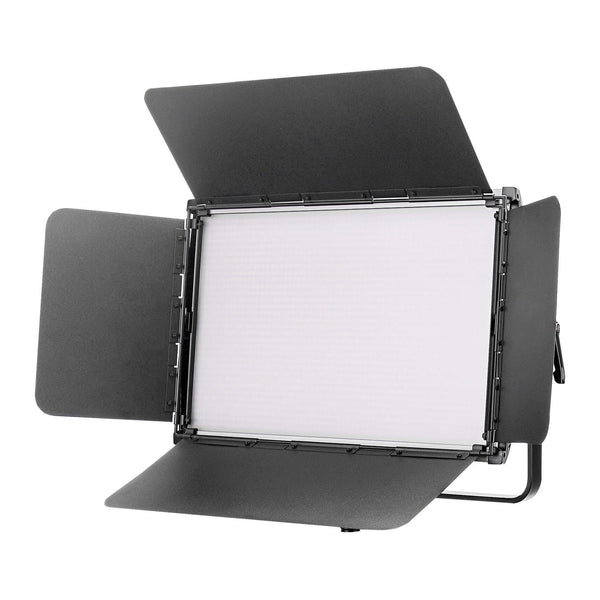
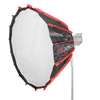
Many photographers use LED light panels such as the LECO1500B II Super Bright Bi-Colour LED Panel to continuously light their shots. This lighting option is great because it creates even lighting around the rim of the car. Such options are also remotely controlled for easy adjustments.
Most continuous lighting set ups would utilize 9 to 10 LED panel units, with 4 overhead and 4 on the floor. This arrangement allows you to bounce light off the wall or ceiling, thereby reducing the need for a large light source.
Continuous LED lighting is also great for shooting videos, which are becoming more and more common in product promotions on E-commerce stores.
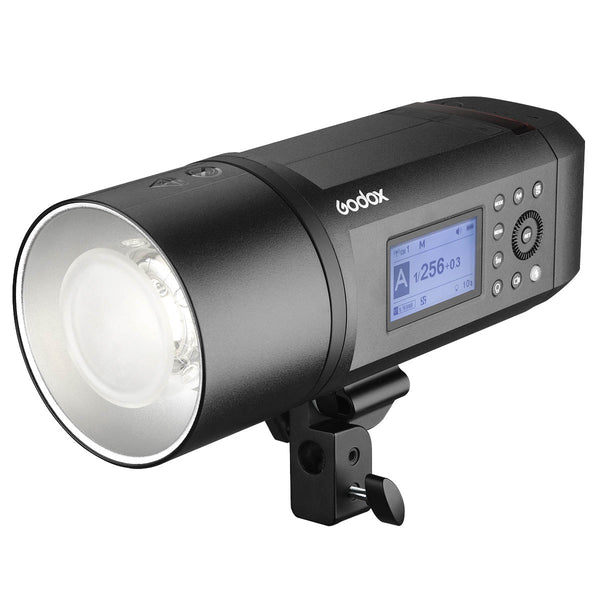
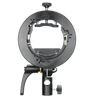
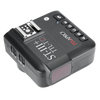
Flash Lighting
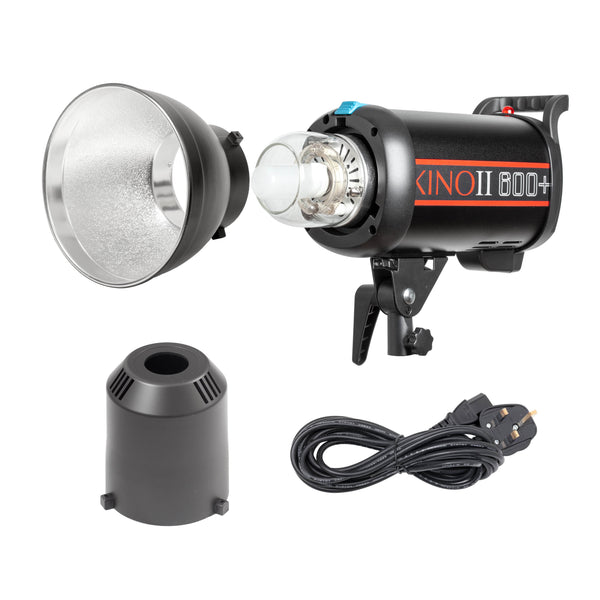
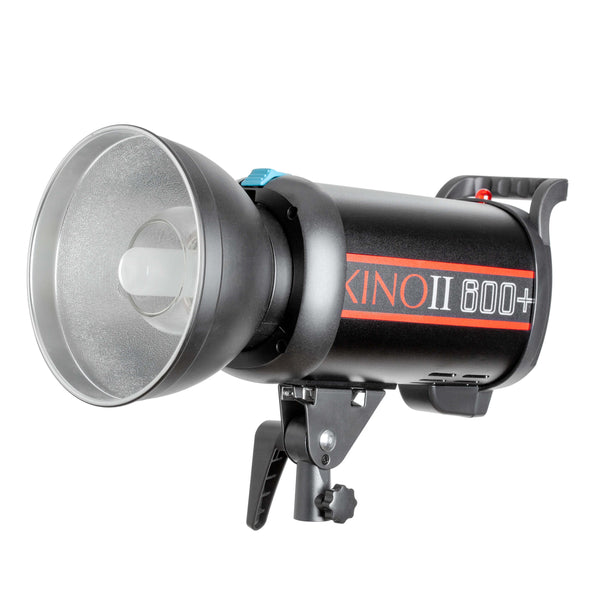
While continuous lighting offers many advantages, plenty of photographers prefer to use flash lighting such as Kino II 600. The main benefit of flash lighting is that it enables you to use your camera’s shutter speed to get rid of unwanted ambient light in each shot. This is great if you want to avoid working in a darkened photography environment.
The main drawback of flash lighting is that it is unsuitable for video. In addition to this, you will need to shoot photos to be able to see what the car looks like under flash lighting.
Framing Your Shots
It can be tempting for you to create your own studio setup with a rotating platform to photograph your vehicles. However, the truth is that you can still take great shots by finding a neutral location at your dealership.
It is possible to photograph a vehicle while it is parked alongside the other vehicles at your dealership. However, it is best to separate it from the rest if you intend to make your shots look professional.
When taking photographs, you should ensure that the image fills the frame and that there are no distracting elements visible in the background. In addition to keeping other cars out of frame, you should ensure there are no seasonal indicators such as ice or snow visible on the ground.
Taking photographs with seasonal indicators informs viewers of when the photograph was taken. So if you want to make your pictures last for a while, you should avoid letting any of these seasonal indicators show.
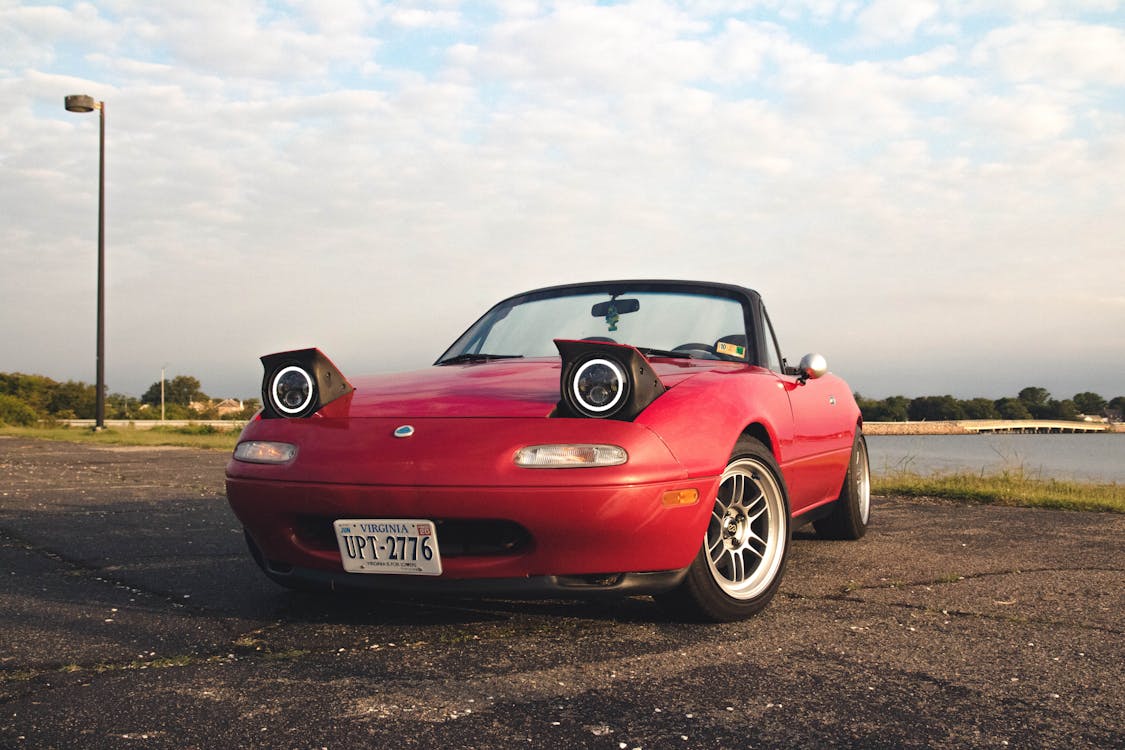
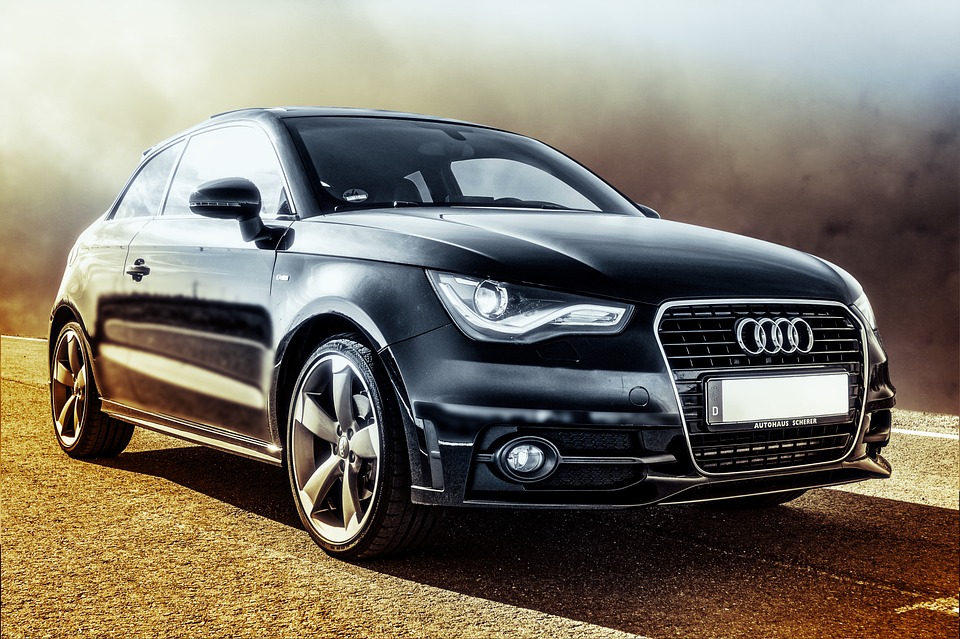
Tips for Photographing Vehicle Exteriors
Photographing your vehicle’s exterior is especially important as it is one of the first things customers notice. A used vehicle can be made to look as good as new with the right cleaning and polish coupled with good photography. Some important tips for photographing vehicle exteriors include:
Use Multiple Angles
You should ideally photograph each vehicle from multiple angles. This includes from:
- Front left
- Front
- Side
- Back
- Back left
These angles are easy to understand and should be used for each vehicle you photograph.
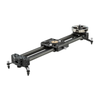
Move the Car Not the Camera
Another great tip is to move the car you are photographing instead of the camera. This means you should rotate the car to get photos of each angle. Some dealerships build or purchase 360o rotating platforms specifically for this purpose. However, simply moving the car and parking it at a different angle can work just as well.
Shoot from a Low Height
The best car photographs are often taken from low angles. Therefore, you shouldn’t be afraid to squat down and get on eye-level with the vehicle’s headlights. You should also remember to take pictures from the same height when photographing the vehicle from different angles.
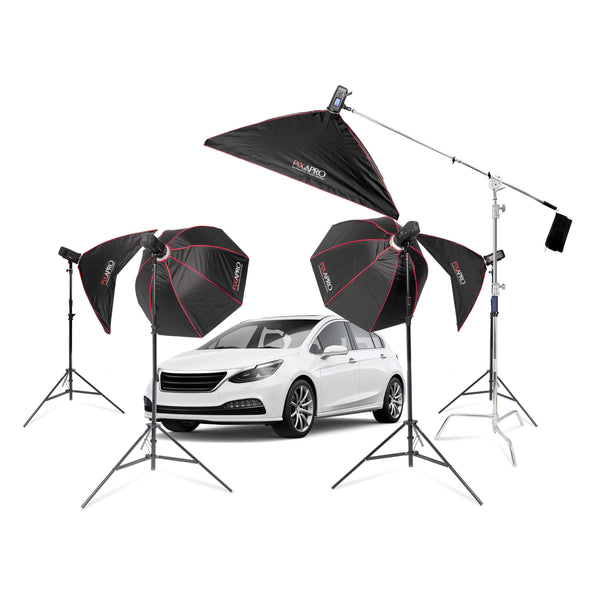
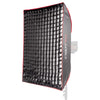
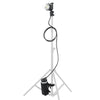
Choose a Sufficient Lighting Set Up
You will need to choose a lighting setup that illuminates the top and sides of the vehicle. This often requires you to purchase multiple lights and stands. However, you can invest in special vehicle photography lighting kits that include all these, such as KINO II 600+ Five-Head Complete Car Photography Lighting Kit or CITI600 Pro Five-Head Cable-Free Complete Car Photography Lighting Kit.
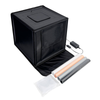
Apply a Custom Background
Many dealership customers are drawn to photographs where the vehicle is shown in an interesting or a natural environment. Unfortunately, more dealership parking lots do not fill the bill for this. The good news is that you can get around this problem with the use of custom photography backgrounds.
There are plenty of automated digital backgrounds available through photography software. These backgrounds can be applied easily, and can take your car photography game to the next level.
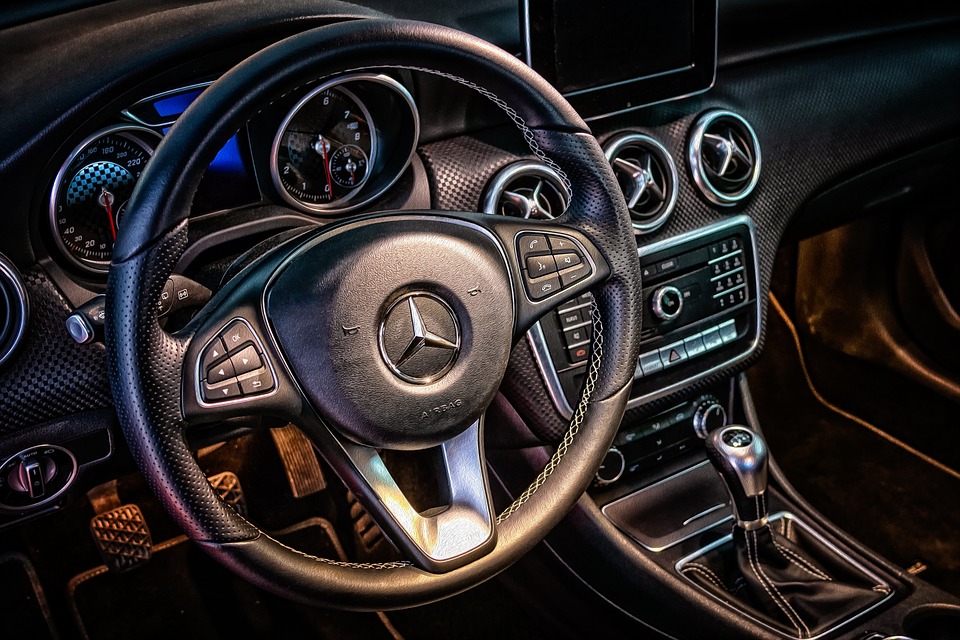
Tips for Photographing Vehicle Interiors
Photographing vehicle interiors can be tricky due to limited space and angles. However, taking the right shots of the interior is vital for attracting customers. After all, the car’s new owner will be spending the vast majority of their time inside the vehicle.
Some tips for photographing vehicle interiors include:
Use a the Right Lenses
The main challenge of photographing vehicle interiors is getting your desired items to fit into the shot. This can be difficult due to the distance between the camera and the dashboard or seats being very small. One way to get around this is to use a wide angle lens such as a 24mm. This will allow you to capture the large interior portions such as the dashboard.
You can also use a macro lens such as a 100mm to get detailed close-ups of individual components such as the speedometer.
Pay Attention to Lighting
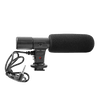
Car interiors can be difficult to photograph because they tend to be dark. One might assume that turning on the vehicle’s overhead lighting would fix this problem, but this creates uneven lighting with certain spots being bright and others being dark.
You can try moving the vehicle to a sunny spot. However, this typically results in bright lighting on the dashboard while the rest of the interior remains relatively dark. However, you can give yourself greater control over the lighting by purchasing two speedlight flashguns such as GIO1 Round-Head TTL Speedlite. These are compact lighting options that are easy to move around and hide in photographs.
Editing Your Car Photos
Setting up the vehicle, lighting, and camera will take up the majority of your time in car photography. However, another important step that should not be overlooked is editing. Many car photographers edit their photographs to make the vehicle look its best.
One might assume that you should avoid editing car photos, as you would like to give customers an accurate look at the vehicle. However, some minor adjustments and touch ups in a photo editing software such as Photoshop can give the vehicle a slightly more attractive appearance without coming off as deceitful.
Some acceptable edits for car photos include:
Balancing the Contrast
Cameras rarely capture real life images with the exact same colors that we see. For this reason, you may need to balance the photo’s contrast using editing software. Some people like to turn up the contrast to make the colors appear more vivid. However, you should avoid going overboard, and strive to make the car’s appearance match that of real life.
Cropping
You may need to crop your car photos depending on the type of lens you used. In each scenario, your goal for exterior shots should be to fit the entire vehicle in the frame and omit any distracting background elements.
Watermarks
Once you are happy with the way your photos look, you can add your dealership’s logo as a watermark in the corner of the image. This will remind viewers that the car can be purchased from your dealership and also prevent competitor dealerships from stealing the photo and using it as their own.
As you can see, taking the best car photos for your dealership involves a fair amount of work. However, you can make this process easier with the right preparation and equipment.