


A Beginner's Guide to Product Photography Gear
Good product photography is vital to any brand’s success. This is why when it comes to clicking photographs of specific products for a marketing campaign or website upgrade, you need to bring your A game.
If you own an e-commerce business or sell on marketplaces, product images have a significant impact on customer purchasing decisions. Nowadays, customer expectations have shifted as a result of technological advancements, for instance, your customers now expect a 360-degree view of every item before purchasing it.
With this in mind, we’ve created a guide that outlines the steps and some of the essential product photography gear that you should consider investing in.
Set Up Your Places
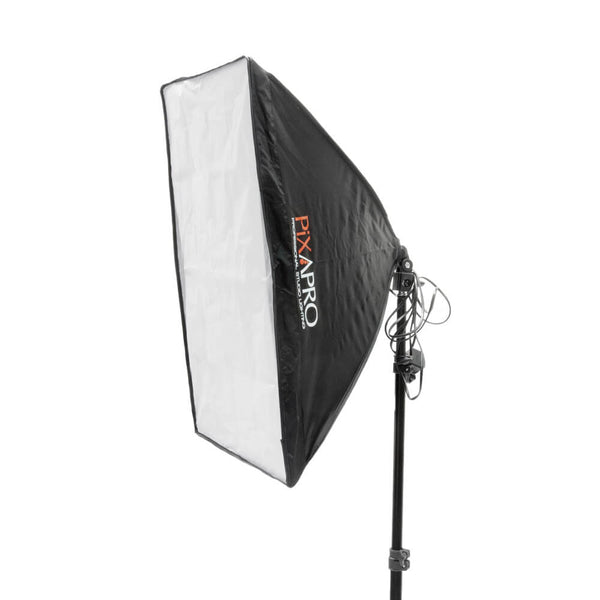
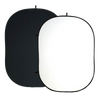
If you're going to be taking a lot of product shots, it's a good idea to have a dedicated photography area. A well-organized studio and streamlined workflow can help you take a large number of professional product photos for your e-commerce business in a short amount of time. Therefore, we recommend getting a kit with two softboxed so you can light your product from both sides and avoid shadows. If you combined it with a white paper background, this kit can produce stunning images of your products at an affordable price. In other views, if you only have a limited area such as your home and don’t have a lot of space, then the products you’re photographing will be small enough like a Light Box. It is also ideal for setting up in a corner and storing when not in use. Furthermore, it’s best to set up in a non-congested area or somewhere you’ll be passing through frequently. So, you can avoid dirtying the background and tripping over the light’s power cables.
Best Lighting Equipment for Product Photography
Lighting Kits with Shooting Tables
Shooting tables are among the must-have items needed for product photography. They’re essential for creating a consistent and sturdy surface for the products being photographed and producing high-quality images. Instead of buying a shooting table on its own, though, we recommend you get lighting kits that feature shooting tables.


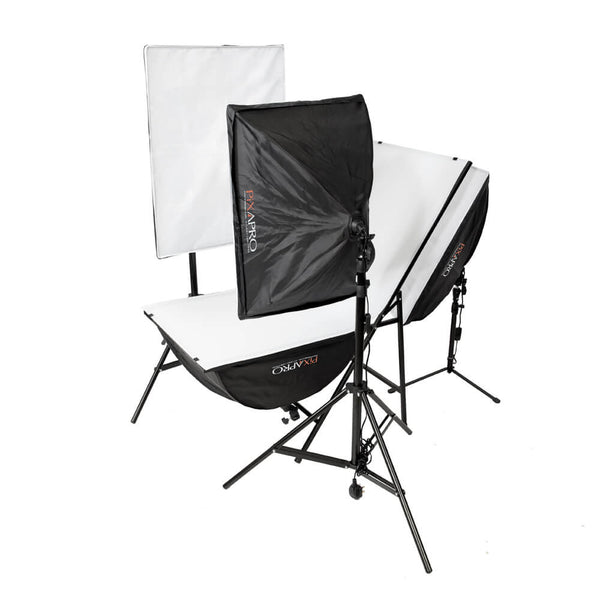
The EzyLite 4 Head Kit, featuring floor & light stands and a shooting table, is one of the most popular product photography kits out there. The kit includes 4 individual continuous lighting lamp heads with softboxes, 4 105W CFL bulbs, 4 front diffusers, 2 light stands, 1 floor stand, and 1 shooting table. It’s lightweight and portable, making it ideal for shoots where you’ll be photographing small or medium-sized products. The kit is also great for clicking portraits for social media or shooting commercials or promotional product videos.
Since the equipment provided in this kit is energy-efficient, there’s no danger of the products heating up because of the heat being emitted from the bulbs. Moreover, setting up the foldable shooting table and the adjustable light stands is extremely easy so you don’t have to spend a lot of time getting things in order.

If you’re looking for a more economical solution for arranging shooting tables, the DAYLiTE4 Three Head Boom Kit is another great option. Like the EzyLite kit, this, too, contains energy-efficient CFL bulbs in the three continuous lighting head units. It also contains 2 lighting stands and an angle-adjustable shooting table. What sets it apart from the aforementioned kit is the extendable boom stand that can be used to provide overhead lighting during the shoot.
The DAYLiTE4 Three Head Boom kit can be used with various types of modifiers, such as softboxes, umbrellas, and reflectors. This gives you more creative freedom and versatility and helps in clicking impressive product photographs. The kit is perfect for product photography on a budget.
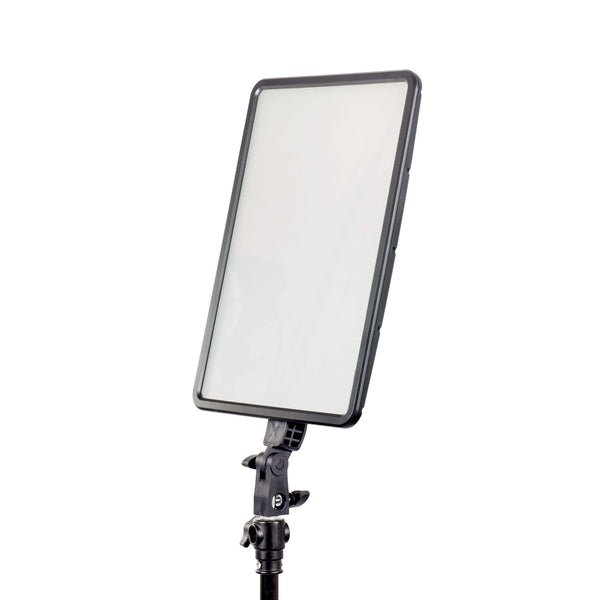
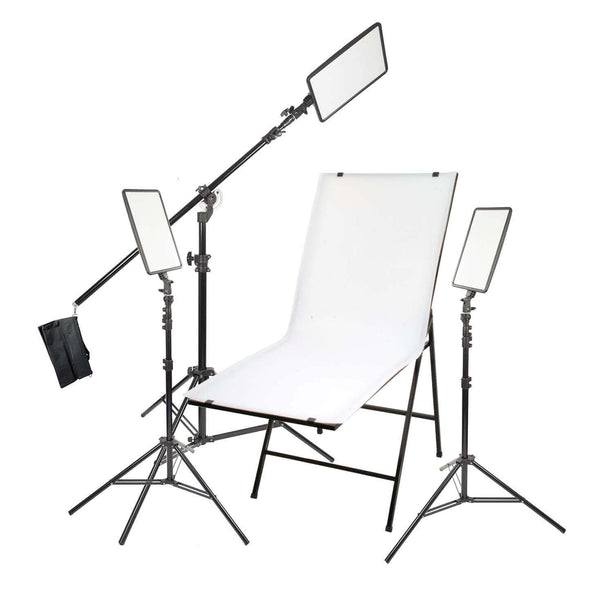
If you’d rather use LED lighting for your product photography, the GLOWPAD 350S Daylight Balanced Three Head Boom Kit is what you need. This kit comes with 3 LED panels, 2 light stands, 1 boom stand, and a foldable shooting table that can be used together to obtain beautiful product photographs. The LED bulbs allow for a more balanced continuous lighting that can be diffused as necessary.
The edge-lit technology used in the GLOWPAD kit allows for flicker-free photographs. You can shoot at your choice of shutter angle or framerate without worrying about flicker.
Tailored Lighting Kits
Not all product photography shoots require shooting tables. If you’re shooting larger products or models, you need tailored lighting kits.

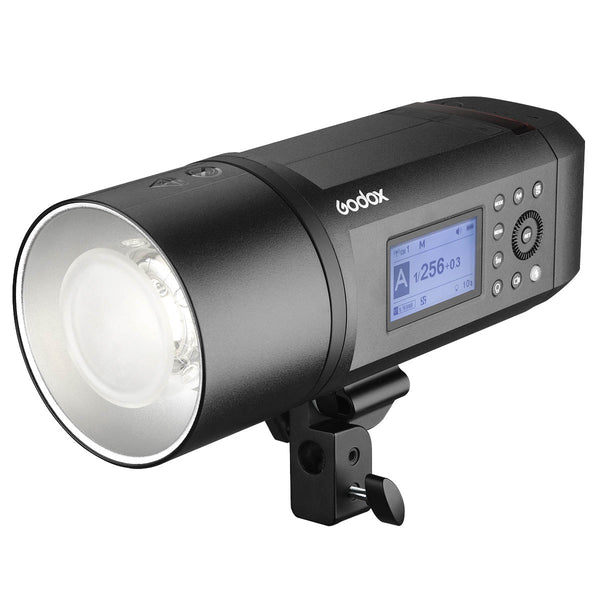
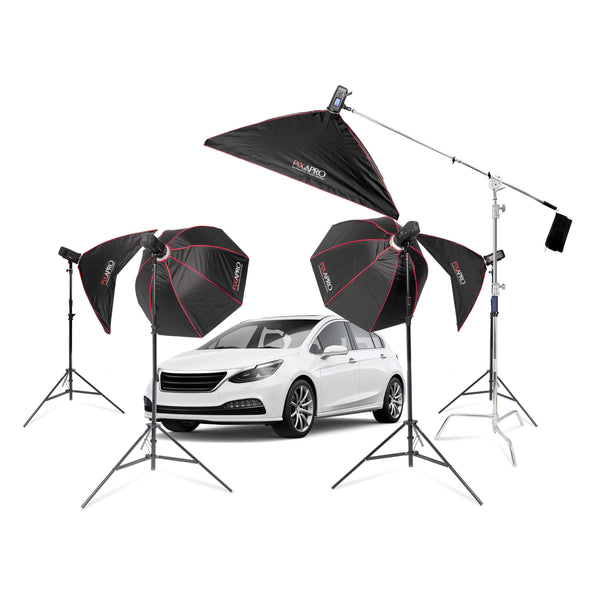
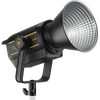
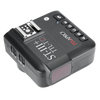
The CITI600 PRO Five-Head Car Photography Kit, for instance, is especially designed for car photography. If you’re shooting motor vehicles for product listings or advertising, you’re going to need a lighting kit that caters to the subject in question. The CITI600 PRO kit contains 5 powerful battery-powered studio strobes that illuminate the subject from the desired angles and help take eye-catching photographs.
In addition to the heavy-duty light units, the kit also comprises multiple softboxes and light stands to adjust the lighting setting easily. For instance, the arc softboxes can be used for side or fill lighting. The stainless-steel boom can be used to illuminate the car from above and create the desired effect flawlessly.


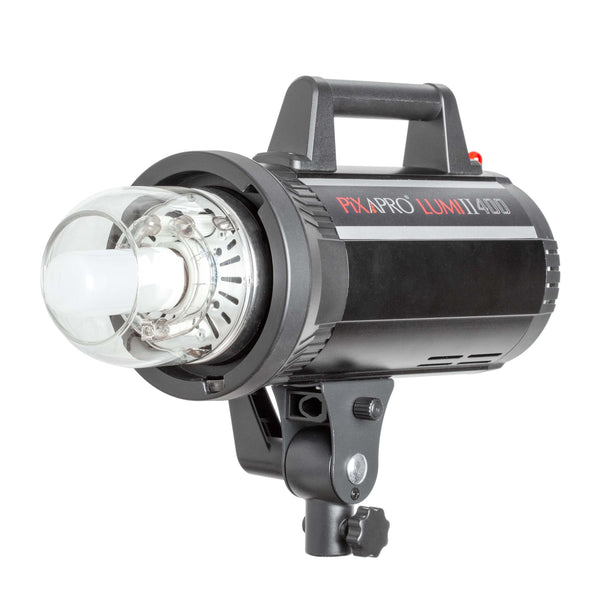
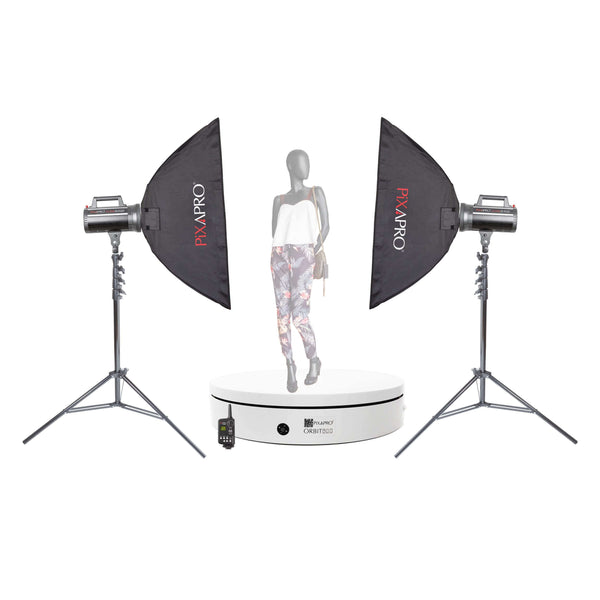
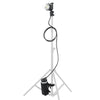
LUMI400II 360 Product Photography Spin Systems Rotating Lighting Kit
Similarly, the 360° Product Photography LUMI400 Turntable Kit is best-suited for capturing professional and appealing moving images of products. If you’re shooting for an e-commerce website and want to capture all angles of a product so that consumers get a more detailed insight, this is the lighting kit to use.
The LUMI400 turntable kit contains 2 400Ws strobe lights, each of which is paired with a softbox and a light stand. The advanced interface and fitting facilitate a softer coverage of lighting and enable you to diffuse it accordingly. The coolest feature of this lighting kit, however, is the 360° motion turntable that can hold up to 150kgs. You can use the lighting kit to take high-quality shots of larger products and produce moving images.
Light Tents
Finally, let’s not forget about light tents. These are perfect for no-fuss product photography and can be used to achieve high-quality shots with minimal equipment.
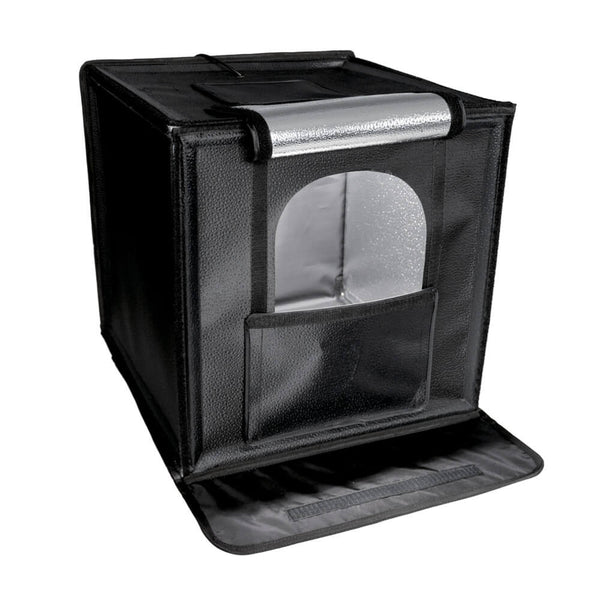
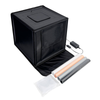
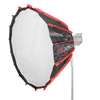
The PIXAPRO 70cm Foldable LED Light Tent is often used by photographers shooting products for e-commerce platforms. The daylight-balanced LED lights used in this tent provide clean and consistent lighting. The reflective interior of the tent elevates the overall lighting and helps in eliminating harsh shadows. This results in professional images that require minimal or zero editing.
The best part about this light tent is that you can use your choice of photographing device, be it a DSLR camera, a mirrorless camera, or even a smartphone. The tent is ideal for macro photography of small items such as jewellery, handicrafts, ornaments, or cosmetics.


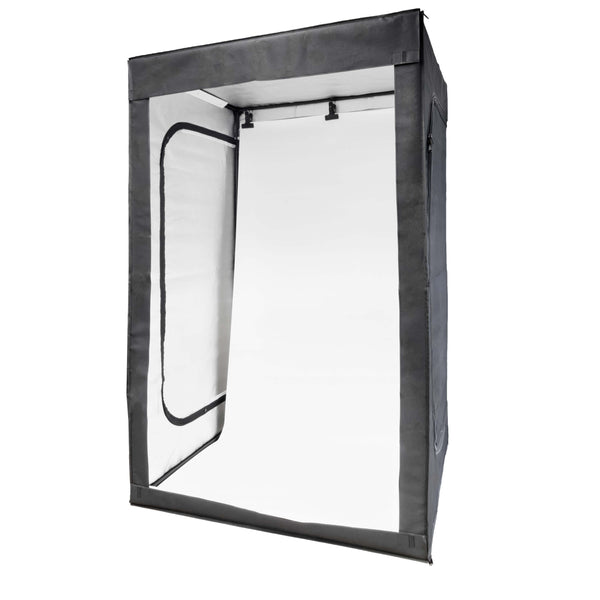
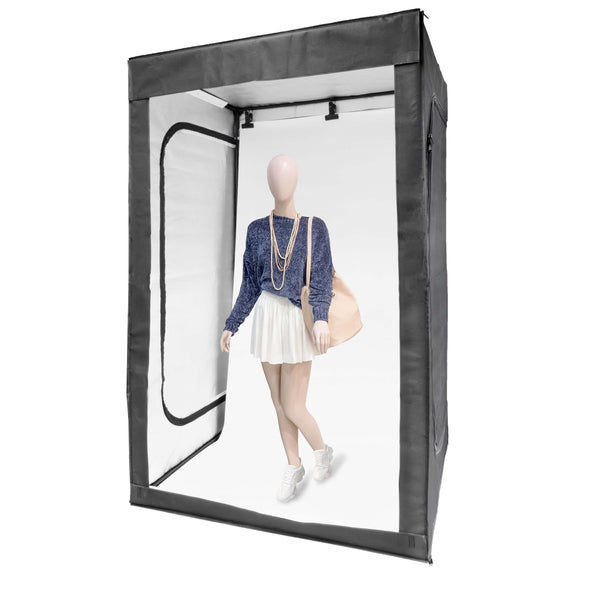
The 120x200x100cm Daylight-Balanced LED Light Tent is useful for shooting larger subjects in a hassle-free manner. It comprises magnetic LED panels and PVC backgrounds that help you capture consistent images. The high CRI rating and the colour-balancing technology used in the tent allow for accurate colour reproduction.
This tent is ideal for product photography of furniture items, mannequins, and larger appliances.
Set Up Lighting Equipment
The standard setup for light tent photography is to place the tent on a table or end table with the light sources on each side directly opposite each other and the tripod in front. Thanks to this, you are able to improve visibility and manoeuvrability for shooting. Next step, placge your subject inside the tent with care, beginning in the exact centre. You can move your subject forwards or backwards. Furthermore, you can also try directing the lights between your subject and the walls so that you can zoom in or position your camera. It should angle down the softboxes towards the subject at a roughly 45-degree angle which is ideal for creating 3D real look. If you are closer to the light source, the softer the light. In contrast, if you want harder shadows, your positioning of the light source will change.
The backdrop attached at the top of the tent has to be clean, free of debris and wrinkled. If you’re using a fabric backdrop make sure to iron it to achieve a completely smooth appearance. After shooting, roll your backdrops up on a cardboard tube to keep them wrinkle-free for the next time.
In other views, if you are currently using the lighting kit for product photography. We at PixaPro recommend different angles displayed you should be considering when looking at photographing products:
Even Light Setup - Front Angle
It is an basic product shot which is easily identify and display the product. It can be fixed by putting two lights at a front angle to your subject. The front angle will generally highlight the majority of the product’s key features, especially if you’re shooting packshots. Becuase the consumer will most likely be browsing through a collection of the same product to find one that meets their needs.
Full Coverage to Capture All Details - Profile Angle
With flat products, this is very a logical use of three lights ensuring that all angles of your photography subject are nicely. You can set your lights in two at the side depend on the shape of your products. If the sides have different details, first feature a photograph of the more important side.
45-Degree Angle
The 45-degree angle, like the front angle, simply shifts the product’s position by 45 degrees to highlight two different sides of the product. It is able to create 3D- look by the ability to catch most of the details offered by both shots in one single photograph. if you intend to photograph similar products or the opposite side of your product, take not of this angle.
Back Angle - Rear
The back angle is essential for any product which is displayed on the backside. Because it lacks any branding or eye-catching design, this shot is usually one of the last images shown on a product page. Depending on the product you’re attempting to sell, this angle may be more or less important.
Brid’s Eye Angle - Top Shot
The top shot is simple a photograph taken from the top-down. In fact, it is very difficult to get right lighting setup. This angle is great for any product featuring different sized and shaped items.
Triangle Setup to Emphasize Form
On the other hand, if you want to isolate your subject from its background, the triangle setup with three lights lets you create a very beautiful and prominent three-dimensional look. It ensures your products don’t look flat.
Separation Setup for Background Separation
The only difference between the triangle and the separation is the backlights are aimed at the wall rather than your product’s back. So, it create an incredible lighting cast that bounces your subject to the front.

Furthermore, to increase your creative, post-production editing can transform a boring product photo into a beautiful one, but understanding the tools at your disposal is essential for ensuring that your product photos shine. Check out these post-processing tutorials to make your photos stand out:
- If the exposure in your image wasn't quite right, use Adobe Photoshop to balance the light and dark areas after the fact.
- Learn the intricacies of Spot Healing to eliminate minor distractions from your product image. If your photo has an unusual reflection or highlight, you can use this retouching tool to remove it neatly.
- Use the Clone Stamp to copy the exact detail and colour from one part of an image to another if you need to edit out a label or a scratch on your product.
Want to make your product photography stand out? Make sure you invest in the best lighting and photography equipment available at our online store.
EssentialPhoto provides a range of lighting tools, kits, props, and other photography gear that can help you take visually stunning and professional-looking shots of all kinds of products. Call our team at 0121 552 3113 or reach out via email to get in touch!