


Top Tips for Monochrome Photography
Estimated reading time: 6 minutes
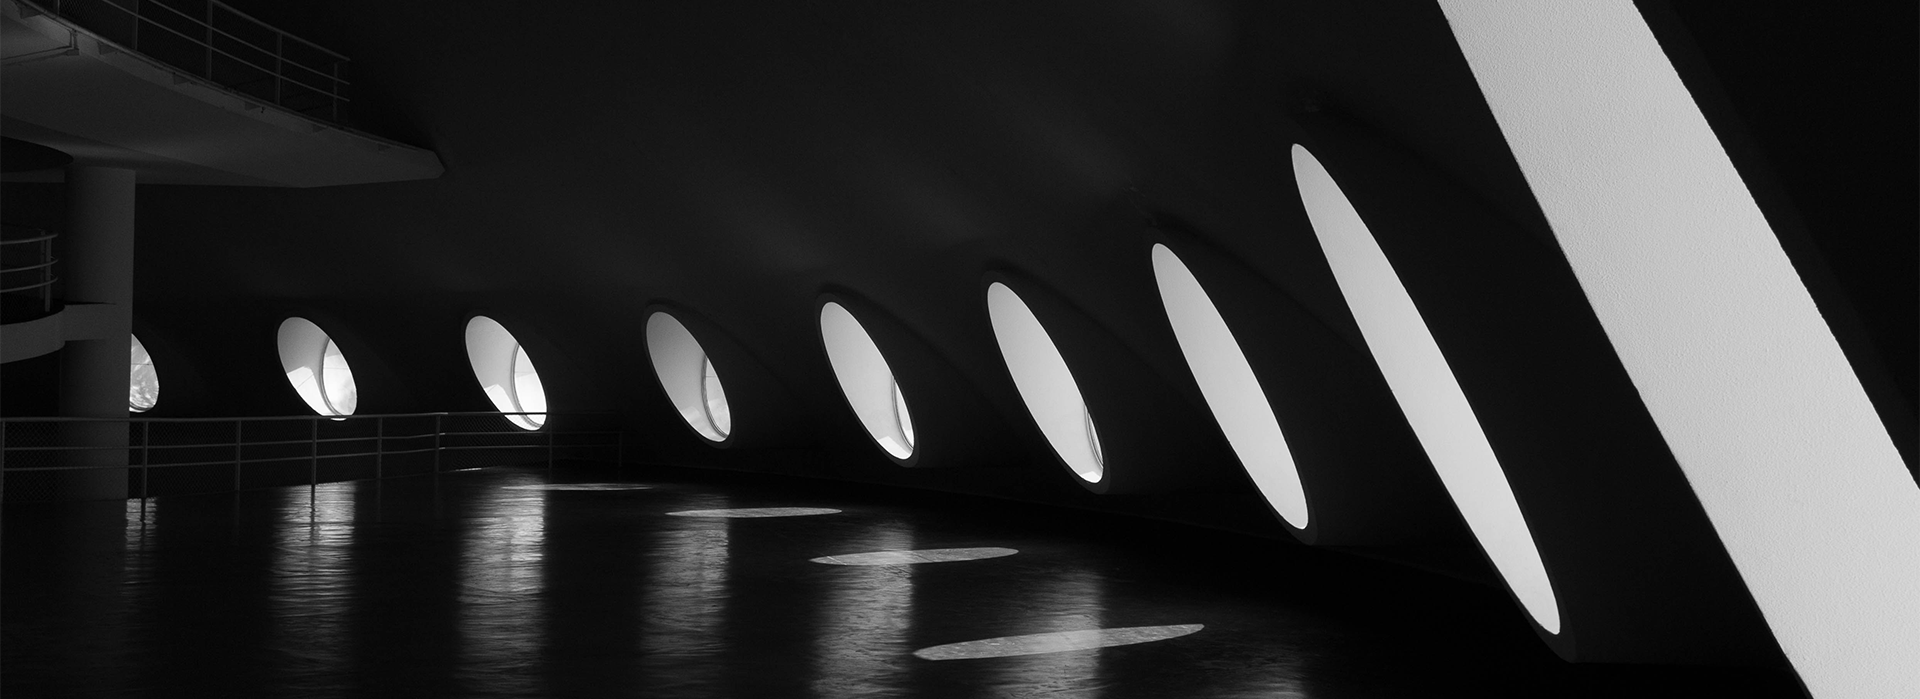
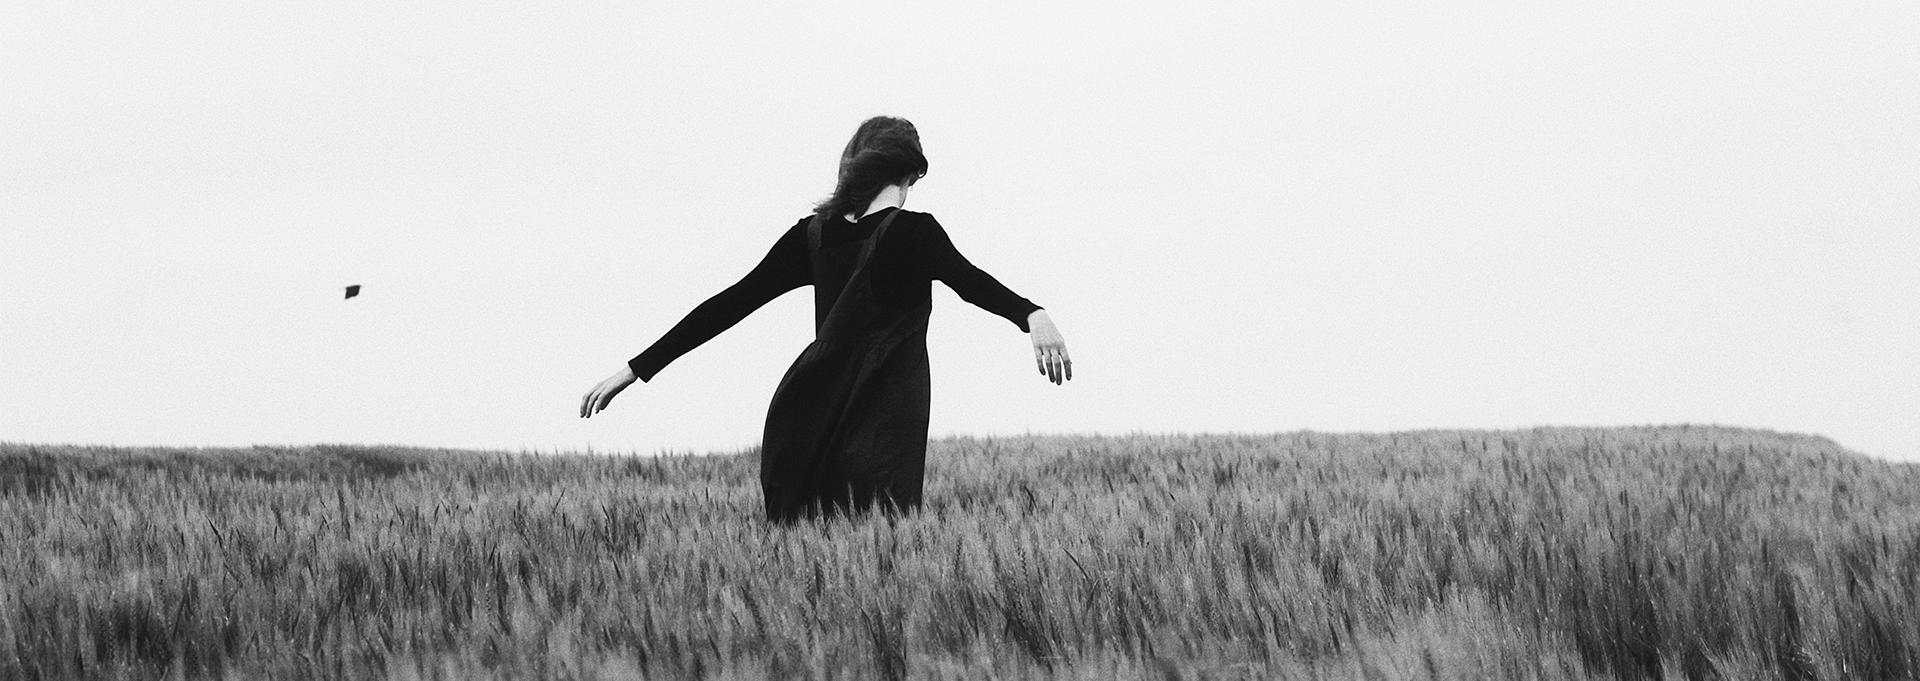
Monochrome photography is the art of capturing images using only shades of a single colour, typically black and white. By eliminating colour, monochrome photography emphasises contrast, texture, and composition.
While colour photography is vibrant and expressive, there's a timeless allure to monochrome photography that captivates viewers with its simplicity and elegance. Monochrome photography strips away any distraction of colour and focuses the eye on the essential elements of an image—composition, light, and shadow.
Why Choose Monochrome Photography?
There are several reasons why monochrome photography may suit a shoot better or fit the tone well, including:
-
Emotional Impact: Monochrome images have a unique ability to evoke emotions and convey a sense of timelessness.
-
Focus on Composition: Without the distraction of colour, monochrome photography encourages photographers to pay more attention to composition and lighting.
-
Highlighting Texture: Monochrome images excel at emphasising texture, making them perfect for capturing details and patterns.
Getting Started Your First Monochrome Photography
If you're ready to dive into the world of monochrome photography, here are some tips to help you get started:
Equipment
Camera
While any camera can technically capture black and white photography, DSLRs and mirrorless cameras offer greater control over settings and post-processing options. Additionally, prime lenses with wide apertures are favoured by many monochrome photographers because they allow for better control over depth of field and the amount of light entering the camera.
Many cameras will offer the option to shoot in black and white, however, it is often recommended to shoot in RAW and then use editing software and post-process your images to black and white. Generally, this will give you more control over the image, however it's always important to make sure you're considering the lighting in your image when shooting to give yourself less to edit afterwards.
Lighting
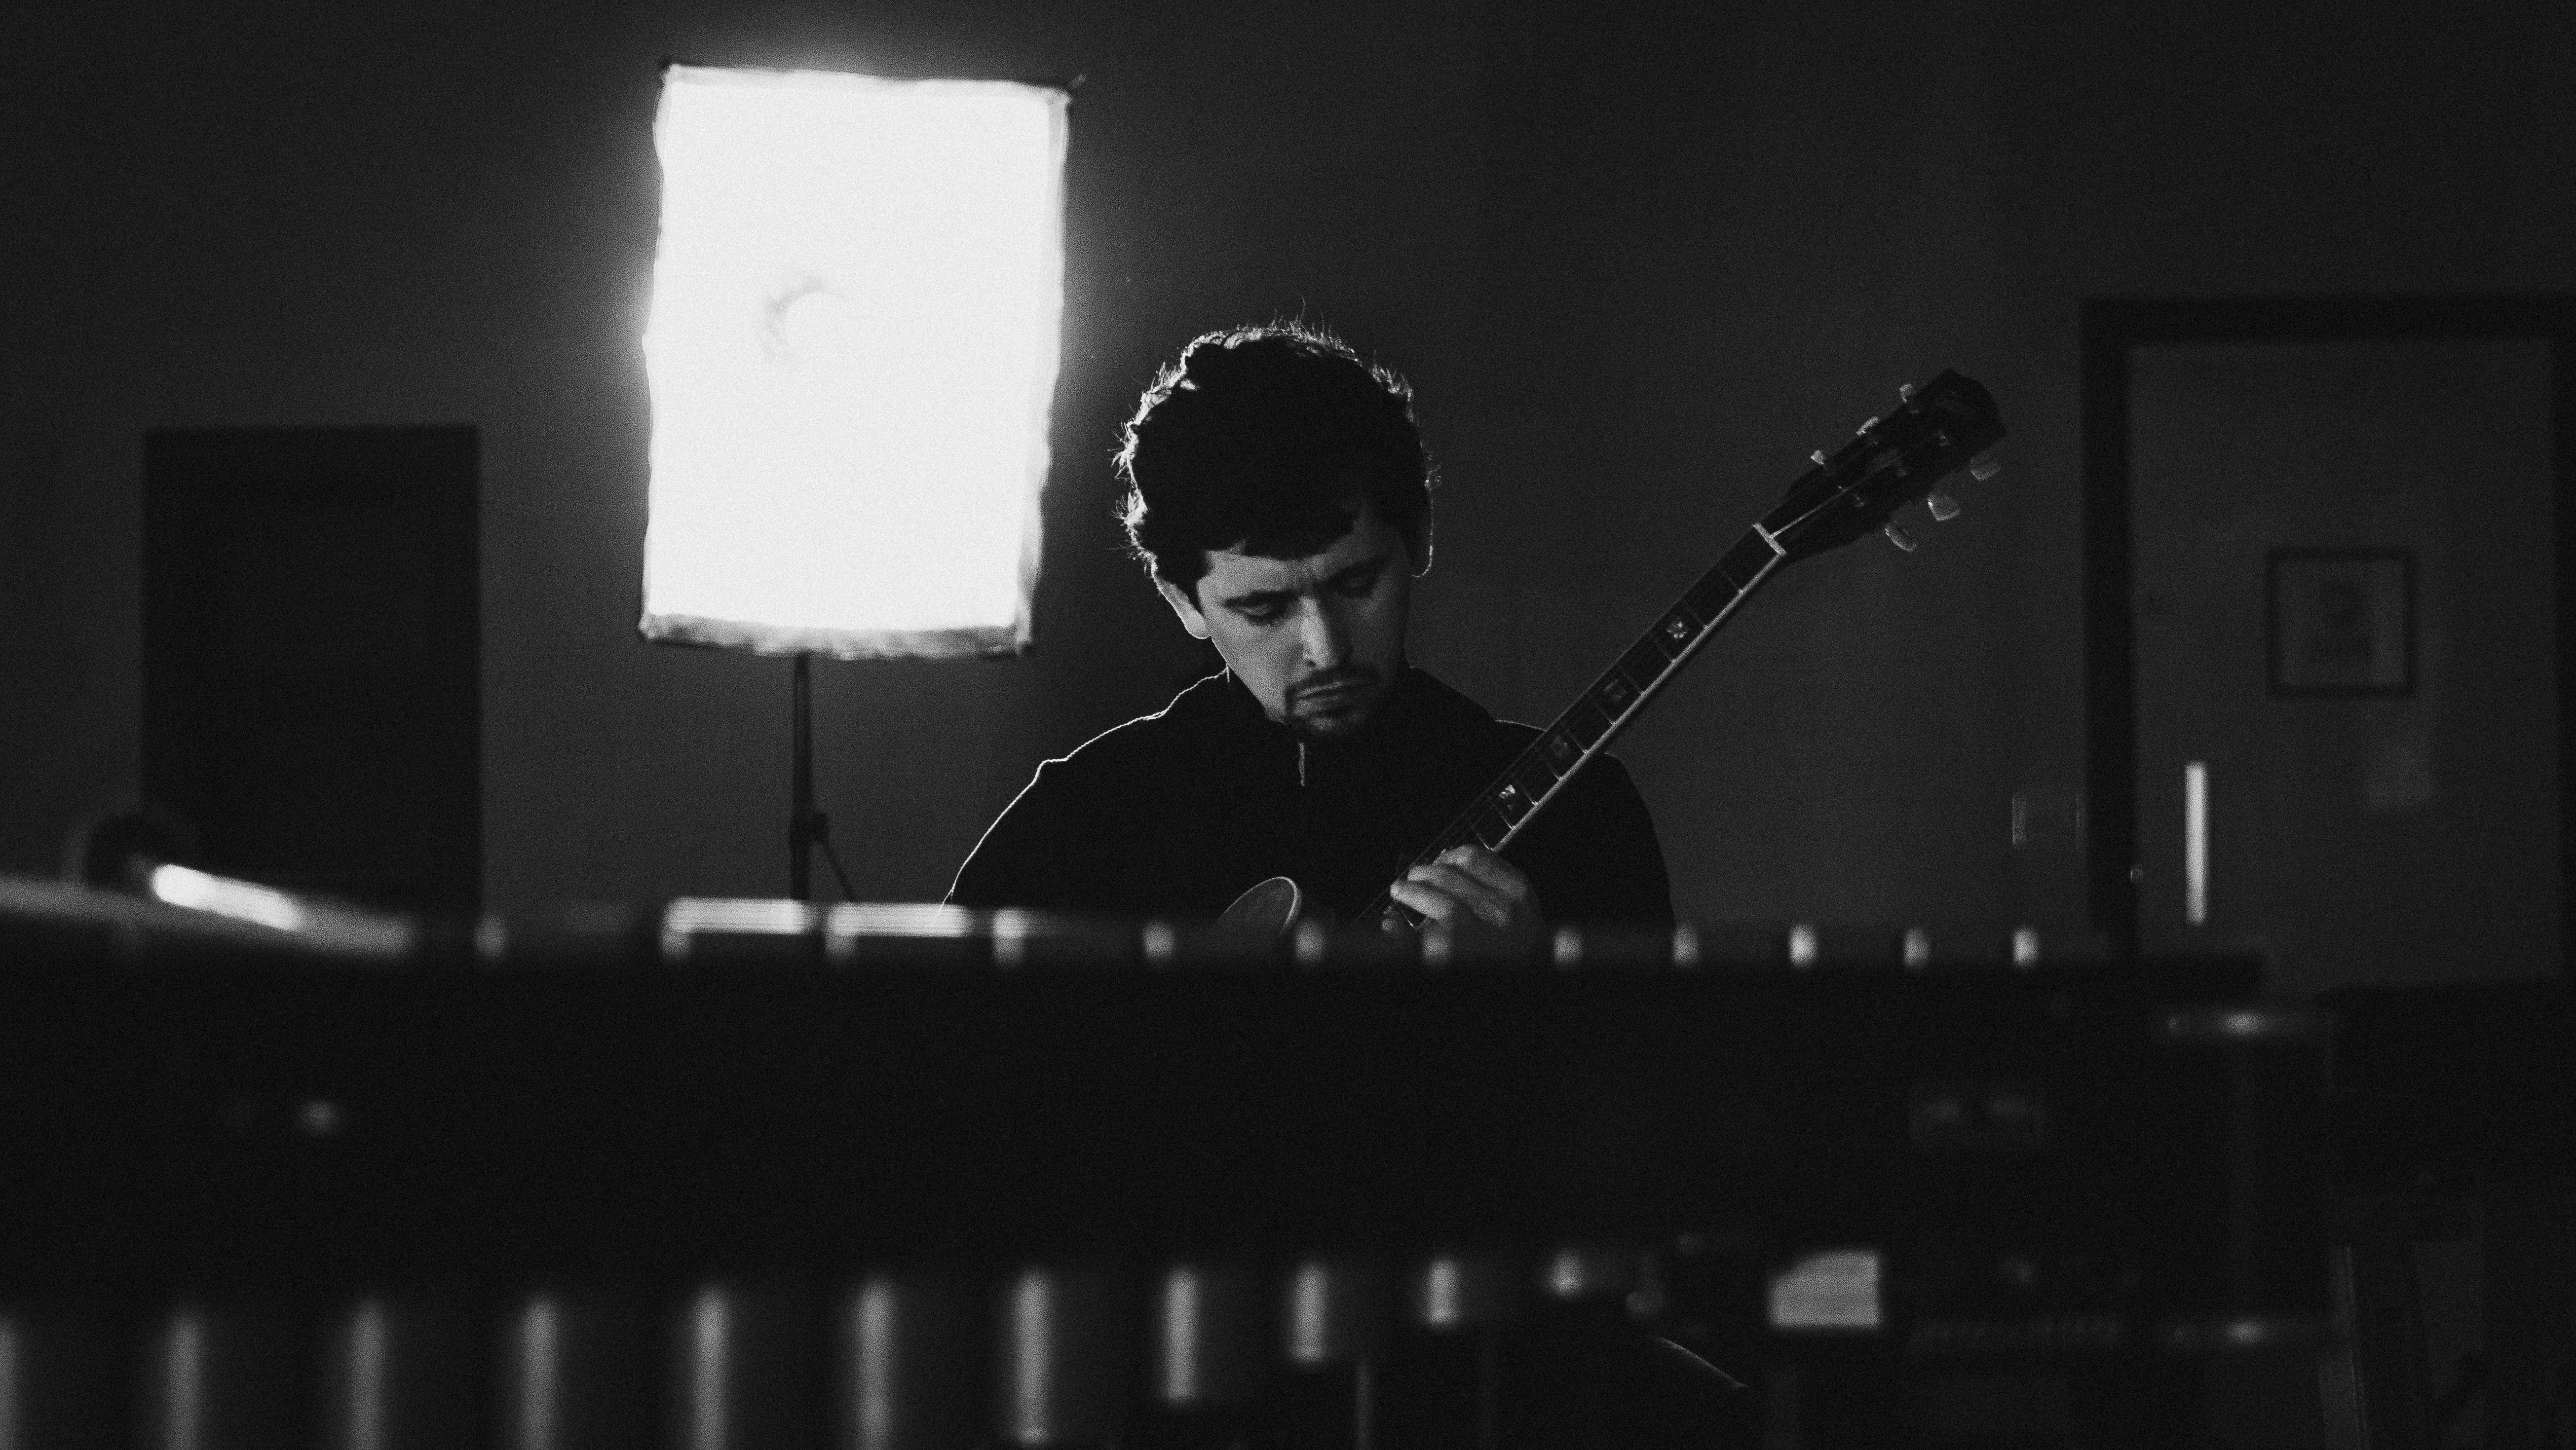
Lighting doesn't have to be too complicated or different to what you already use if you already use flash lighting or LED lighting for your images. However, consider the contrast in your image and ensure that the lighting, whether natural or artificial, is separating your subject out sufficiently from your background and any other elements.
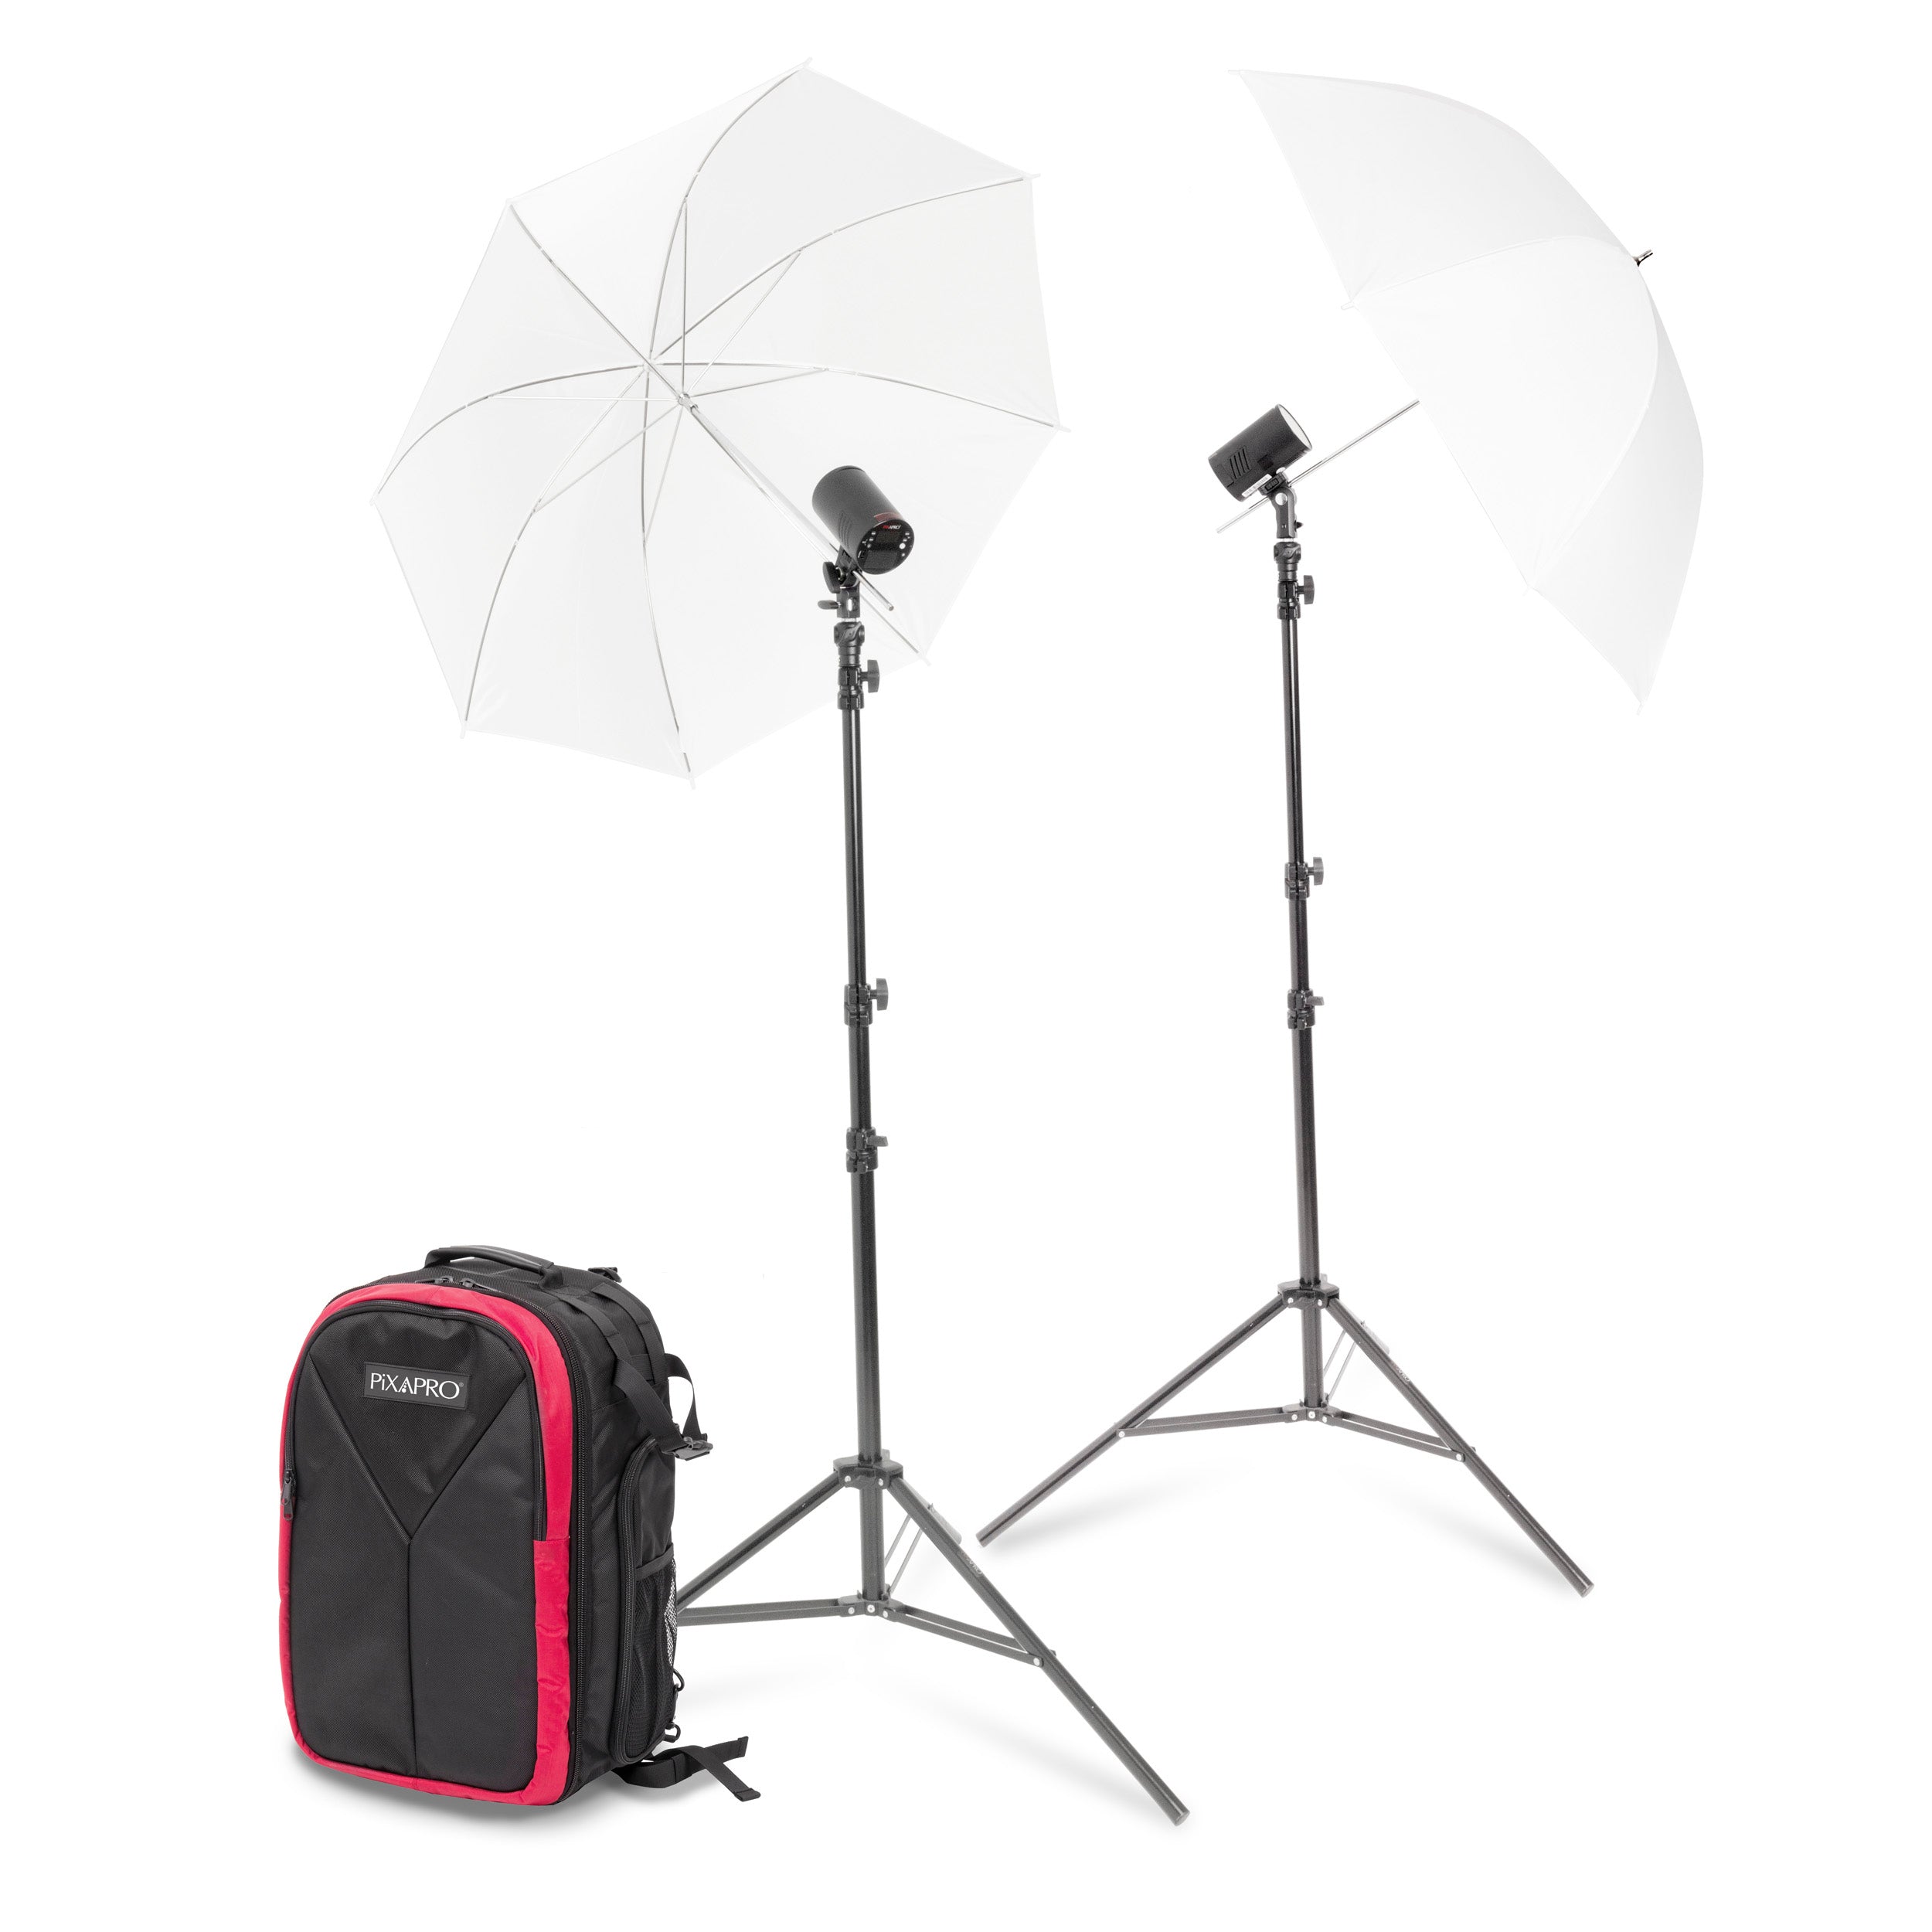
For example, if shooting monochromatic photography portraits, it may help to add a source of light on one side of your model to add a contrast that you wouldn't get with natural light. Something small is generally appropriate for this, especially if shooting indoors in a studio for example. Don't forget to also make sure you're lifting any particularly dark shadows so you don't lose detail entirely in your image.
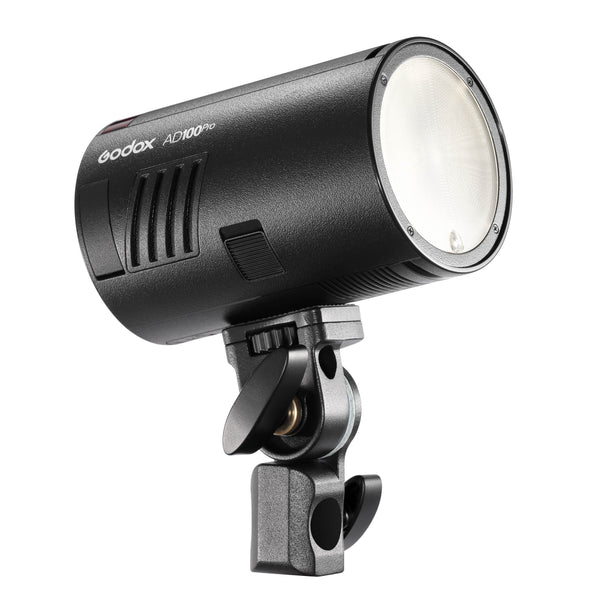
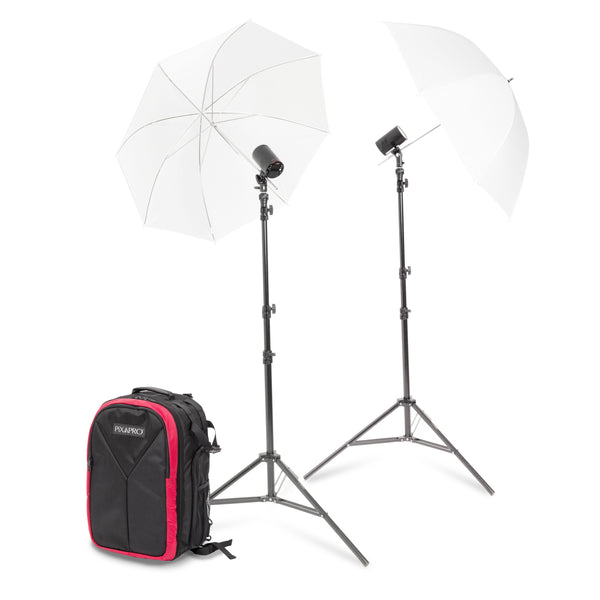
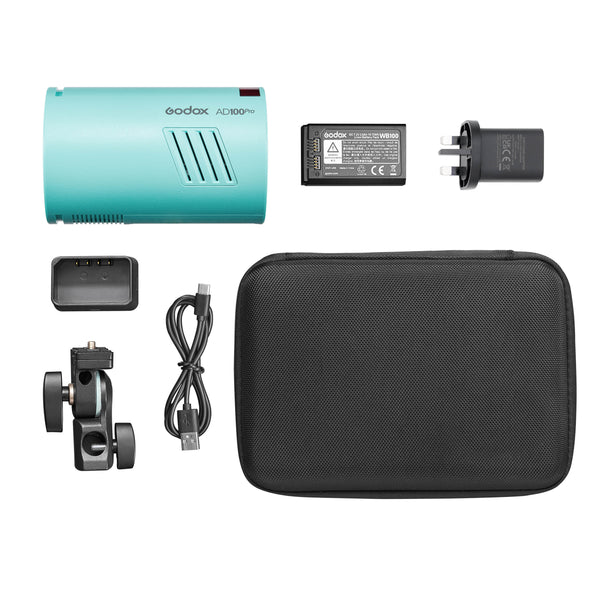
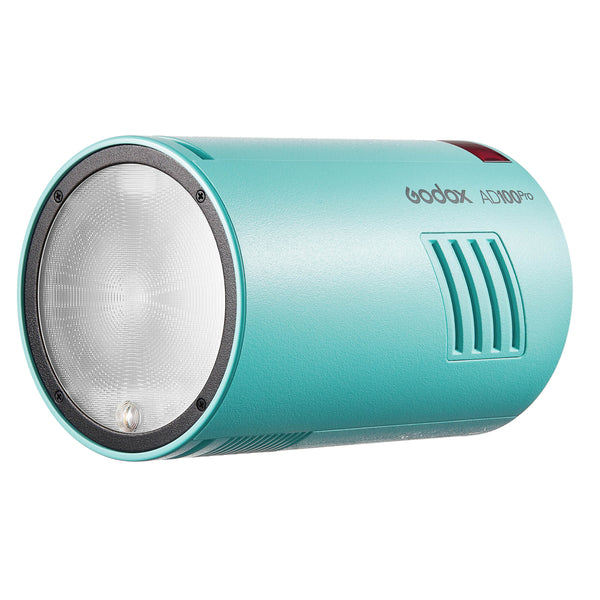
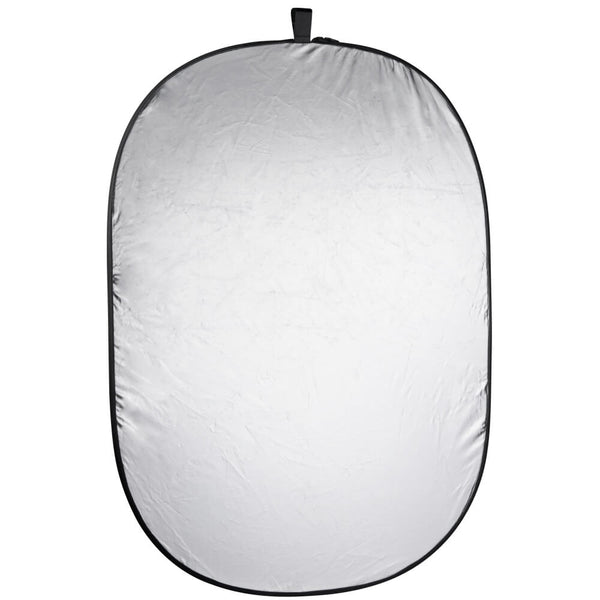
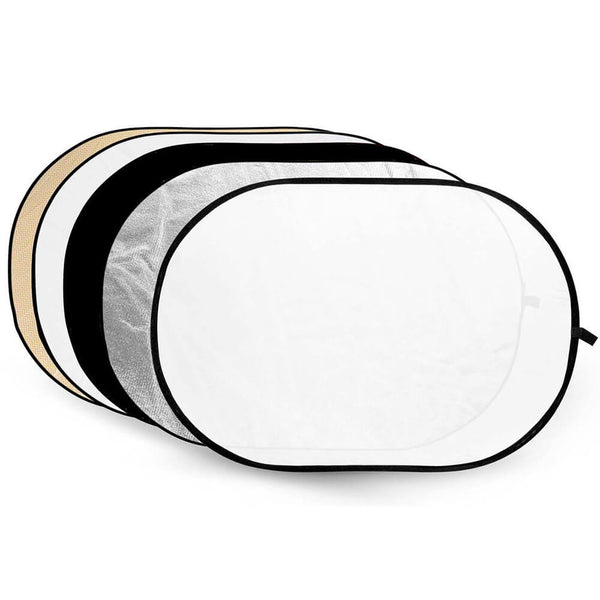
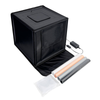
An AD100 Twin Umbrella Kit would work well for this with each light on different power settings around your model or subject. 5-in-1 Reflectors are also great for adding in a little more dimension and light for your subject if an extra light feels like too much. This 80x120cm pop-up reflector has 5 different colours in one, and is collapsible into a small bag.
 |
 |
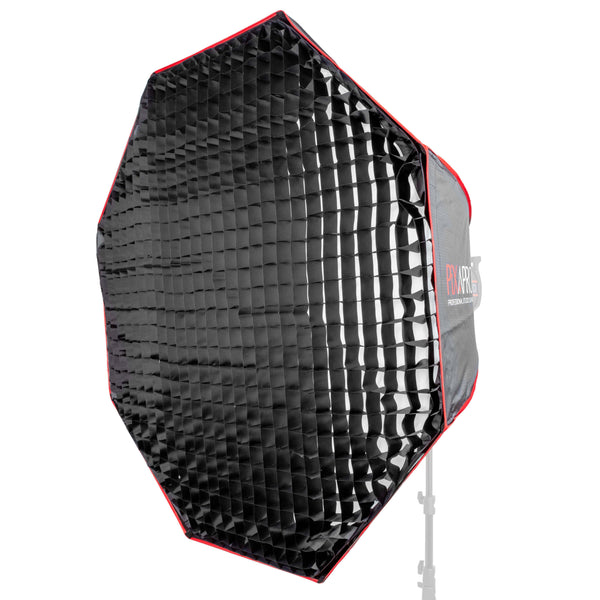
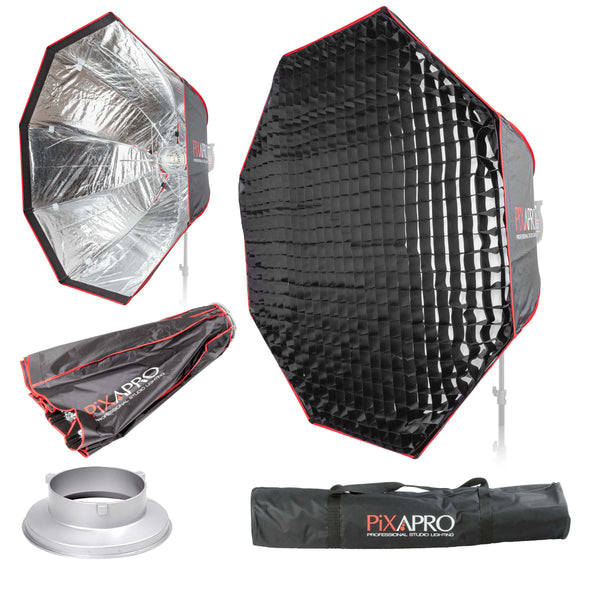
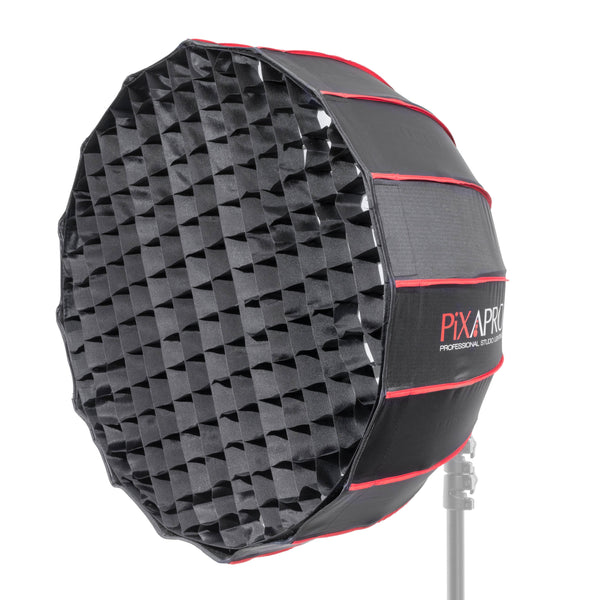
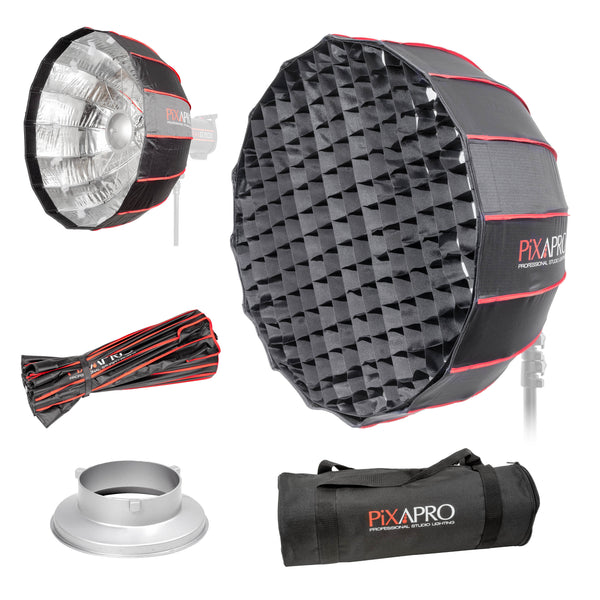
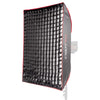
Softbox or modifier choices can also have a huge impact on the light effect of your image. The larger the softbox, the softer and wider the spread of lighting on your subject. If you're looking for a softer, flatter lighting so your image looks less contrasted, opt for a big softbox like the 120cm Octagonal Softbox, or, if you're after more contrast, opt for a softbox with a more narrow spread of light such as the 65cm Rice Bowl Softbox.
Grids and diffusion also play a big part in the effect of the light through your modifiers. Check out our blog on grids which includes Jason Vaughan's video of a comparison between softboxes with and without grids for monochrome portraiture.
Related article: What does the grid on a softbox do?
Best Tips For Monochrome Photography
Understand Contrast
Contrast is crucial in photography monochrome. Experiment with different lighting conditions to create a stark contrast between the subject and the background. This will add depth and visual interest to your images. The Rembrandt lighting style is a great example of a high-contrast lighting technique that will emphasise a subject or model's features in the image.
However, contrast can be found in many different places for monochrome photography such as silhouetting, hairlighting, and more, so why not experiment to see what effect you like best?
Shoot during the golden hour (the first and last hour of sunlight in the day) for soft, warm light that can add depth and texture to your black and white photos.
Related article: What is Rembrandt Lighting?
Pay Attention to Texture
Texture plays a vital role in monochromatic photography. Look for subjects with interesting textures, such as walls, tree barks etc. The absence of colour allows the viewer to focus solely on the texture, resulting in captivating images.
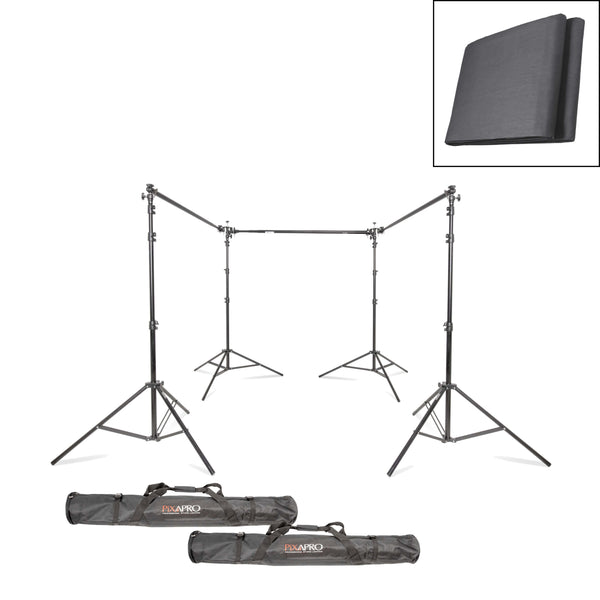
It may also help to invest in some textured background options to help with adding some more elements to your image and provide more detail to draw the eye to.
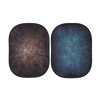
Some great options would be muslin backgrounds or linen backdrops, as not only does the fabric offer some pattern, but these can also be draped rather than hung straight behind your subject and can be especially good for offering more contrast in lighting as ruffles will capture shadows and highlight well.
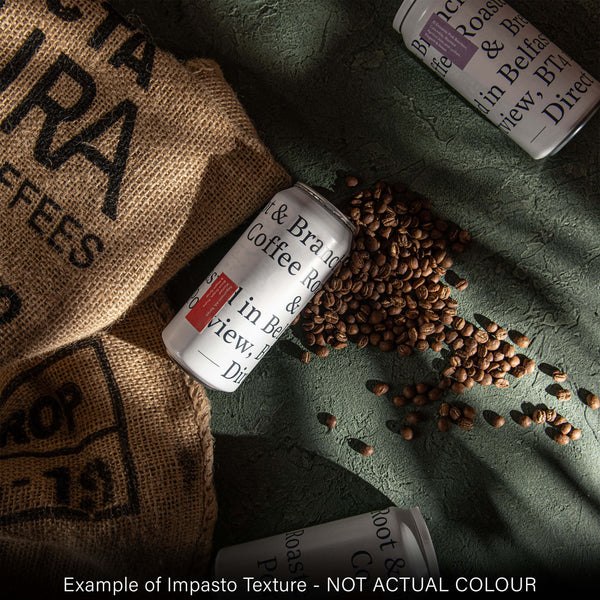
Hand-Painted Backgrounds are also a great option for adding texture thanks to their painted quality. Impasto hand-painted backgrounds are especially textured and use thicker paint and special techniques to add more depth to the background, which directional lighting can play on beautifully.

Experiment with Filters & Exposure
Filters can be a powerful tool in monochrome photography. Consider using red, orange, or yellow filters to enhance contrast and make certain elements stand out. Each filter will have a different effect on the final image, so don't hesitate to experiment and find your preferred style.
Or, experiment with exposure settings to find the right balance between highlights and shadows. Overexposure can create a dreamy effect, while underexposure can add a moody, mysterious tone.
Post-Processing
Post-processing is an essential step in monochromatic photography. Experiment with different techniques, such as adjusting brightness, contrast, and adding vignettes to enhance the mood of your images. Black and white conversion tools can also help you achieve the desired monochrome effect.
Use dodging (lightening) and burning (darkening) techniques to selectively adjust the exposure in different parts of your image, while grain effects and filters can help to add a classic film-like quality to your image that you wouldn't get naturally.
Conclusion
By understanding the importance of contrast, texture, and composition, and by experimenting with different techniques, you can master the art of monochrome photography and capture stunning black and white images that leave a lasting impression. But, make sure you PRACTICE to get the best possible results and find the right balance of all the important elements.