


Three Ways to Connect the Camera to the Computer for Live Streaming
Looking to get into live streaming? Make sure you have the right equipment and that you know what you're working with when you get started! Here are three different ways you can connect your camera to your computer for high-quality video feed when you stream online.

Connect the Camera with a USB Cable
With the growing popularity of online conferences and live streaming, numerous camera manufacturers have also released their own webcam software to meet customer needs.
For example, the Imaging Edge Webcam from Sony, the EOS Webcam Utility from Canon, the Webcam Utility from Nikon, the FUJIFILM X Webcam, and the LUMIX Webcam Software from Panasonic. You can connect your camera to your computer with a USB cable and transfer images from the camera to the computer through this virtual camera software. To check if the camera is compatible with this virtual camera software, you should visit the camera's official website.

Except for FUJIFILM X Webcam, most manufacturers' virtual camera software does not have a settings interface after installation. So you can directly use the live streaming and conference software without setting anything. However, once you install the FUJIFILM X Webcam, you can change the digital zoom, white balance, and other settings.

It is worth noting that the virtual camera software can only transfer images without sound via the USB cable. During the live streaming and online conference, the sound will be captured by the microphone connected to the computer. In addition, the image resolution and code flow transmitted through USB are relatively low. Camera manufacturers essentially set a 720P resolution restriction.
Furthermore, the USB interface of the camera usually remains USB 2.0. Although USB 2.0's theoretical maximum transfer rate is 480 Mbps, or 60 MB/s, the actual transfer rate is generally no higher than 30 MB/s. This is the reason why the image is unclear.

Connect the Camera with Capture Card
There are many types of capture cards, such as external capture cards using USB interfaces and built-in capture cards using PCIE interfaces. The input type supports SD and HDMI. There are also more differences, including whether it supports audio, 4K, hard solutions, whether a driver is required, and so on.
If you choose a capture card, we recommend that it supports 4K at 30 fps or 1080p at 60 fps or more, as well as audio input. You can choose SDI or HDMI interfaces, external or built-in interfaces, according to your own needs.

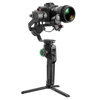
Connect the Camera with Switcher
The Switcher not only has the ability to record video, but it also has many other features like sound mixing and special effects, which are essential for a live streaming. You should choose a switcher with an HDMI interface if it will be used for live streaming. Simply connect the camera to your HDMI interface to begin using it. We can choose to connect the mic to the camera or the switcher depending on our needs because it essentially has a mixing function and HDMI input audio. The streaming feature is typically included with Switchers.

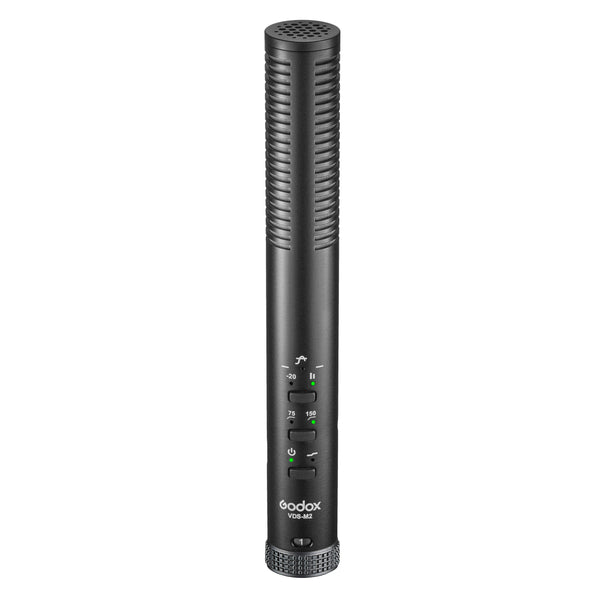
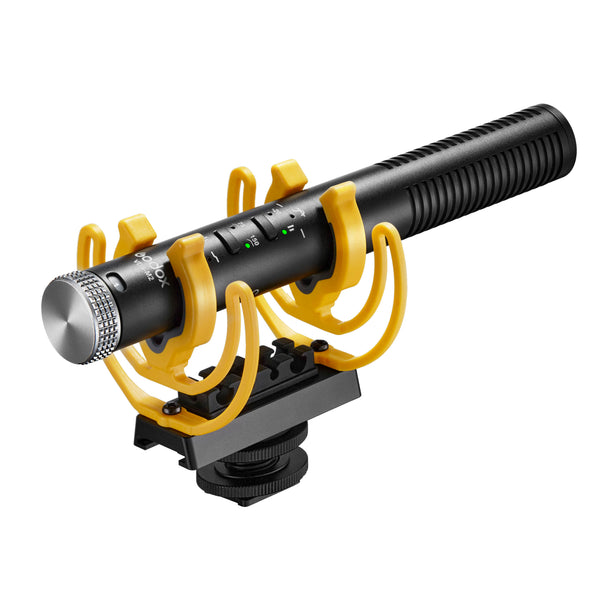
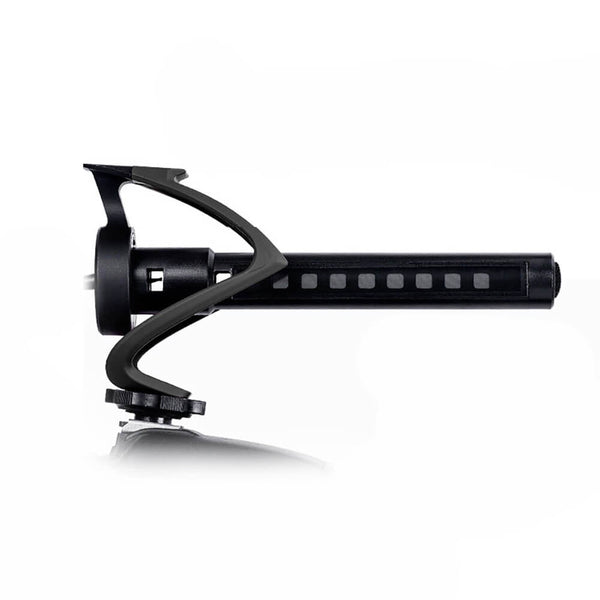
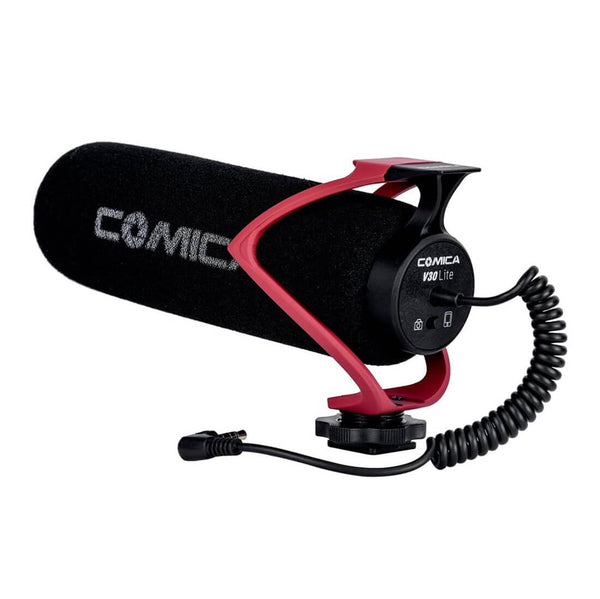
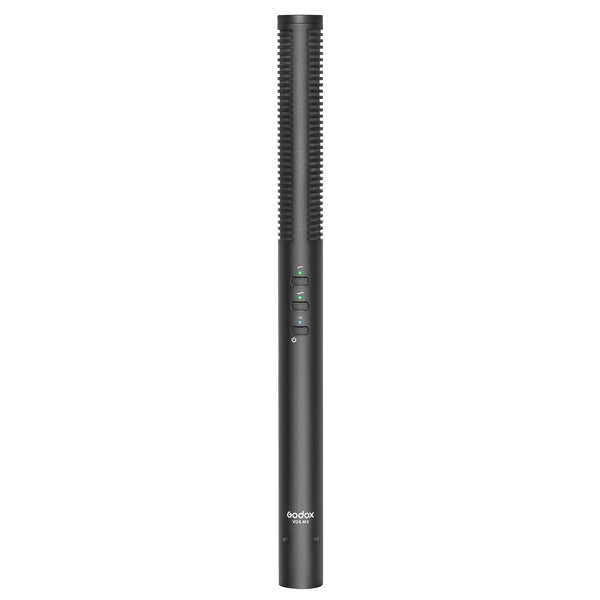
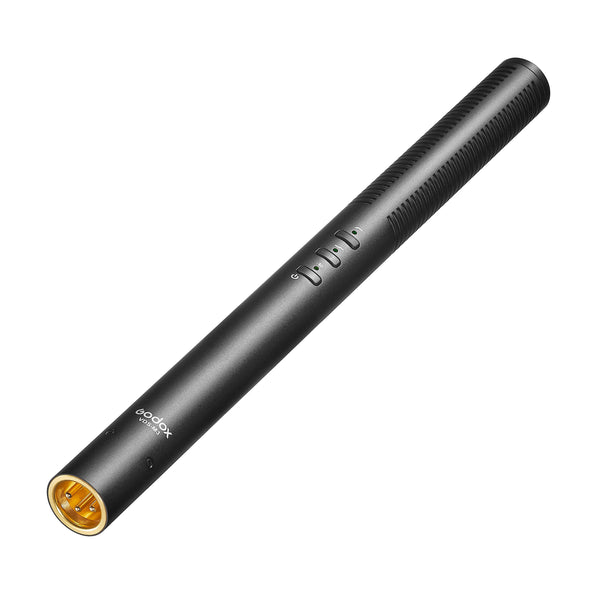
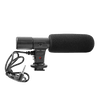
When we have the streaming address for the live room, we can either push streaming directly through the Switcher or use a USB cable to link the switcher to the computer. In this case, the camera screen and the sound recorded by the mic can be easily transmitted to the computer. The sound deserves a good mic recording. In analogue output mode, the compact VM30 Shotgun Mic can be connected directly to the camera. With a portable and dependable shotgun mic, you can record your surroundings and capture the sound you require.
Shop Live Streaming equipment here!
Shop Comica Audio Equipment here!