


Should I get a Pantograph? Plus How to Install a Pantograph System.
Are you looking into the Pantograph Studio System and trying to figure out if it will work for you? Here's a breakdown of the system, where you can use it, how it can be used, and how it can be set up, so you can make an informed decision taking the leap to using a ceiling rail system in your studio!
What is a pantograph system?
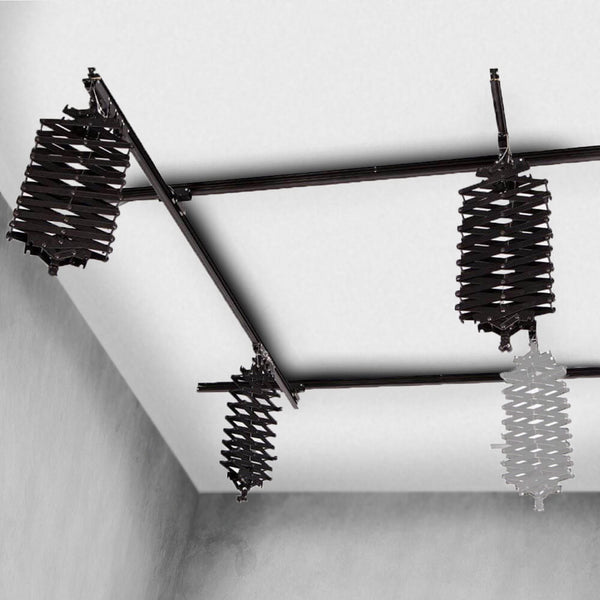
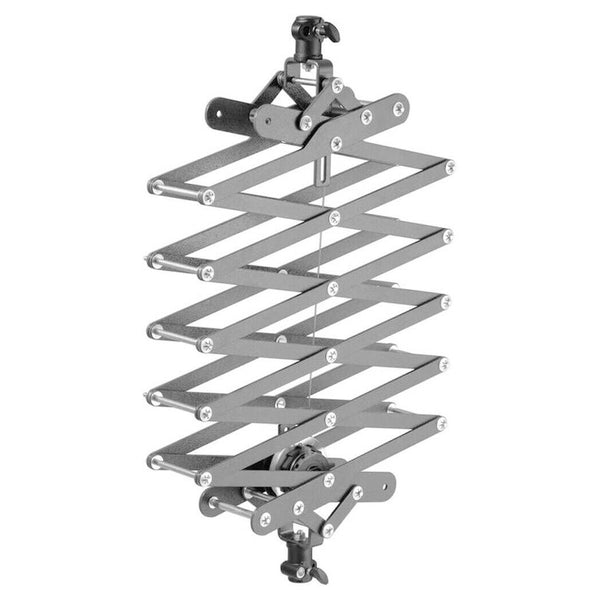
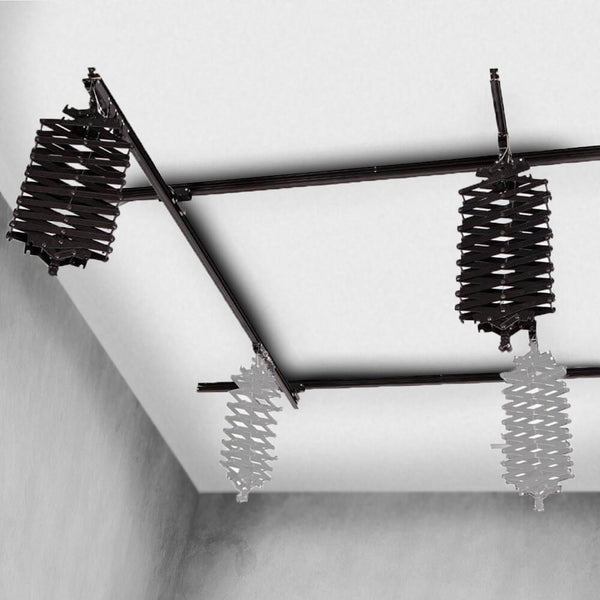
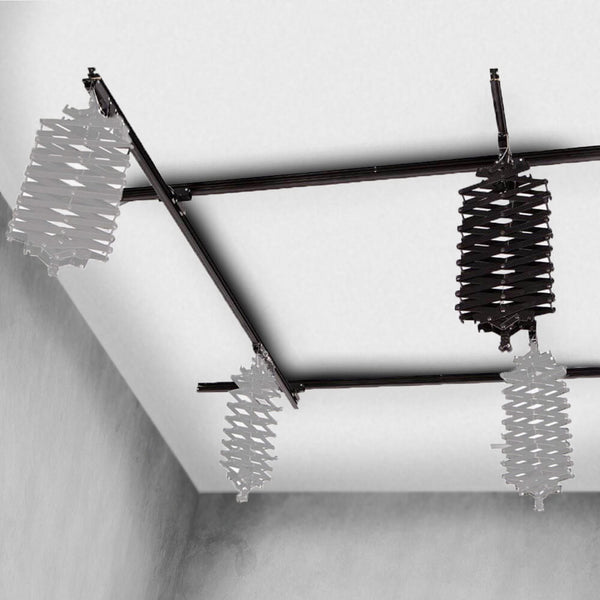
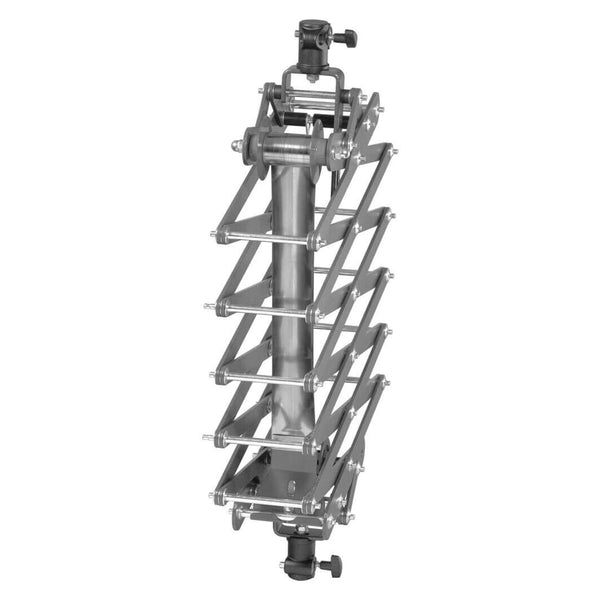
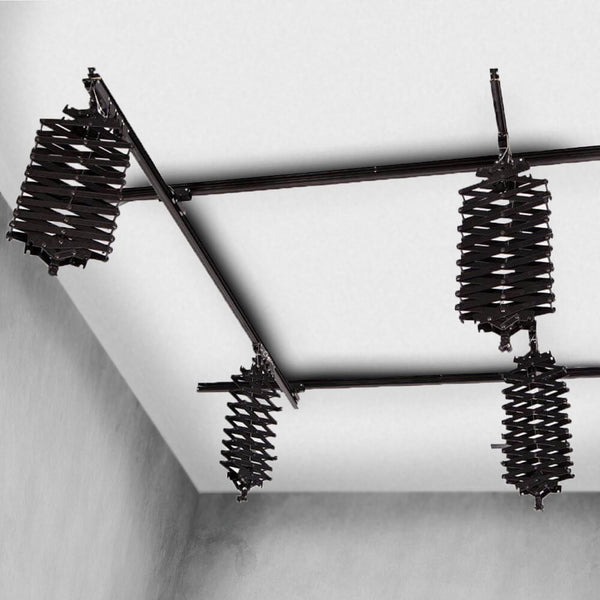
Pantograph rail systems consist of track rails bolted to your ceilings that enable you to attach a set of perpendicular rails to them that you can slide up and down the rails. Pantographs, or scissor mounts, can then be attached to these rails to hold studio lighting and other equipment, which can be moved up and down on the pantograph itself.
This design facilitates a wide range of movement for any attachments to the system, without having to wrangle light stands and cables on the floor, and the system is especially handy for studios with a lot of foot traffic, or for those who maintain a regular set up of overhead lighting for video purposes.
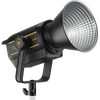
You'll notice that large film studios will often use pantograph systems as they enable lights to be used from better angles, plus it allows for wider range of camera movement as it eliminates obstacles on set.

Should I get a pantograph system?
Whether you believe you will benefit from is largely up to you, as it really depends on your workspace and what you would use it for, however, there are some things you need to make sure of before you purchase one.
1. Do you have the space?
Pantographs require a large amount of space, with our standard set measuring up at 3.3x4 metres. You will also need some space around the rails for ease of use and movement.
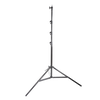
If your studio is a bit small for a pantograph system, our Autopole sets may be more suitable for you.
2. Do you rent your studio space?
Pantographs require a lot of drilling into ceilings, with mount brackets having to be placed at least every 45cm on the rails. If you rent your studio space, this is something to consider before purchasing.
Which brings us onto our next point...
3. Is your ceiling sturdy enough for a pantograph set?
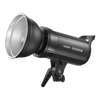
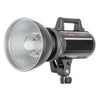
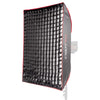
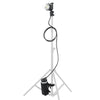
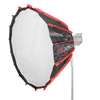
A rail system weighs a lot on it's own, never mind with up to 15kg worth of lighting and modifiers on each pantograph! Always ensure that you have solid ceilings that can support the weight of your pantograph plus whatever you plan to mount on it.
How does the pantograph studio system work?
The rail system allows you to move the position of the lights on both axis, by sliding the rails and the pantographs. The diagram below shows this, with a blue (x) indicating a fixed rail, the red arrows showing the movement of the moveable rails, and the yellow arrows showing the movement of the extendable pantographs. The pantographs can then be extended up or down.

This enables you to hang your lights, backgrounds and more wherever you need them in your studio, with the ability to quickly and easily adjust their positioning.
How to set up a studio pantograph?
Setting up the pantograph is fairly easy, but do make sure you have the right tools and resources to affix it.
We don't offer a service to fit pantograph systems in your studio, so please ensure that you are able to fit it yourself or you have someone local who can help you.
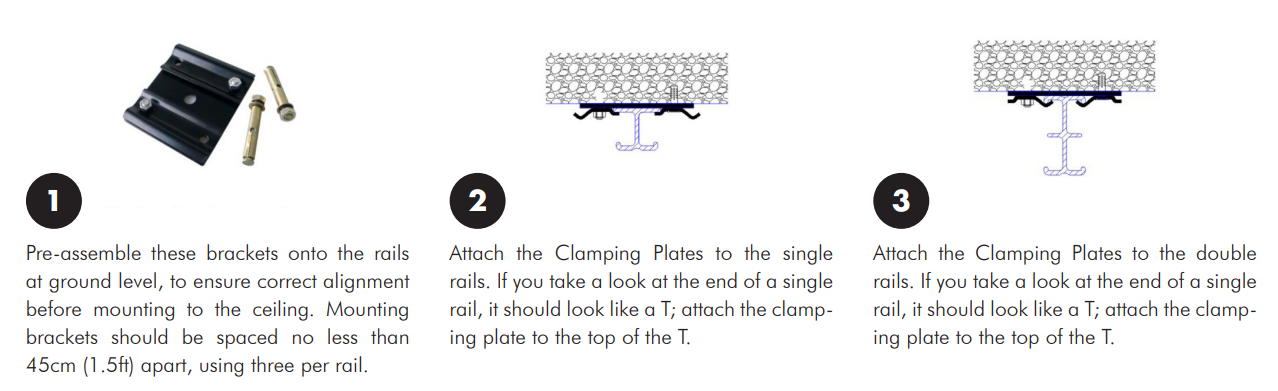
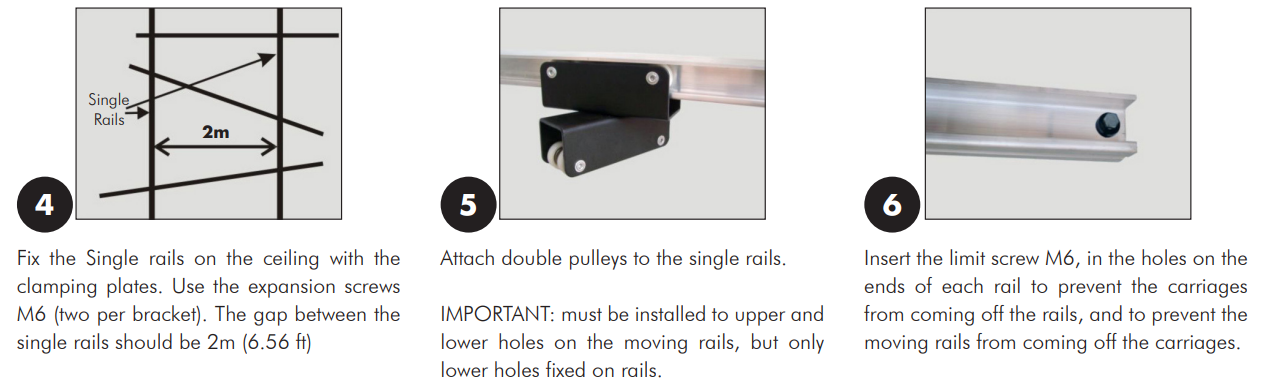
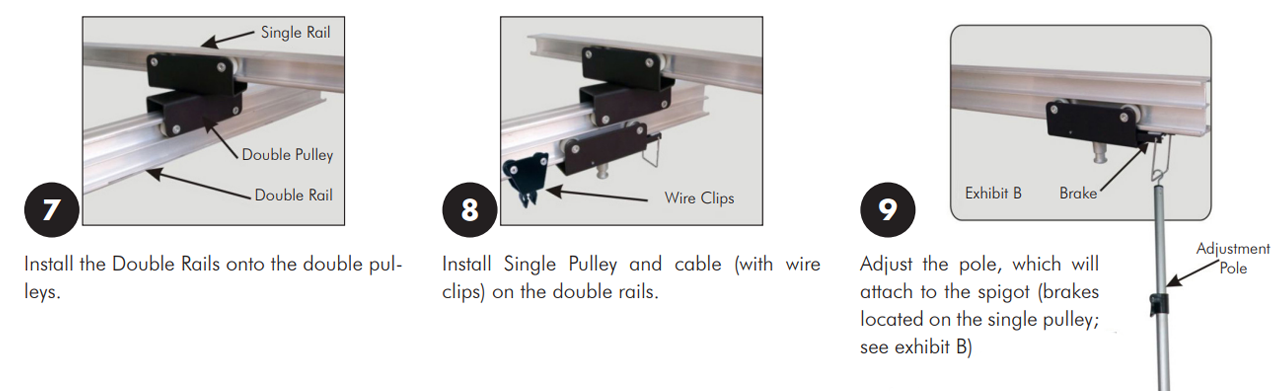
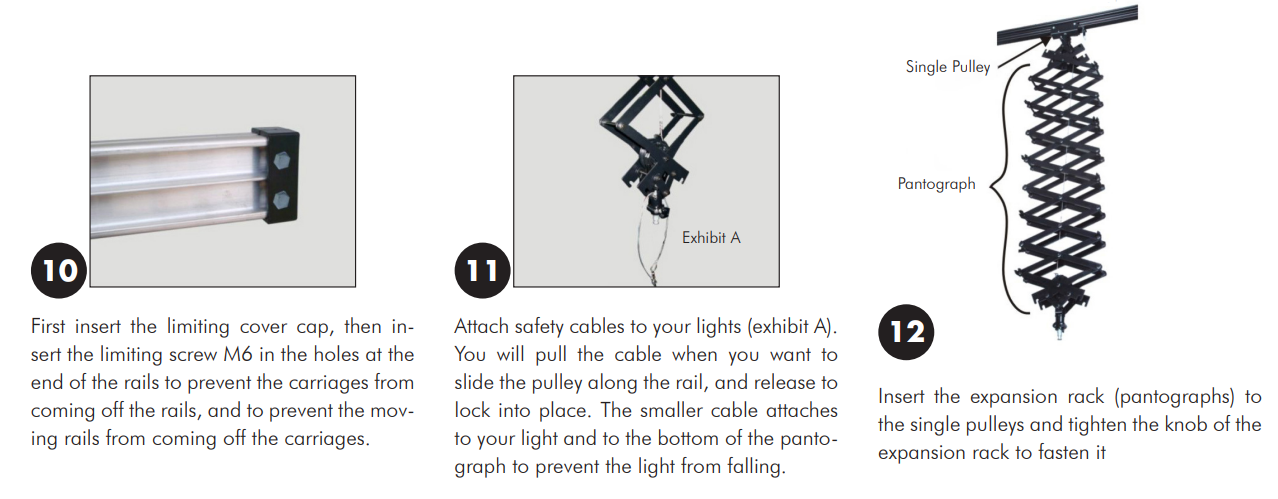
To find these setup instructions all in one place, please visit the Instructions .pdf here.
Shop our Pantography systems here with different options for customisation: https://www.essentialphoto.co.uk/collections/pantograph-systems