


How to Start Shooting Quality Photos for your Beauty Cosmetics Brand
If you own a beauty or cosmetics brand it's so important to curate your photography and show your customers the quality of your products, and the best way to do this is with high-quality images that show off the items both alone and on models, to demonstrate what the product can do.
The most effective way to do this is to search around for a product photographer who you can discuss your ideas with who can execute your vision without you having to stress, but if you're just starting out, on a budget, or you'd like to give it a go yourself, here are some top tips and some products that will help you to create some sharp shots for your website and online branding.
1. The Vision
Deciding on your overall look and vision is the first place to start when starting your company branding. Create a moodboard to springboard your own ideas from, and consider aspects such as:
- Colour scheme - do you have colours in your existing branding that you can use?
- How would you like to show and demonstrate your products? Such as do you want to show them in a home setting or in the process of being used?
- Do you need a model to show the product on?
- Do you want to use props?
- Consider your audience - what kind of imagery and styling will make your customer base stop in their tracks to have a look?
Check out Gemma Wood's tips below in her Instagram post on Product Shots:
2. The Tips For Beauty Cosmetics Photography
Doing your research before setting out to shoot can save you a lot of stress and some trial and error, though don't forget, the best skill comes from practice and trying!
Here are some helpful tips for shooting for cosmetics and other small products:
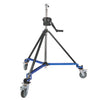
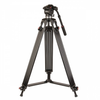
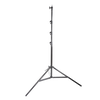
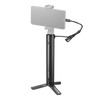
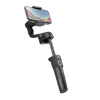
Use a tripod! A tripod can help you get keep the focus on an item between shots and avoids any wonky shots, as well as helping you keep a good perspective with the items you're shooting.
Beauty Cosmetics photography hinges heavily on showing a customer why a product is great for them to buy. Showing it on your model reassures a customer that the product works well, and that it will look good on a person.

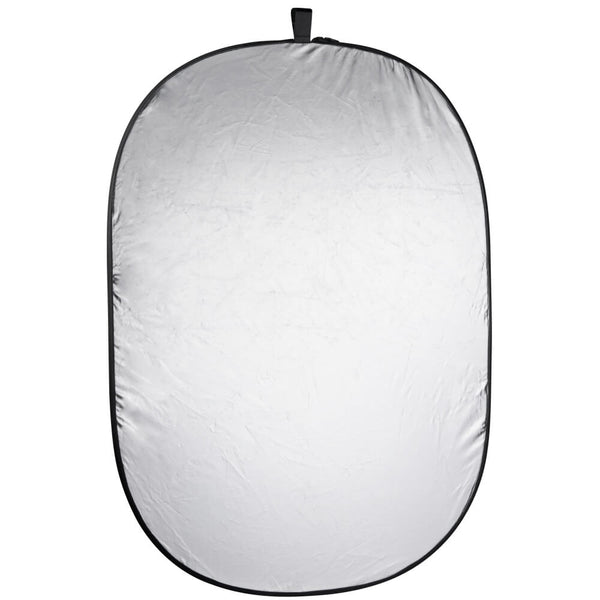
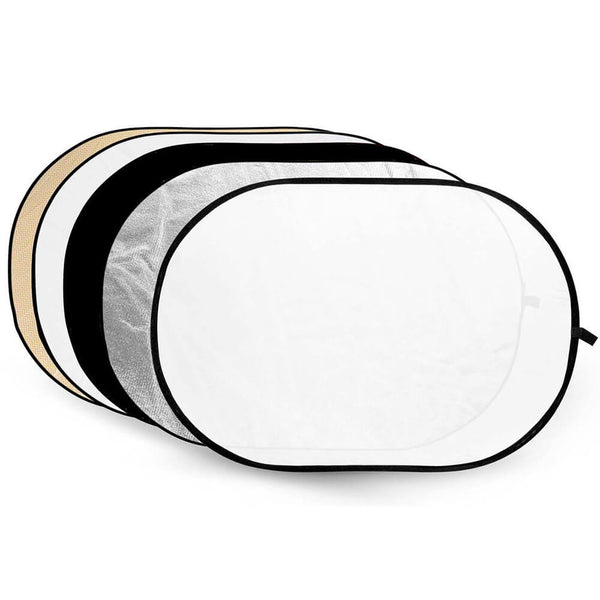
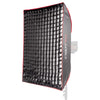
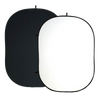
Does your product have a shiny or reflective packaging or casing? Use reflectors and diffusion flags to avoid lighting hotspots or reflections of your lights on the product. A black reflector side will minimise lighting harshness, while a white translucent reflector will allow lots of light through, but will spread it out further.
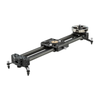
Flatlay Photography might be useful to explore for a trendy bird's-eye view of your products and any other related props.
Use props to make creative shots more interesting. Props can be painted to contrast or match your background, and can add some interesting texture and depth to an otherwise flat image.
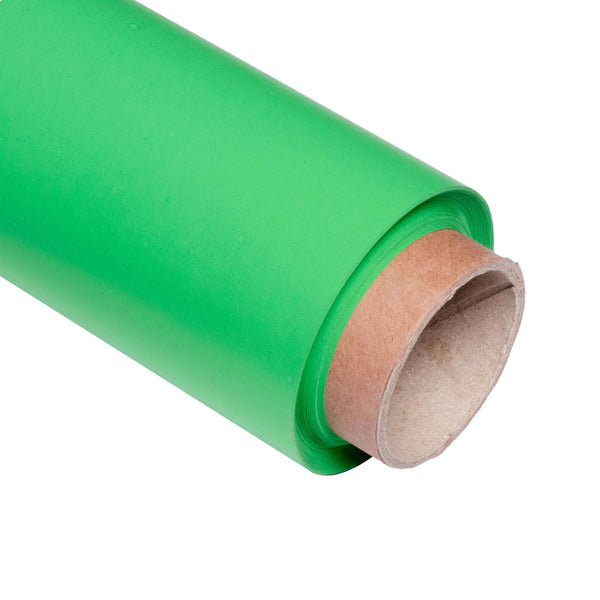
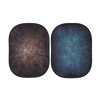
Coloured seamless paper backgrounds can be found in all kinds of shades and can add a great pop of colour that can either contrast or compliment your product's packaging. These backgrounds can also be used as a table-top option for flatlay photography and don't have to just be used hung up.

Make sure the lighting looks natural and that your shadows are pointing downwards. Shadows under the product give the same effect as sunlight and will look a lot more natural than a shadow sitting above the product.
Show the product texture and colour! Especially when purchasing online, it can be tough for a customer to know exactly what they're receiving. An image that demonstrates the texture of a product such as a moisturiser, or the exact tone of a foundation out of the bottle can help to settle your customers' minds on what they're buying.

3. The Equipment For Beauty Cosmetics Photography
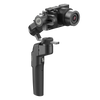
Decide on what kind of equipment you plan to use. Will you be using your smartphone to capture images for an Etsy shop for example, or a DSLR camera? It's always recommended to shop around for a suitable digital camera if you're not familiar with them, and seek advice from retailers and photographers if you're unsure.
What lighting do you plan on using? This is very important as lighting can make or break your images!
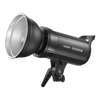
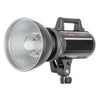
Individual Lights:
If you're a little confused as to where to start, pick up a few small lights for now just to get started.
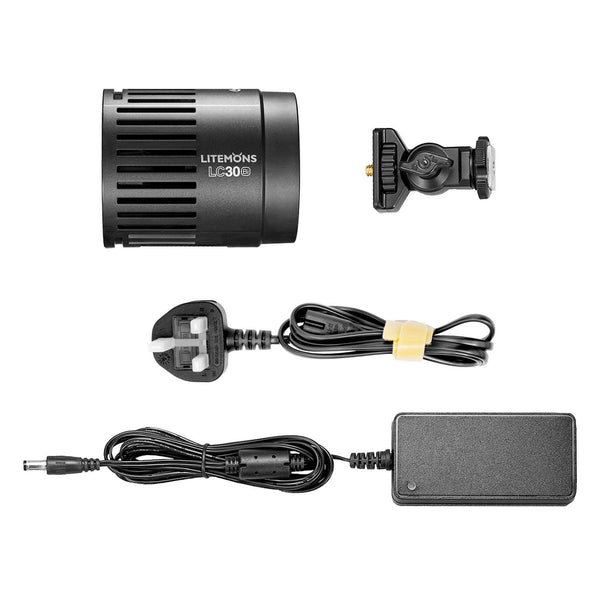
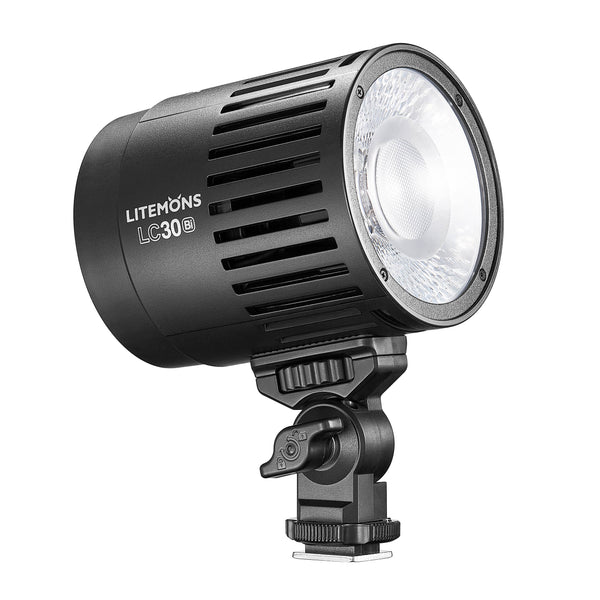
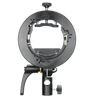
Some great affordable lighting to get started with is the Godox LC30 Mini LED heads. While these tiny continuous 38w lights may not be the most powerful, they are great for small setups such as for beauty products, and they are easy to use if you're a beginner with lighting. Pair with speedlite modifiers to focus or soften your lighting depending on the desired effect. Kits are also available with tabletop backgrounds included for an easy all-in-one option.
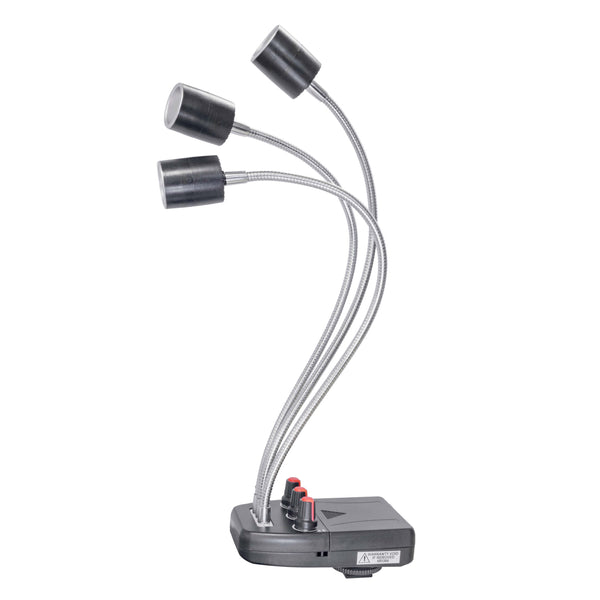
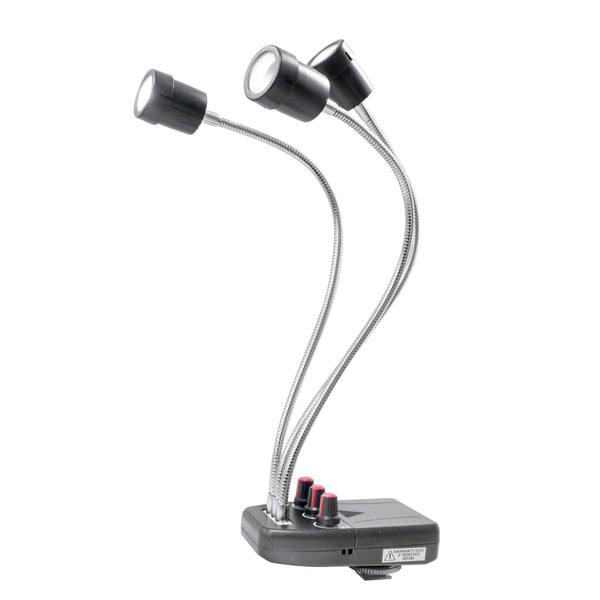
The Macropod is also an option if you'd like to use a simpler form of lighting, with three small 1w heads to cover around a small item for simple listing shots, as well as mini gels that can attach to the heads to add a splash of colour. This ideal for small single items ideally, rather than larger tabletop setups.
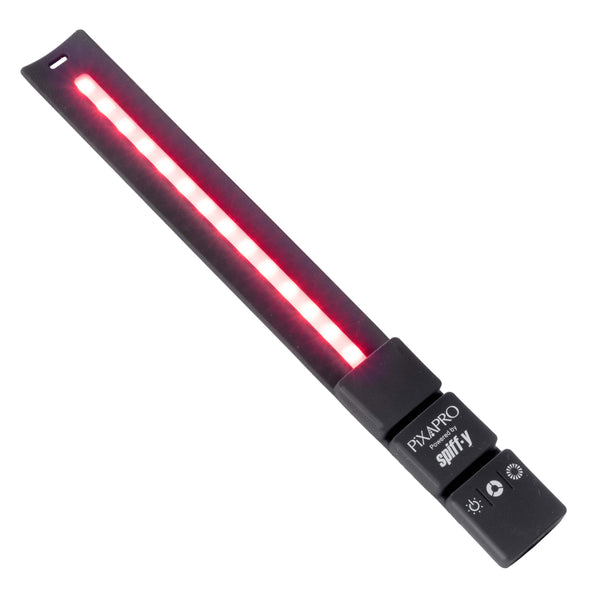
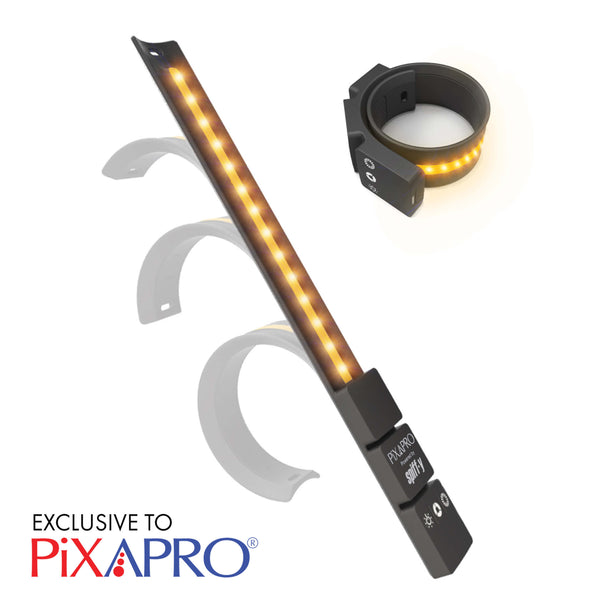
The KYU-6 RGB Light Strip is also a great option if you're looking to add a dramatic splash of coloured lighting to your images. While it may not suit every shoot, these are handy to have for when creativity strikes.
Barry Mountford's Tutorial on using the LED Light Tent for E-Commerce
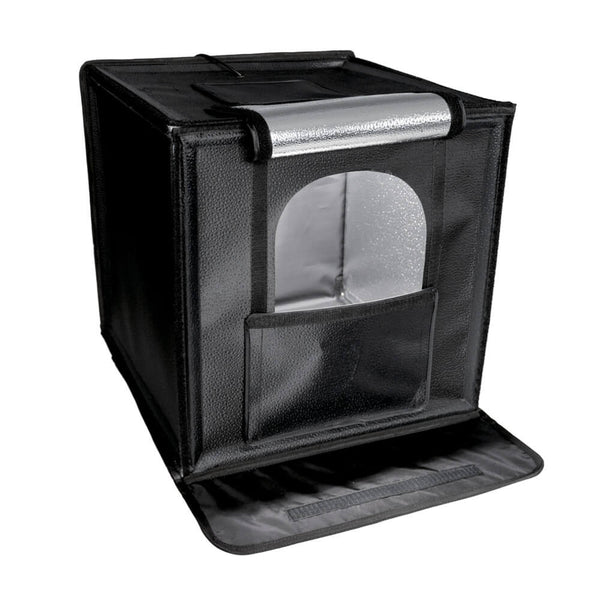
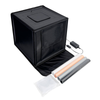
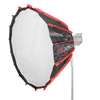
Or, if you're simply looking for some clean product shots for your online listings, the 70cm LED Cube is a perfect option, with magnetic LED strips to offer a soft spread of lighting to avoid shadows, a collapsible frame for transportation, plus it comes with a selection of backgrounds!
Find some more in depth product photography recommendations in our Product blog here: https://www.essentialphoto.co.uk/blogs/news/a-beginners-guide-to-product-photography-gear
 |
 |
 |
Kits:
But, if you're looking for all in one kits for beauty cosmetics photography, there are some great options available for all kinds of skill levels.
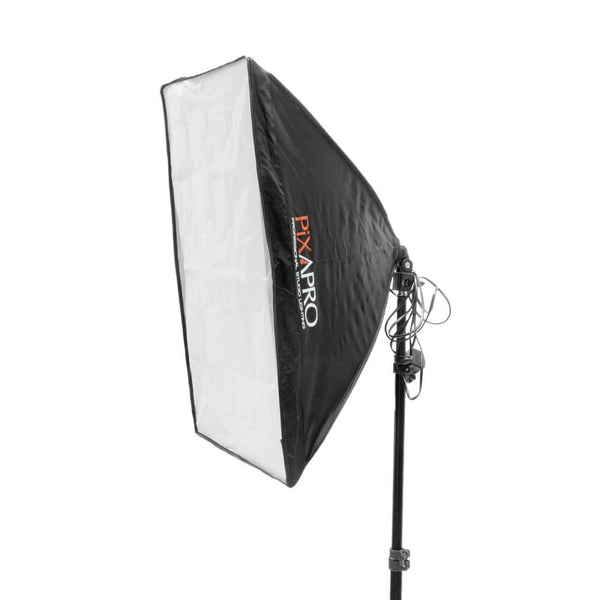
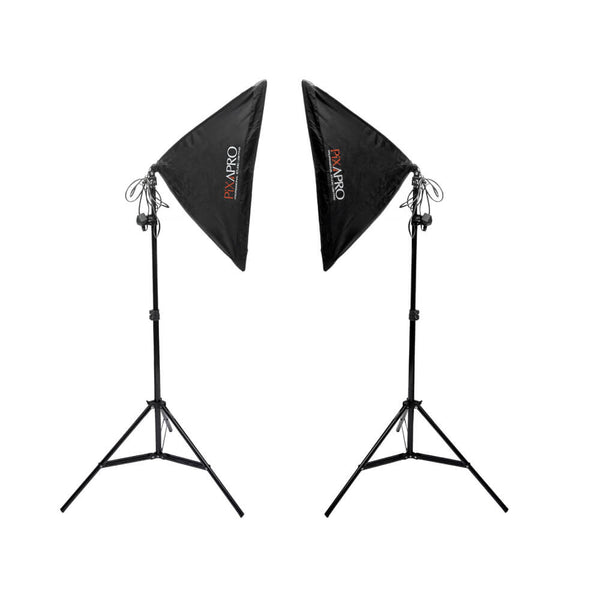
Super easy for beginners, the EzyLite kits are simple bulbs with integrated softboxes which are straightforward to use and product soft lighting thanks to the softbox diffusion. These kits are also super affordable, easy to transport, and available with shooting table options too. Shop EzyLite kits.
Another straightforward kit, the MOBI LED panel kit is great for small products as well and is small enough to easily transport. The LED panels are daylight balanced and flicker-free, and give a combined power of 44w. Shop MOBI kits.
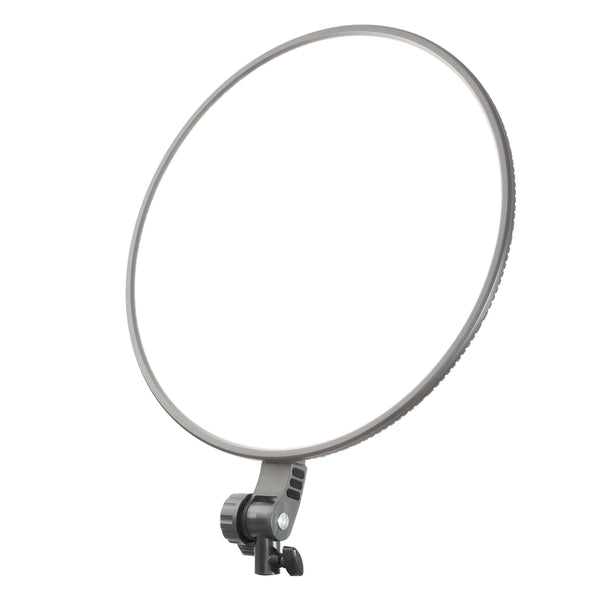
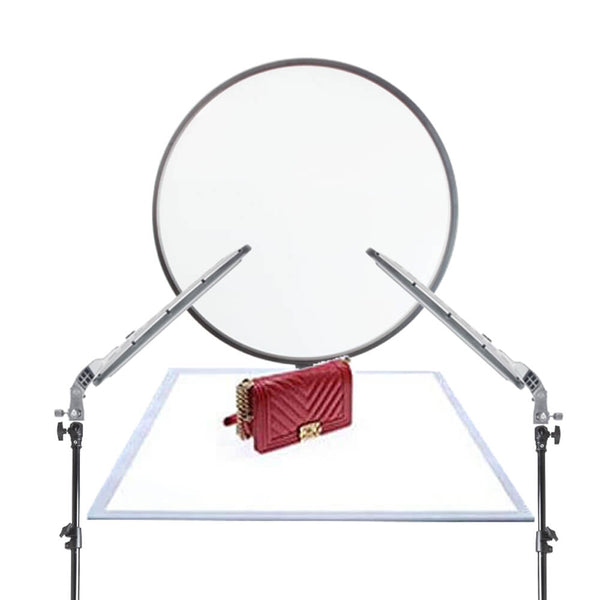
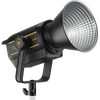
One of our new kits includes the GLOWPAD round LED panel, plus the LED Light Mat which can be placed under a product to illuminate it from below and remove any pesky unwanted shadows. This kit is also great for those with a little more experience in photography, plus, the light is larger, with built in diffusion, and therefore is more suitable for small-medium sized products. Shop GLOWPAD kits.
Shop our entire Product Photography range here: https://www.essentialphoto.co.uk/collections/product
Our Partner Photographer Barry Mountford has also made some great videos with the GLOWPAD LED Panels that show you just how to light product and packshot photography with ease: