


5 Tips for Shooting Christmas Food
Christmas is known not only for Santa Claus and presents but also for serving some delicious treats and meals for the entire family to joy. Some Christmas food items can look too good to eat, but you have the opportunity to capture their dish forever before it is gobbled up, and we have some simple tips to make the process more satisfying.
Lighting
There are two different ways that you can light the scene with food; the first way is natural lighting, in which you can serve your food near a window to get natural lighting coming through the window so you can use daylight that will be diffused. If it's a particularly sunny day, you can even place a white sheet to soften the light to prevent it from creating harsh and dramatic shadows when photographing food.
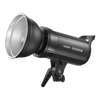
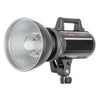
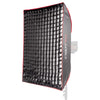
If you don't have a lot of natural light, you can opt for shooting with artificial lighting, which offers greater flexibility as you can choose to use multiple light sources to illuminate the food. The lighting can be either flash or continuous lighting along with a softbox to diffuse the lighting for an even spread of light. This highlights the food items with a soft glow while minimizing shadows. The light can even be placed at an angle over the food to mimic the sun for a more natural shot.
 |
 |
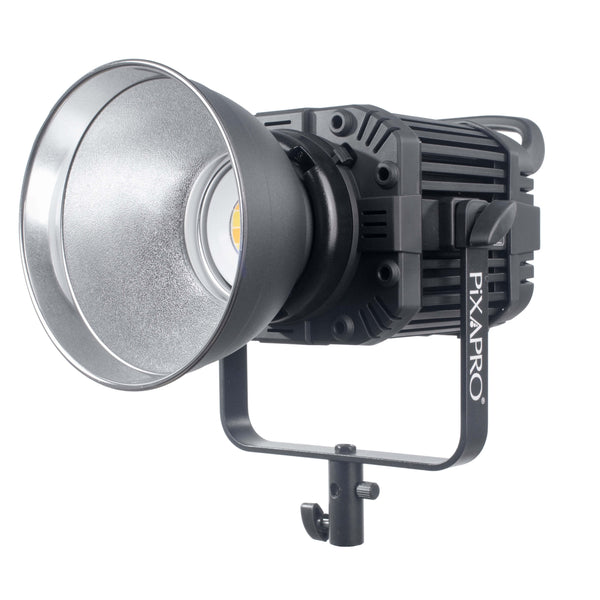
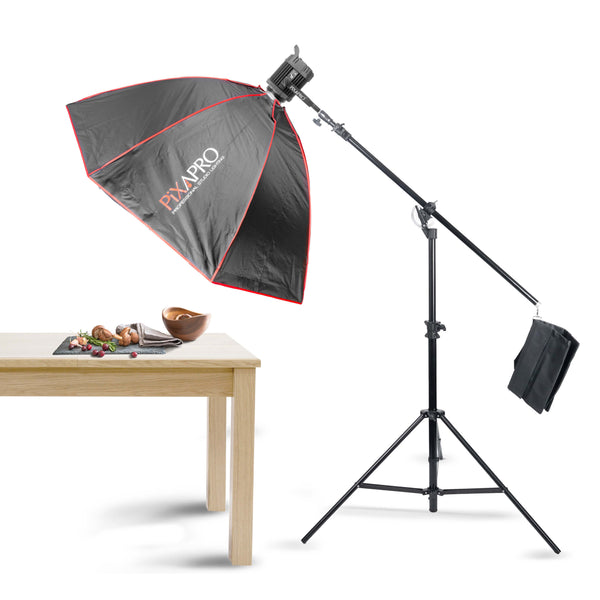
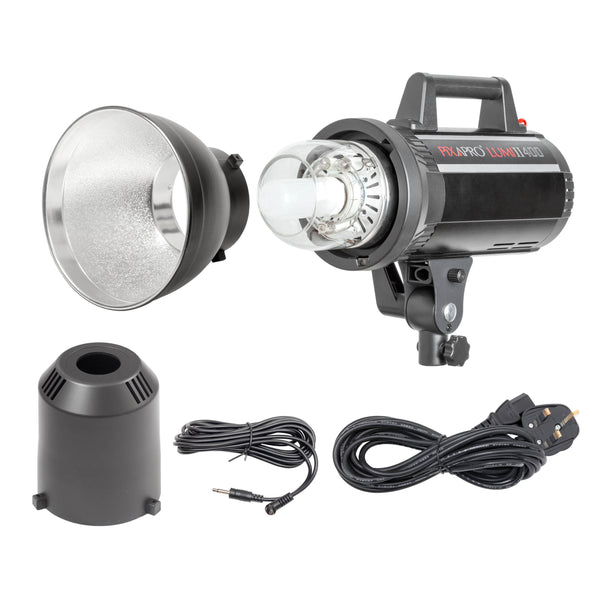
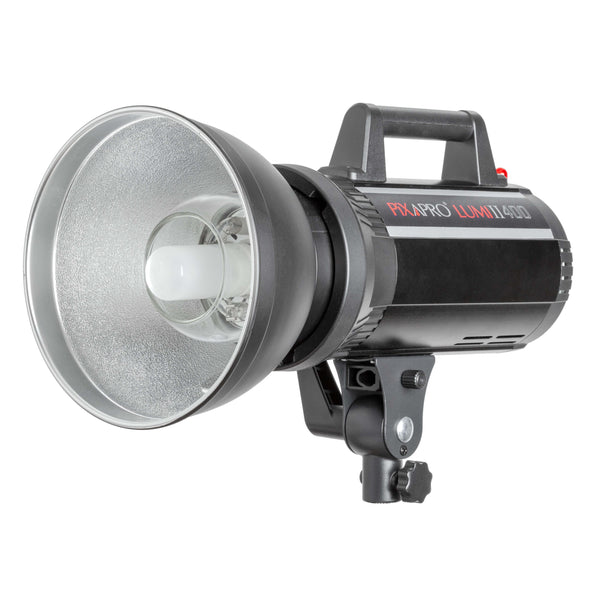
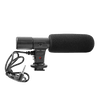
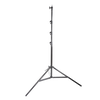
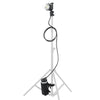
LUMI 400 II 400Ws Studio Flash and 30x140cm (11.8"X55.1") Easy-Open Strip Umbrella Softbox With 4cm Grid
Capture the Best Angle
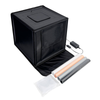
Some important angles to use include the top-down in which you have the camera right on top of the food with the lens facing straight down, which is great for shooting with mobile phones or smaller cameras as they are easy to use from above because of their weight. There are special kits that make it easy to conduct overhead food photography shoots that come with special lighting and camera stabilizing features. This angle can capture excellent shots, especially when the set is lit properly, and it is perfect for food that has a garnish or detailing on the top, such as latticework on Christmas pies. This special kit will give you ability to adjust the colour temperature, to help emulate the warm glow/ festive glow of Christmas and winter.
The second angle is a little bit further down, so you can still see the top of the food, but you can also see the side of it as well. This angle is ideal if you have detailing on the top and side of the food item while giving the viewer some idea about the texture. This allows you to play a bit with the depth and field as you have a background and foreground instead of one level set up as you did from the overhead view. This method can allow you to experiment with focusing on different elements of the set for a more artistic effect.
Another flattering angle is the side angle which captures the side profile of the food item. This angle is especially beneficial for photographing drinks or food items with multiple colours, layers, or textures such as swirls and shapes of combining liquids in cocktails. This angle also allows you to experiment with depth of field by using multiple focus points to capture the food item surrounded by Christmas-themed elements.

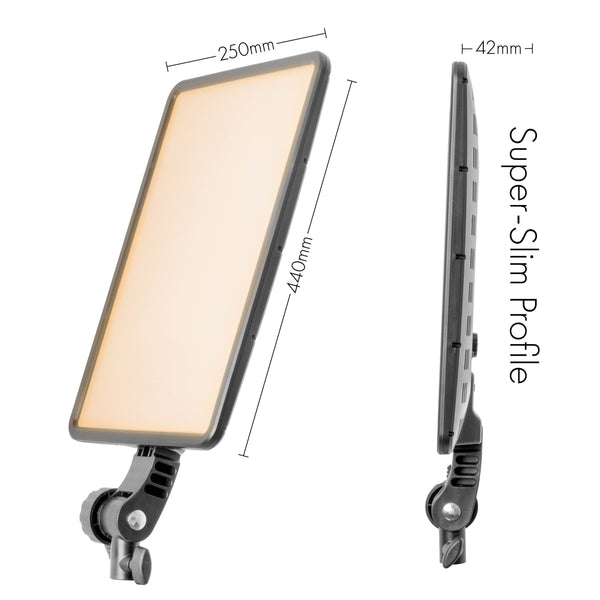
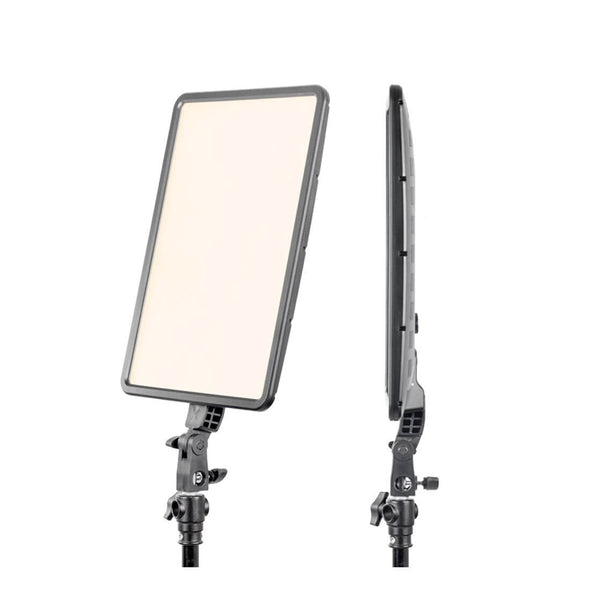
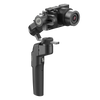
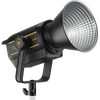
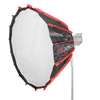
LED200B MKIII Bi-Colour Flat Lay Overhead Food Cinematography Lighting Kit
Selecting the Background and Foreground
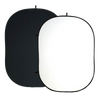
Selecting the right background and foreground is important for food photography as it provides an additional dimension to the overall picture. For background, you can choose to go with a light or dark surface. It can even be unconventional and include textured items such as wood or flamboyant colours to contextualize the food and add some creativity to the shot.
 |
 |
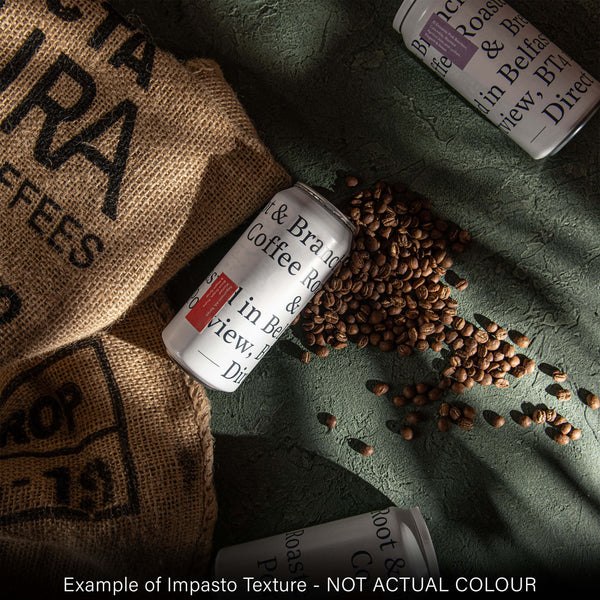
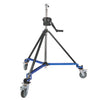
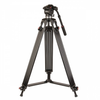
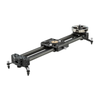
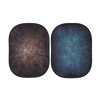
2x4m Dual Sided Black And White Vinyl Backdrop And Telescopic Background Support and 1.6 X 2.2m Impasto Textured Hand Painted Background
For example, if you have homemade cookies on a wooden surface board or homemade pies on a wooden surface printed paper, it looks more rustic and homely, whereas if you're shooting a high-end Christmas cocktail, you might want a more refined or fun vibe which can be achieved by placing the cocktails in front of a more creative backdrop and foreground. Of course, there is no hard and fast rule about selecting backgrounds and foreground, but it would be ideal to have multiple surface options to produce different kinds of shots. There is also always room to experiment, so you can use different types of wooden surfaces, colours, cloth textures, and any other unconventional items to maximize the potential of your image and similarly
 |
 |
Hard-Wearing Dual-Sided Coated Coloured Paper Backgrounds and Light / Deep Grey Concrete Effect Textured Boards (60x60cm)
Styling the Scene
Setting the scene is a completely unique skill. It is essential to add some personality and character to the shot as people don't just want to see a standalone item like a Christmas pudding or mug of hot chocolate. You can add some dimension by adding a background and foreground along with some extra props into the frame. The props can be Christmas-themed objects such as holly, berries, baubles, Christmas lights, and anything to make the set seem more interesting.
The props can also be used to tell a story, and a very common method is introducing the ingredients of the food items into the scene, so it provides context. For example, if you have sugar cookies, you can sprinkle some sugar in the foreground or even capture the sugar particles being sprinkled mid-motion for a creative flair. When shooting liquids such as alcoholic cocktails, you can even feature a bottle of alcohol in the background to provide some context, make the image look vibrant, and give it some extra life, which changes the whole picture and makes it much more interesting. Additionally, you can even play around with depth of field to capture the scene at different angles.
Camera Settings
Camera settings are important for photographing food so start by setting the camera to have a nice fast aperture that can keep a relatively shallow depth of field, so the background is a little bit out of focus and the main food item is in focus so it draws the viewers eye and you get a really pleasing image. However, if you want a deeper depth of field, especially if you're setting a wider scene or shooting top-down where there isn't a separate background, you can set the aperture to f/4 or f/8.
The ISO should be kept as low as possible, so it should be around 100 or 200 to prevent the addition of any excess noise into the image. Shutter speed is also an important factor as shooting at a slower shutter speed of 1/100 per second to capture a nice bright image. However, if you have moving objects in the frame, you need a faster shutter speed to freeze the action unless you want to have motion blur in the image depending on the creative direction of the shoot.
Can This Be Done with A Smartphone?
Yes, it absolutely can take beautiful Christmas dinner photos with your smartphone. Here are some kits designed for smartphones, which can bring your creation to the next level. They will give you the best shots of all the delicious-looking treats available during Christmas.
 |
 |
 |
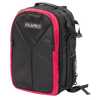
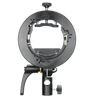
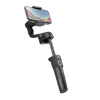
GLOWPAD350S Smartphone Overhead Food and Beverage Photography Kit, RICO140 Ringlight Flat Lay Product Photography Kit 34cm (13") and RICO240B MKII Super-Bright Bi-Colour Tabletop Flat Lay Cooking Video Lighting Kit
1. The GLOWPAD350S Smartphone Overhead Food and Beverage Photography Kit with Dual Sided Background Board comes with a Glowpad fitted with LED lights with a CRI of greater than 95 for enhanced colour accuracy. The kit also comes with two 240cm light stands, dual-textured boards for background use and a table-top smartphone boom stand for capturing multiple angles.
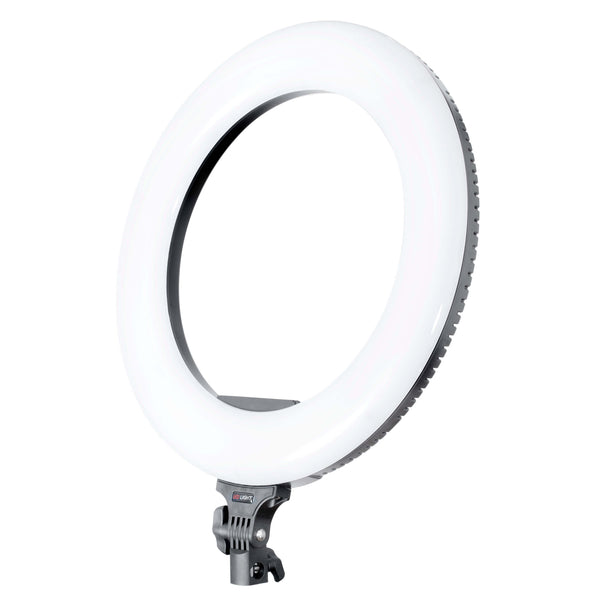
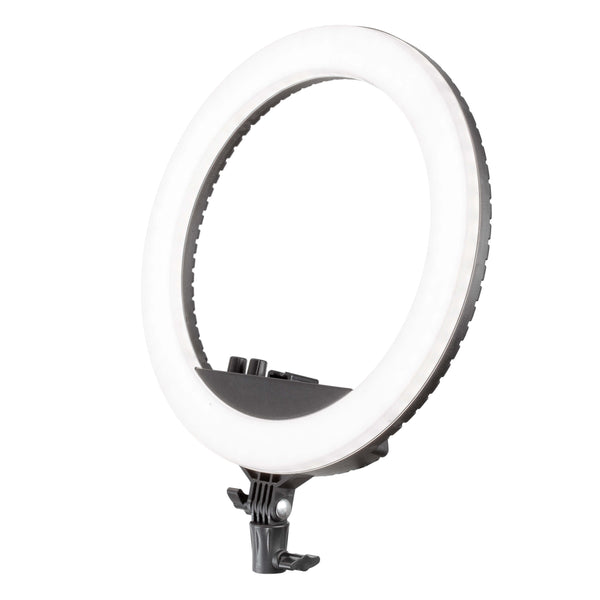
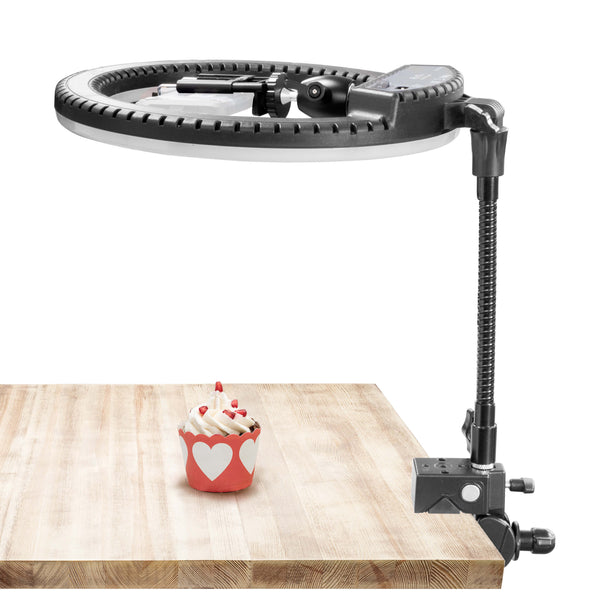
2. The RICO140 Ringlight Flat Lay Product Photography Kit 34cm (13") comes with a ring light that offers adjustable colour temperature and is fitted with diffusers for producing soft light. The kit also comes with a heavy-duty flexi arm, super convi-clamp, ball-head with a hot shoe, and a smartphone bracket for greater control over the photography.
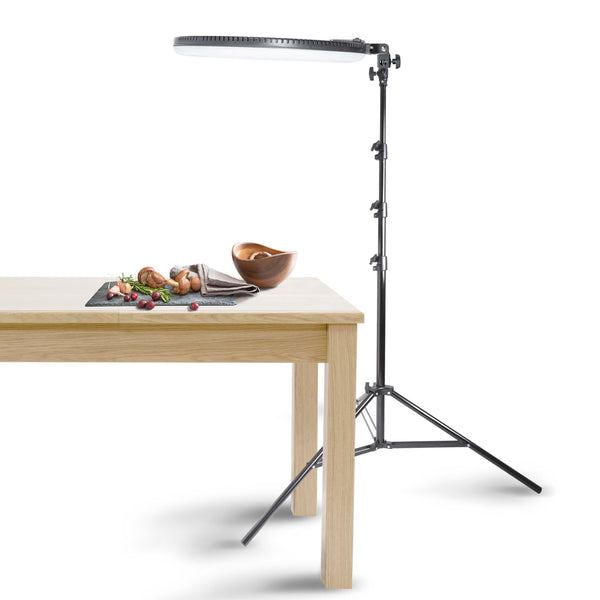
3. The RICO240B MKII Super-Bright Bi-Colour Tabletop Flat Lay Cooking Video Lighting Kit comes with a bi-colour LED ring light with a CRI of 95% for accurate colour representation. The kit also comes with an adjustable 240 cm light stand and a smartphone bracket, making it compatible with multiple devices.